
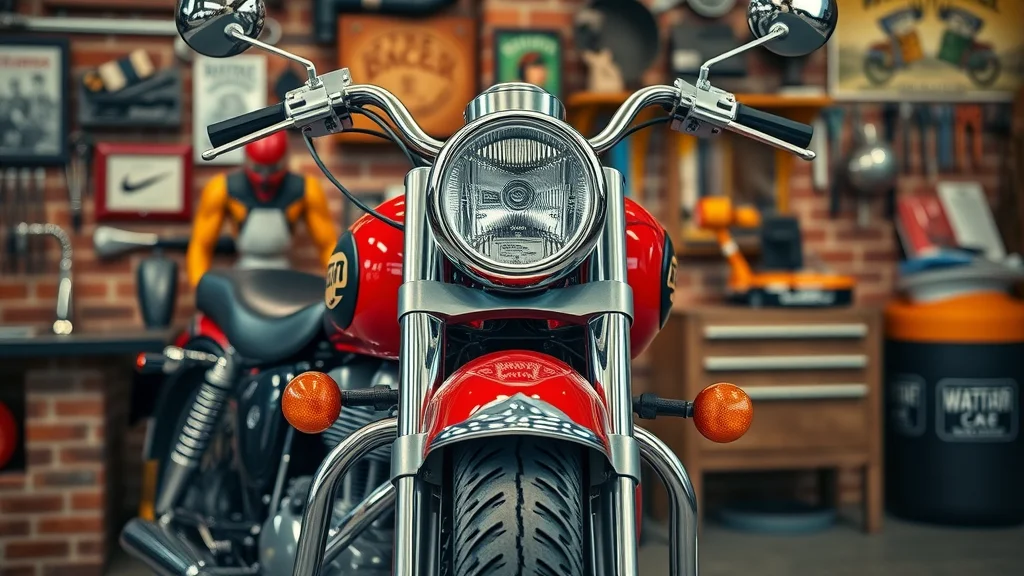
Ever wondered if your motorcycle is really as road-ready as you think it is? Most riders trust their bikes to perform smoothly, but are you missing out on simple DIY motorcycle maintenance tips that could make all the difference? In this guide, we’ll reveal practical, step-by-step strategies that will empower you to keep your motorcycle in top shape—without the need for a professional mechanic. Whether you’re a seasoned motorcyclist or a weekend rider, these essential maintenance tasks will extend your bike’s lifespan, boost fuel efficiency, and keep you safe on every journey.

Are You Overlooking These Essential DIY Motorcycle Maintenance Tips?
When it comes to diy motorcycle maintenance tips, many riders stick to the basics and assume their motorcycles are healthy as long as they start reliably. But overlooking crucial maintenance tasks such as checking tire pressure, monitoring brake pads, and keeping the chain and sprocket clean can lead to costly repairs—or worse, road accidents. By mastering essential motorcycle maintenance tasks at home, you not only save money but also gain peace of mind knowing your ride is safe and performing at its best for every mile.
Modern motorcycle maintenance goes beyond oil changes. It covers everything from checking your tire’s tread depth and valve stems to inspecting battery terminals and adjusting fluid levels. By paying attention to these practical tips and understanding how and why each task matters, you’ll prevent unexpected breakdowns, improve your bike’s fuel efficiency, and increase its overall lifespan. Start prioritizing proactive care today, and you’ll notice smoother rides and fewer headaches in your journey as a motorcyclist.
Discover How Simple Maintenance Tasks Can Keep Your Motorcycle Running Smoothly
You don’t need an advanced degree in motorcycle mechanics or a garage full of specific tools to get started with effective DIY motorcycle maintenance tips. With just a little time each month and a commitment to understanding your motorcycle’s needs, anyone can keep their machine running at optimal performance. Simple practices—like keeping an eye on your tire pressure, cleaning your chain and sprockets, and regularly checking your fluids—ensure you stay ahead of wear and tear. Embracing these habits today means you’ll spend more time riding and less time resolving preventable issues. If you want a more detailed walkthrough for each maintenance task, check out this step-by-step DIY motorcycle maintenance guide for actionable instructions and extra pro tips.
What You'll Learn from This Guide on DIY Motorcycle Maintenance Tips
The importance of regular motorcycle maintenance
Step-by-step DIY motorcycle maintenance tips
How to identify and perform essential maintenance tasks
Common mistakes to avoid in home motorcycle maintenance
Expert insights for safe and effective DIY care
Table: DIY Motorcycle Maintenance Checklist
Maintenance Task |
Frequency |
Tools Needed |
Estimated Time |
|---|---|---|---|
Check Tire Pressure |
Weekly / Before Each Ride |
Digital Tire Gauge, Air Pump |
5 min |
Inspect & Clean Chain and Sprocket |
Every 500 miles |
Chain Cleaner, Brush, Lube, Rear Stand |
15 min |
Replace or Clean Air Filter |
Every 3,000-6,000 miles |
Basic Tools, Replacement Filter |
20 min |
Perform Oil Change |
Every 3,000 miles or per manual |
Wrenches, Oil, Oil Filter, Oil Pan |
30 min |
Top Up Fluids |
Monthly |
Coolant, Brake Fluid, Funnel |
10 min |
Battery Inspection |
Quarterly |
Multimeter, Brush, Wrench |
10 min |
Brake System Checks |
Monthly |
Wrenches, Brake Fluid |
15 min |
Lighting & Electrical Check |
Monthly |
Spare Bulbs, Screwdrivers |
10 min |
Fastener & Bolt Checks |
Monthly |
Torque Wrench, Socket Set |
10 min |
Cleaning & Protection |
As needed / Monthly |
Soap, Sponge, Wax, Covers |
20 min |
Why DIY Motorcycle Maintenance Matters for Longevity and Safety
Embracing DIY motorcycle maintenance tips is more than an exercise in cost savings—it’s about keeping you and your bike safe on the road. When you take time to inspect and update your motorcycle’s vital components, you’re investing in its longevity and your own peace of mind. Routine maintenance tasks like oil changes, chain lubrication, and air filter swaps keep your motorcycle operating efficiently, minimize the risk of sudden breakdowns, and enhance overall performance. Riders who consistently maintain their bikes enjoy longer intervals between major repairs and improved fuel efficiency.
Neglecting basic maintenance can lead to issues such as reduced brake performance, slipping chains, overheating engines, or premature tire wear. These problems don’t just damage your motorcycle—they increase the risk of accidents and leave you stranded when you least expect it. By using these practical DIY motorcycle maintenance tips, you empower yourself to spot signs of wear early and prevent costly, hazardous issues before they arise.
"Regular self-maintenance not only extends your motorcycle's lifespan but significantly reduces unexpected breakdowns on the road."
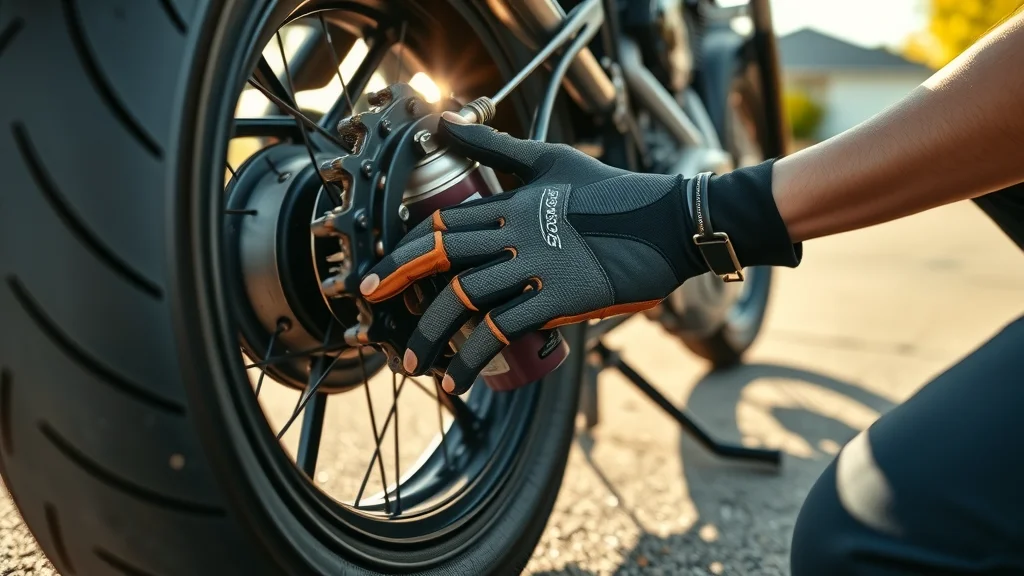
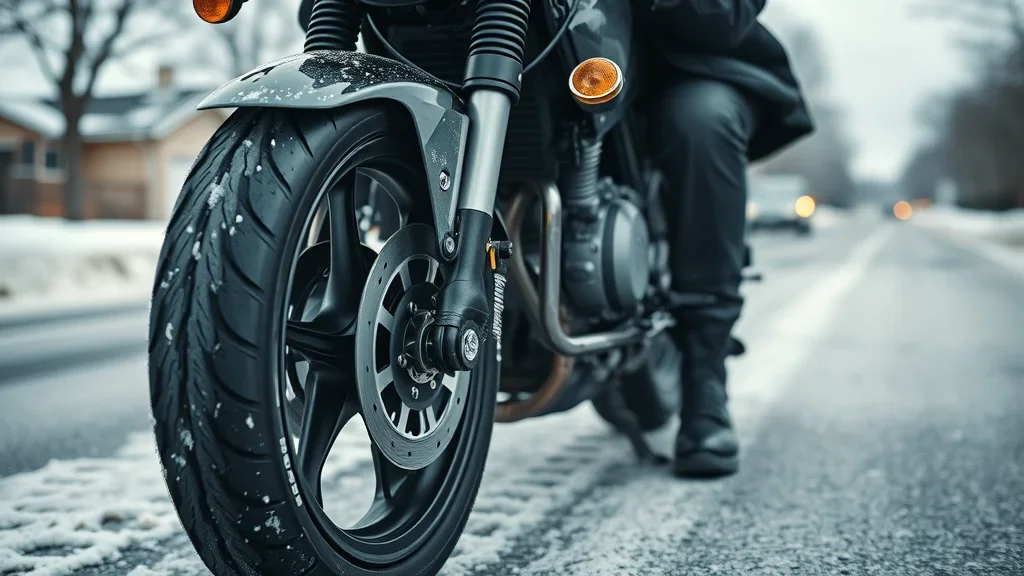
DIY Motorcycle Maintenance Tips #1: Check and Adjust Tire Pressure
The tire pressure of your motorcycle plays a pivotal role in handling, safety, and fuel efficiency. Incorrect tire pressure can affect your bike’s grip on the road, reduce its responsiveness, and cause uneven wear patterns that shorten the tire’s life. Adhering to recommended tire pressure levels—listed in your service manual or on your bike’s swingarm sticker—helps keep your motorcycle in top shape for every ride. Before heading out, always check your tire pressure with a digital gauge and inflate them as needed. This simple step not only increases safety but helps you avoid costly tire replacements due to preventable damage.
Spotting signs of under-inflation or over-inflation early is essential. Under-inflated tires can make your motorcycle harder to maneuver, cause increased heat buildup, and wear out the tire shoulders quickly. Over-inflated tires, on the other hand, reduce the contact patch, compromise grip, and accelerate center-tread wear. Always inspect your tires for visible damage or low tread depth, and keep an eye on valve stem conditions to prevent air leaks. Following these DIY motorcycle maintenance tips can make a significant impact on your ride’s comfort and safety.
Tire Pressure: Importance, Methods, and Tools
How to check tire pressure: Use a reliable digital tire gauge on cold tires, compare against manufacturer specs, and adjust as necessary.
Optimal tire pressure ranges for different motorcycles: Sport bikes, cruisers, and adventure motorcycles often have different recommended PSI—check your manual for exact numbers.
Signs of under-inflation or over-inflation: Watch for uneven tread wear, sluggish handling, or increased vibration while riding.
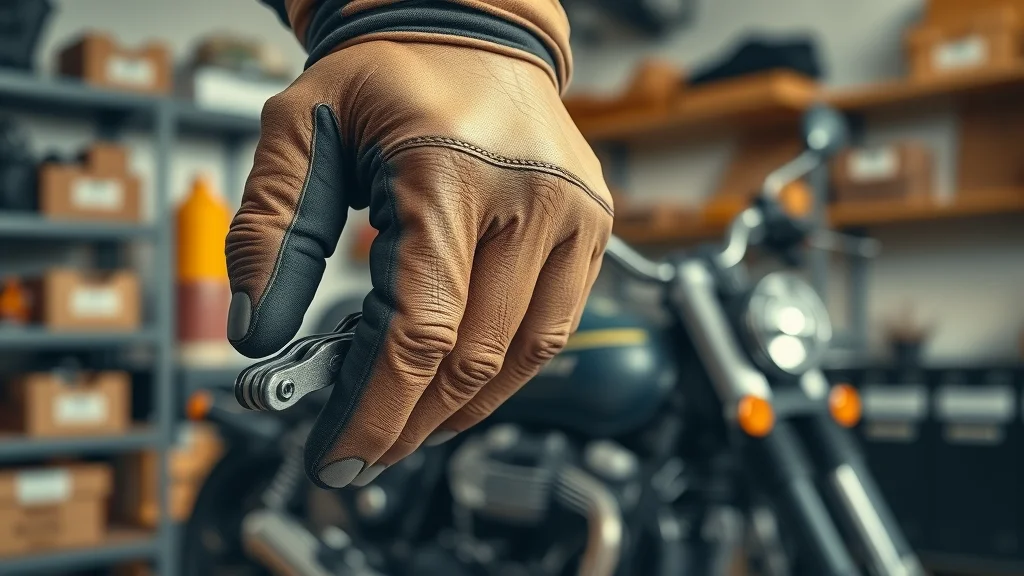
DIY Motorcycle Maintenance Tips #2: Inspect and Clean the Chain and Sprocket
Chain and sprocket maintenance are among the most overlooked yet crucial DIY motorcycle maintenance tips. A properly lubricated and tensioned chain ensures smooth power delivery, maximizes efficiency, and dramatically extends the life of both components. Clean your chain and sprocket every 500 miles or after wet rides to remove dirt and grime that can cause premature wear. Using a rear stand makes the job easier and allows you to spin the rear wheel freely for thorough cleaning. Lubrication at regular intervals keeps the chain running silently and reduces friction loss, which can negatively impact performance and fuel consumption.
Keeping your chain’s tension in the optimal range—not too tight or too loose—is key to avoiding unnecessary strain on the transmission and subsequent damage. Use your motorcycle’s service manual to locate the correct adjustment settings and check for signs of wear, such as kinks, rust, or elongation. Regular inspection also includes examining the sprockets for sharp, hooked, or missing teeth—indicating it’s time for a replacement. Mastering this maintenance task not only safeguards your chain and sprocket but also ensures your overall motorcycle maintenance routine is solid.
Step-by-Step Guide to Chain and Sprocket Maintenance
How to clean the chain and sprocket: Use chain cleaner, a stiff brush, and a clean rag, then finish with an approved chain lubricant.
Lubrication intervals: Lubricate every 500 miles or after riding in wet or dirty conditions.
Tension adjustment techniques: Use a torque wrench and check your manual for correct slack measurements—avoid running your chain too tight or too loose.
DIY Motorcycle Maintenance Tips #3: Replace or Clean the Air Filter
Your motorcycle’s air filter is responsible for keeping dust and debris out of your engine, providing the clean airflow needed for efficient combustion and optimal performance. Over time, a clogged or dirty air filter can choke your engine, reducing power, increasing fuel consumption, and eventually causing unnecessary engine wear. By including the air filter in your DIY motorcycle maintenance tips, you ensure your bike continues to run smoothly and reliably.
To check the air filter, consult your service manual for its location and recommended maintenance intervals—they often vary depending on riding conditions. Signs of a dirty air filter include hard starting, reduced acceleration, or black smoke from the exhaust. Many filters can be cleaned with compressed air or replaced easily with basic tools. Always replace the filter sooner if you mostly ride on dusty roads or in frequent stop-and-go traffic. Staying on top of this maintenance task is a simple yet impactful way to protect your engine and enjoy every ride to its fullest.
Air Filter: Key to Reliable Motorcycle Performance
Identifying signs of a dirty air filter: Look for significant color changes, excess dust, or visible blockages in the filter material.
How to access, clean, or replace your air filter: Most filters are under the seat or fuel tank—remove covers, inspect, and clean or swap out the filter.
Recommended frequency of air filter maintenance: Check and clean/replacement every 3,000-6,000 miles; more often in challenging environments.
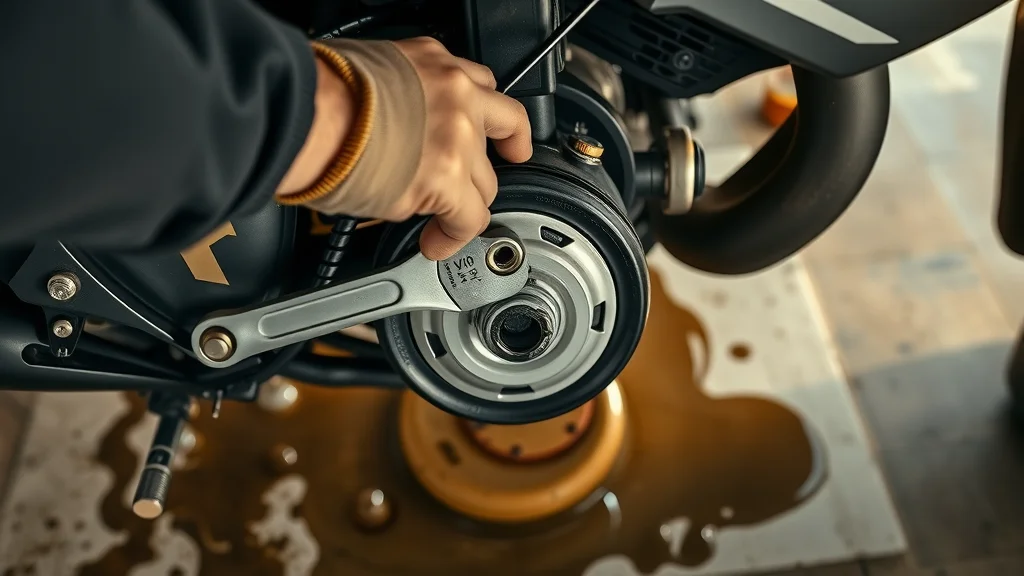
DIY Motorcycle Maintenance Tips #4: Perform Regular Oil Changes
Regular oil changes are the heartbeat of any motorcycle maintenance schedule. Engine oil lubricates moving parts, cools the engine, and captures debris—fresh oil is key for fighting wear, ensuring smooth operation, and prolonging engine life. Many manufacturers recommend changing the oil every 3,000 miles, but always check your manual for specific guidelines based on your bike’s make and model. Skipping oil changes leads to sludge buildup in the oil filter, inferior lubrication, and costly repairs down the line.
Doing a DIY oil change at home involves draining the old oil, replacing the oil filter, and refilling your engine with the correct grade of oil. Opt for oils and oil filters designed for your engine, and if you ride in extreme climates or challenging conditions, consider more frequent changes. Checking oil quality and level regularly can help you spot early signs of contamination or leaks, saving you headaches and potentially expensive repairs. Staying consistent with this essential maintenance task will keep your engine performing at its best, every time.
Oil Change: Essential Motorcycle Maintenance Tasks Explained
How to check oil quality and level: Warm up your engine, use the dipstick or sight glass, and check for dark, gritty, or low oil levels.
Steps to change the oil: Remove the oil drain bolt with a wrench, let oil drain into a pan, replace the oil filter, and refill with fresh oil to the correct level.
Choosing the right oil for your motorcycle: Refer to your service manual for viscosity recommendations and look for oils that match your climate and engine type.
DIY Motorcycle Maintenance Tips #5: Inspect and Top Up Fluids
Beyond oil, your motorcycle relies on several critical fluids to function: coolant, brake fluid, clutch fluid, and sometimes fork oil. Routinely checking these fluids is a must-do DIY motorcycle maintenance tip, especially as fluctuating levels or contamination can signal underlying issues. Coolant helps manage engine temperature, while proper brake and clutch fluid levels are vital for safe operation and responsive controls. Inspect fluid reservoirs at least monthly, and always use the correct type as instructed in your service manual.
Symptoms of fluid problems include odd noises, soft brake levers, overheating, or visible leaks under your parked motorcycle. Keep an eye on the radiator cap and all hose connections for cracks, and be sure to top up or flush out fluids according to the maintenance schedule. Preventing fluid-related failures is simple and keeps every ride secure and enjoyable.
Which Fluids to Check and How Often
Coolant level and quality: Inspect reservoir levels monthly. Replace old, dirty, or low coolant as specified in your manual.
Brake and clutch fluid checks: Keep fluid at the max fill line; replace if discolored or after two years to prevent corrosion and maintain braking strength.
Symptoms of fluid leaks: Look for puddles under your bike, spongy levers, or drops in reservoir levels—signs it’s time for a closer inspection.
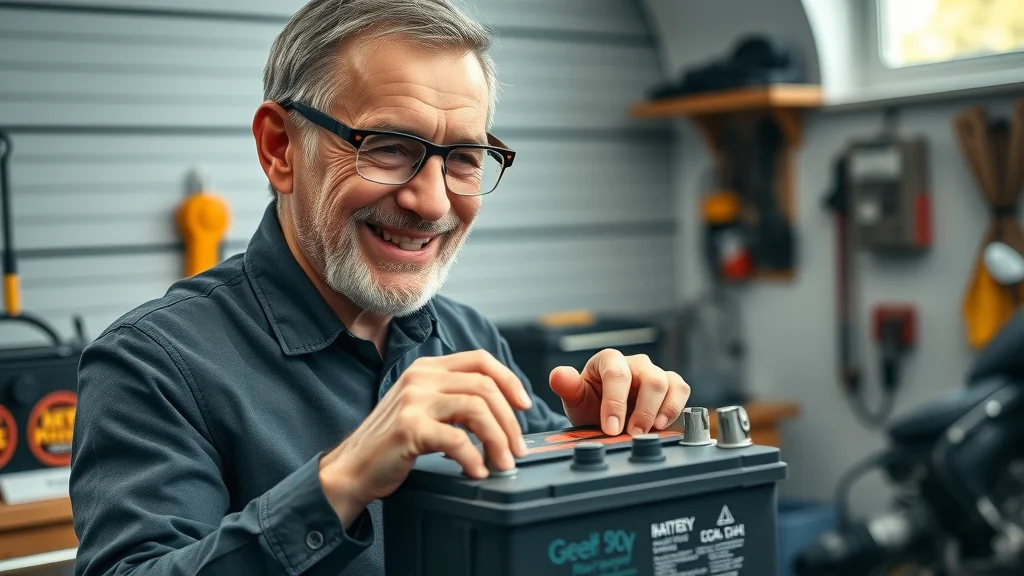
DIY Motorcycle Maintenance Tips #6: Battery Inspection and Maintenance
Your motorcycle's battery is at the heart of its electrical system: a weak or failing battery leads to starting troubles and unpredictable electrical issues. Periodic battery inspection is vital in your diy motorcycle maintenance tips routine. Key signs of battery wear or failure include dimming lights, slow engine cranking, or corroded battery terminals. Keep the terminals clean and connections tight to ensure steady, reliable starting power.
Use a multimeter to check voltage—12.6 volts or higher when fully charged is ideal. If you see persistent starting issues despite regular maintenance, it may be time for a replacement. For added battery longevity, use a battery tender when storing your bike for weeks on end. Taking these simple steps ensures your ride is always ready when you are.
DIY Battery Care to Prevent Starting Problems
Signs of battery wear or failure: Dimming dash lights, clicking noises when starting, or visible corrosion.
Cleaning terminals and connections: Use a wire brush and a mix of baking soda and water on terminals to remove corrosion and improve contacts.
When to replace your motorcycle battery: After 3-5 years, or any time capacity fails to hold, consider swapping out for a new unit.
Watch this hands-on visual guide for step-by-step instructions on checking and adjusting tire pressure and performing chain maintenance. See proper techniques in a realistic home garage setting and learn key tips to keep your ride smooth and safe.
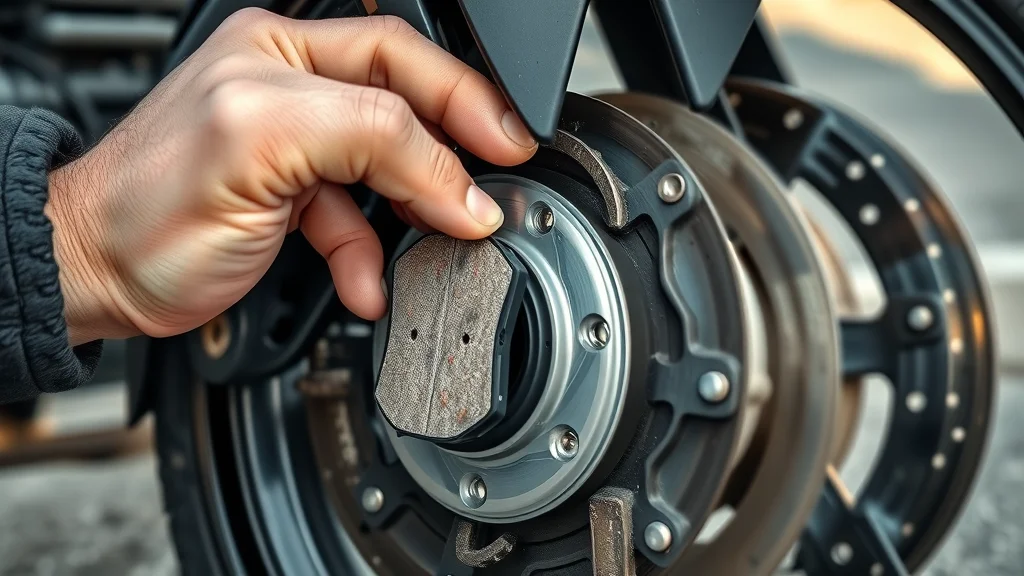
DIY Motorcycle Maintenance Tips #7: Brake System Checks
The effectiveness of your brakes is non-negotiable for rider safety. Part of every solid diy motorcycle maintenance tips checklist is a monthly brake system inspection, which includes brake pads, rotors, and brake lines. Examine brake pad thickness regularly—pads should be replaced before they reach the wear indicator groove to ensure maximum stopping power. Worn, thin, or cracked brake pads reduce braking ability and increase risk of accidents on the road.
Scan your rotors for warping, scoring, or excessive rust—any of which can hamper performance and mean a replacement is due. Inspect brake fluid levels, look for leaks around brake lines, and check for spongy or slow-reacting levers. Address issues immediately by tightening loose bolts and bleeding brake fluid if needed. Keeping your brake system in prime condition guarantees every ride is as safe as possible.
How to Inspect Pads, Rotors, and Brake Lines
Warning signs your brakes need attention: Squealing, grinding noises, longer stopping distances, or mushy levers.
Tools and methods for at-home brake maintenance: Use a flashlight, metric wrenches, and a caliper tool for checking pad thickness and rotor condition.
DIY Motorcycle Maintenance Tips #8: Lighting and Electrical System Inspection
Reliable motorcycle lighting isn’t just for legality—it’s crucial for visibility and road safety. Make a habit of testing your headlights, tail/brake lights, and indicators using your ignition switch. Faulty bulbs or inconsistent light signals can leave you vulnerable to accidents, especially in low-visibility conditions. Part of effective DIY motorcycle maintenance tips is checking fuses and diagnosing any unexpected electrical faults quickly for peace of mind.
If you find any bulbs out-of-order or dim, replace them with new ones of the correct rating as recommended in your service manual. Use a multimeter to determine if problems lie within the wiring or fuses when lights flicker or fail. Consistent attention to your bike’s electrical components keeps your motorcycle road-legal and protects you during night or bad weather rides.
Keep Your Motorcycle Safe and Legal with Proper Lighting
Testing headlights, brake lights, and indicators: Switch on each light in turn, observing for immediate, bright response.
Diagnosing electrical faults: Trace wiring back from fault points, check fuses, relays, and look for corrosion or loose connectors.
Replacing bulbs and fuses: Always use matching wattage/voltage bulbs, handle fuses with insulated tools to avoid shock.
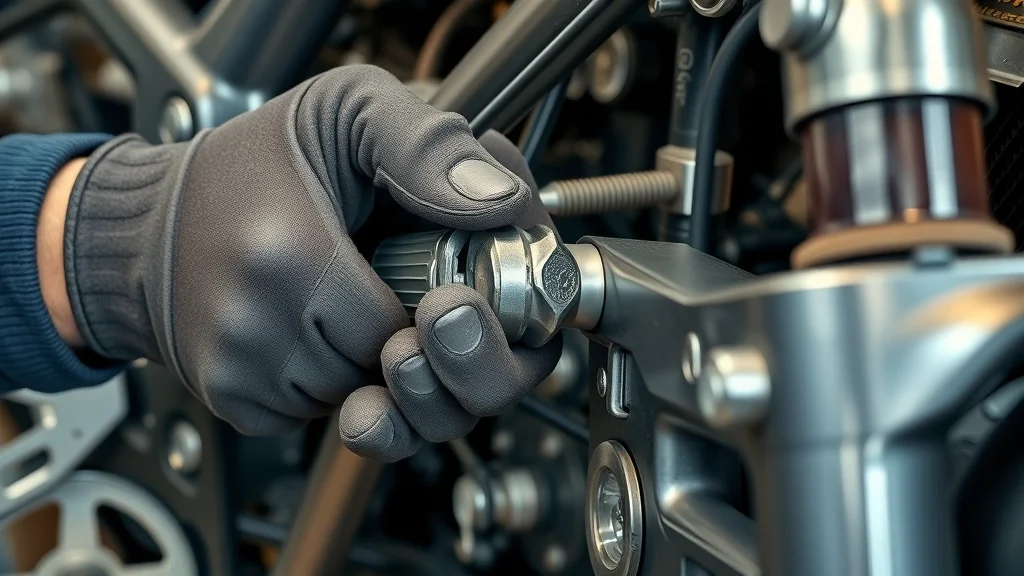
DIY Motorcycle Maintenance Tips #9: Fastener and Bolt Checks
Motorcycle fasteners—including critical bolts keeping everything from the handlebars to the rear wheel secure—must be checked regularly to prevent dangerous loosening over time. Vibrations from the engine and road travel can cause these parts to work themselves loose, posing serious risks. Using a torque wrench, refer to your service manual for correct torque specifications and tighten all accessible bolts. Pay special attention to areas prone to loosening, such as brake calipers, exhaust mounts, and handlebar clamps.
This often-overlooked maintenance task offers huge safety dividends and prevents small issues from growing into expensive repairs. Make a checklist of key fasteners for your particular bike—cross-reference with your manufacturer’s recommendations for peace of mind. Regular fastener checks ensure your motorcycle stays structurally sound and ready for every adventure.
Avoid Accidents by Tightening Critical Fasteners
Which fasteners to check regularly: Handlebar clamps, brake and clutch levers, engine mount bolts, axle nuts, and exhaust fasteners.
Proper torque specifications: Always use your service manual for exact figures and use a torque wrench for accuracy.
Common spots for loose bolts: Rear stand pivot, brake caliper mounts, and footpeg brackets are frequent culprits.
DIY Motorcycle Maintenance Tips #10: Cleaning and Protecting Your Motorcycle
A clean motorcycle is more than just a point of pride—it’s part of a crucial maintenance routine. Washing your bike regularly removes corrosive dirt, oil, and road salt that can degrade paint, chrome, and critical moving parts. Incorporating cleaning into your DIY motorcycle maintenance tips not only keeps your bike looking sharp but protects your investment over time. Use gentle motorcycle soaps, microfiber rags, and always dry thoroughly to prevent water spotting and rust.
Waxing and applying protective sprays safeguard against weather and UV, keeping your finishes and fasteners in top condition. If you’re putting your motorcycle into storage, follow steps like filling the fuel tank (with stabilizer), cleaning the chain, and covering the bike in a dry, sheltered space. These simple actions ensure your motorcycle emerges from storage ready for action, without costly surprises.
Best Practices for Washing, Waxing, and Storing
Recommended cleaning products: Use non-corrosive, motorcycle-specific soaps and polishes for all surfaces.
Corrosion prevention methods: Apply wax or corrosion-prevention sprays to exposed metal surfaces; lubricate moving parts after washing.
Long-term storage preparation: Fill the tank, add stabilizer, disconnect battery, and lift tires to avoid flat spots.

Watch our comprehensive step-by-step video showing every essential maintenance task—from tire checks to oil changes—in a realistic home garage environment. Perfect for beginners and seasoned riders alike seeking DIY confidence.
People Also Ask: DIY Motorcycle Maintenance Tips
What is the 12 second rule on a motorcycle?
Answer: The 12 second rule on a motorcycle encourages riders to scan ahead at least 12 seconds on the road to anticipate hazards and react in time, promoting safer riding habits as part of routine motorcycle maintenance.
What is rule number 5 for motorcycles?
Answer: Rule number 5 often refers to maintaining a safe following distance and being prepared for sudden stops, critical for motorcycle maintenance safety and accident prevention.
How to properly maintain your motorcycle?
Answer: Proper motorcycle maintenance includes following DIY motorcycle maintenance tips such as regular inspections, oil changes, chain lubrication, tire checks, brake evaluations, and keeping your bike clean and protected.
Is it better to store a motorcycle with a full or empty tank?
Answer: Experts recommend storing your motorcycle with a full tank of fuel treated with a stabilizer to prevent condensation and corrosion during storage, a best practice in motorcycle maintenance.
Frequently Asked Questions about DIY Motorcycle Maintenance Tips
How often should I perform basic motorcycle maintenance tasks at home?
Routine maintenance like tire pressure and chain checks should be done weekly or before each ride, while oil changes and air filter replacements are typically every 3,000-6,000 miles. Follow your maintenance schedule for best results.What are the signs my motorcycle needs immediate maintenance?
Warning signs include unusual noises, slow starting, leaking fluids, poor braking, acceleration issues, or flickering lights. Address these promptly to avoid major breakdowns.Can beginners safely follow these DIY motorcycle maintenance tips?
Absolutely. Many basic maintenance tasks are straightforward with common tools and careful reference to the service manual. Take your time and double-check your work for safety.What tools do I need for basic motorcycle maintenance?
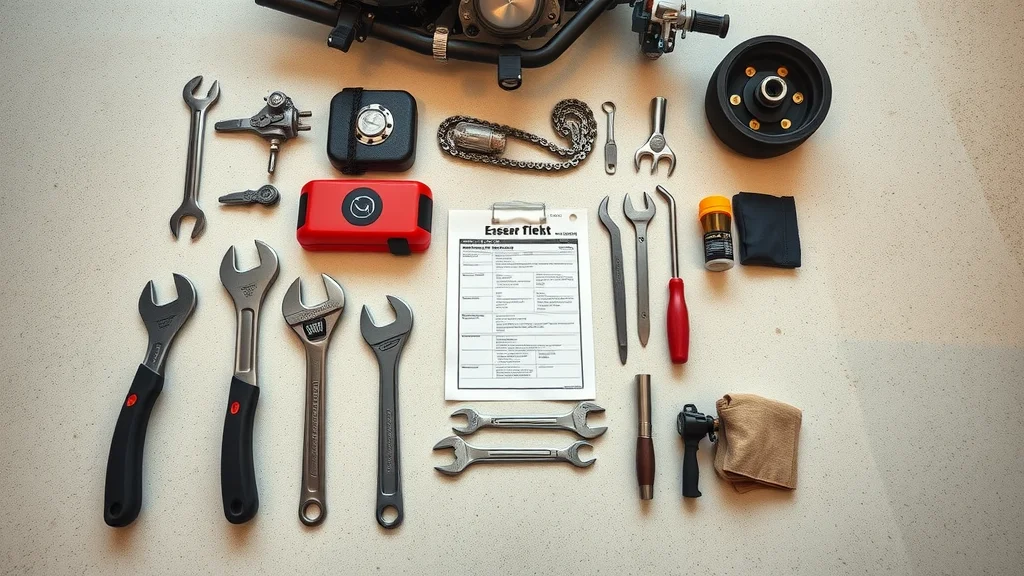
Essential tools include a digital tire pressure gauge, socket and wrench set, chain brush, oil pan, screwdriver, multimeter, and a torque wrench. Refer to your manual for any specific tools required for your bike.
Key Takeaways on DIY Motorcycle Maintenance Tips
Proper DIY motorcycle maintenance tips increase safety and bike longevity
Essential tasks include tire pressure, chain care, oil changes, and fluid checks
Consistent maintenance prevents breakdowns and costly repairs
DIY motorcycle maintenance saves money and empowers riders
Ready for Professional Help? Call Nasty Performance Motorcycle Shop Today: 847-458-4858
Take charge of your bike’s health using these actionable DIY motorcycle maintenance tips—and ride with confidence every time you hit the road.
For riders looking to deepen their knowledge and take their maintenance skills to the next level, exploring more comprehensive resources can make a real difference. By expanding your understanding of both routine and advanced care, you’ll be better equipped to handle unexpected issues and keep your motorcycle performing at its peak. Discover additional strategies, expert advice, and advanced troubleshooting by visiting our in-depth collection of motorcycle maintenance insights—your next breakthrough in DIY mastery could be just a click away.
Write A Comment