
Ever wondered what it takes to turn a forgotten classic bike into a gleaming showpiece? Is restoring vintage motorcycle paint and chrome just about nostalgia, or is it a precise craft blending art and history? In this comprehensive guide, you’ll discover the essential knowledge and techniques to resurrect your vintage motorcycle—unlocking both its beauty and legacy.
Unlocking the Secrets of Restoring Vintage Motorcycle: Where Passion Meets Precision
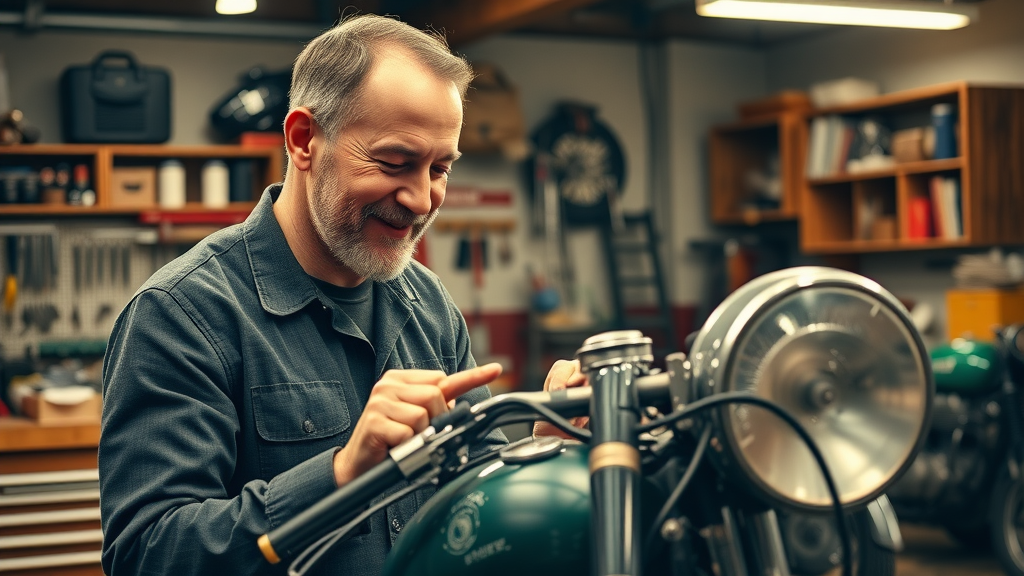
Restoring vintage motorcycle paint and chrome is more than a DIY project—it's where history, personal pride, and meticulous craftsmanship meet. Whether you dream of riding a classic bike through winding roads or want to celebrate the artistry of older bikes, learning to restore a vintage motorcycle allows you to connect with a bygone era while enjoying modern reliability. This section will show you how to start your restoration journey, what pitfalls to avoid, and why every perfect chrome finish begins with knowledgeable planning and the right mindset. From the moment you dust off your dream bike to the final polish, skill and dedication turn every nut and bolt into a story worth telling.
What You'll Learn in This Guide:
How to assess and plan a vintage motorcycle restoration project
Essential tools and materials for restoring vintage motorcycle paint and chrome
Step-by-step process for achieving a flawless, show-quality finish
Common challenges and expert tips for vintage motorcycle restoration
Understanding the Appeal of Restoring Vintage Motorcycle and Classic Bike Projects
"Restoring a vintage motorcycle is more than a repair—it's the art of reviving history on two wheels."
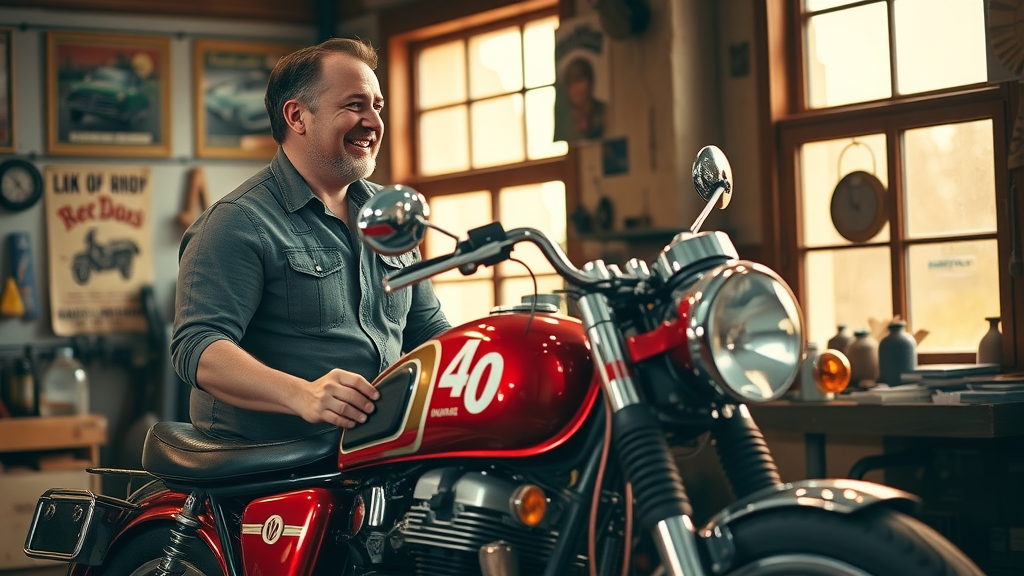
The allure of classic motorcycle and vintage bike restoration has never been stronger. With more enthusiasts seeking classic bikes and vintage motorcycles to restore, this growing trend is fueled by an appreciation for mechanical beauty and a longing to preserve unique historical value. Restoring a vintage motorcycle transforms a sitting relic—or an older bike gathering dust—into a striking, functional work of art. These machines hold stories, memories, and the evidence of engineering ingenuity lost in today’s mass production. Market demand for classic bike restoration has also surged, with show-worthy models and authentic restorations appreciating in value. Whether you ride the bike, showcase it, or simply enjoy the satisfaction of each polished chrome trim, vintage motorcycle restoration connects owners to an enthusiastic, global community who understands the lasting joy of bringing old bikes back to life.
Why vintage motorcycle and classic bike restoration is a growing trend
Emotional and historical value of classic motorcycles
Overview of market demand and appreciation
Planning Your Restoring Vintage Motorcycle Journey: Setting Realistic Goals and Budgets
Before the first wrench or sandpaper ever touches your vintage motorcycle, thoughtful planning is essential. Modern restoration projects can range from cosmetic upgrades—restoring paint and chrome for a fresh look—to full mechanical rebuilds, which might include engine rebuilds, brake line replacements, and sourcing OEM parts for older bikes missing pieces. Ask yourself: Is your project a full rebuild or mainly about bringing the shine back? Setting clear timelines and goals ensures that enthusiasm doesn’t wane as detailed tasks pile up. Establish your restoration budget early—costs vary depending on the level of finish, whether you need new side covers, custom paint jobs, or professional chrome re-plating. By evaluating your time, skill, and financial resources up front, you can avoid the frustration of running out of steam—or money—midway, keeping your classic bike restoration enjoyable from start to finish.
Evaluating your project: Is your vintage motorcycle a full rebuild or cosmetic restoration?
Setting timelines, expectations, and restoration goals
Budgeting for classic bike restoration: expected costs
Cost Comparison Table: Restoring Paint vs. Chrome vs. Full Classic Motorcycle Restoration |
|||
Restoration Activity |
Estimated Cost Range |
Time Investment |
Key Considerations |
|---|---|---|---|
Paint Restoration |
$200–$800 |
10–30 hours |
Includes paint stripping, prep, primer, paint, and clear coat |
Chrome Restoration |
$300–$1200 |
8–20 hours |
Depends on re-chroming vs. polishing, number of parts |
Full Restoration |
$2,000–$10,000+ |
50–200+ hours |
Includes paint, chrome, mechanical, wiring, and missing parts |
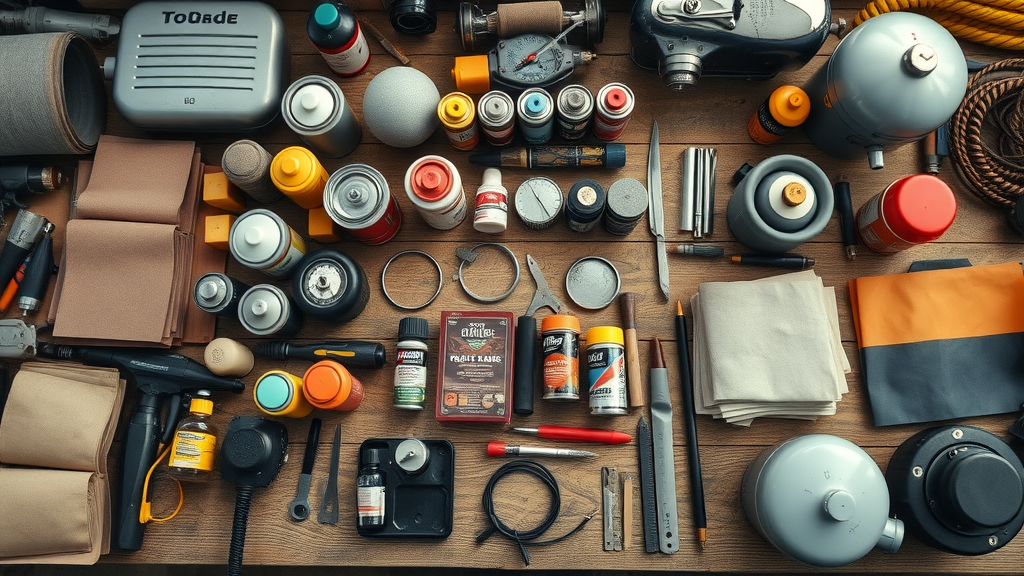
Essential Tools and Supplies for Restoring Vintage Motorcycle Paint and Chrome
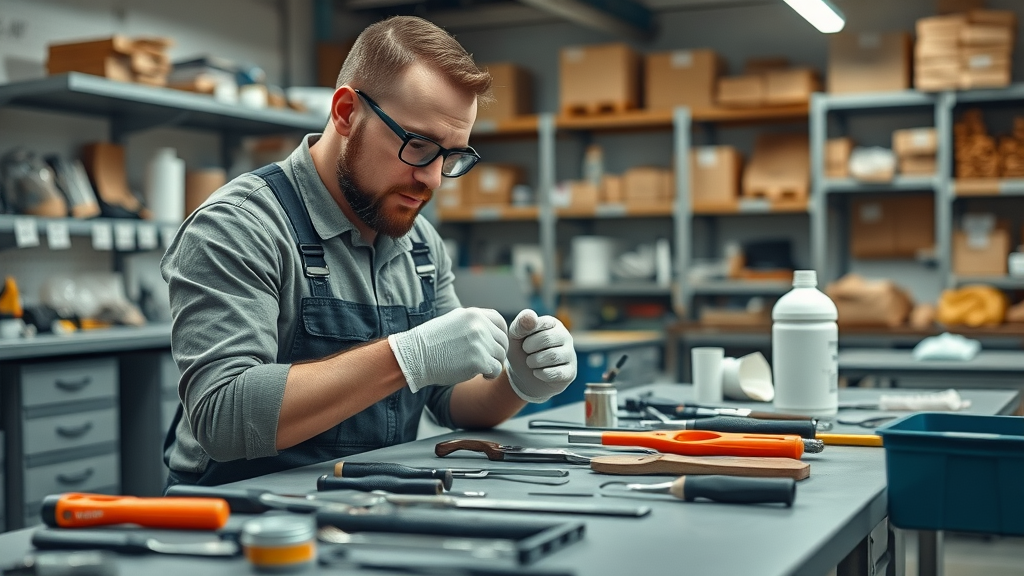
The right set of tools and supplies can make or break your restoring vintage motorcycle project. At the core, you’ll need specialized paint removal tools, an assortment of sandpaper (from fine to medium grit for effective refinishing), primers, and authentic color-matched paints for your classic bike. Don’t underestimate the importance of high-grade safety gear—gloves, goggles, and a respirator are must-haves when stripping old paints and dealing with solvents. For chromed parts like exhausts and trim, invest in a quality chrome polish and, if ambitious, polishing wheels or kits for a deep shine. Restoring a classic motorcycle’s show-ready sparkle is as much about preparation as it is about having the best restoration materials—professional clear coats, high-adhesion primers, and masking tapes keep results both vibrant and durable, safeguarding your hours of hard work on vintage motorcycles for years.
Paint removal equipment and safety gear
Polishing and re-chroming tools
Restoration materials: primers, paints, clear coats, and metal finishes
Step-by-Step Restoring Vintage Motorcycle Paint: Rejuvenating the Fuel Tank, Side Covers, and More
Assessing the Condition of Paint on Your Vintage Motorcycle
Every successful paint restoration on a classic motorcycle starts with a thorough evaluation of key components—especially the fuel tank, side covers, and fenders. Look for common issues such as rust bubbles, visible dents, or peeling clear coat, since these areas are often exposed to fuel line drips and road debris. Use a flashlight to inspect along seams and under mounting points for hidden corrosion or failing topcoats. Check if the bike has been sitting for years, which increases the risk of paint degradation and stiffened brake lines. Identifying these flaws early helps you decide whether you'd need minor touch-ups or a full repaint, keeping the integrity and authenticity of your vintage motorcycle intact. Proper assessment also means understanding which parts might require professional repainting versus those that can be addressed with DIY repair techniques at home.
Examining the fuel tank, side covers, and fenders
Identifying rust, dents, and failing clear coats
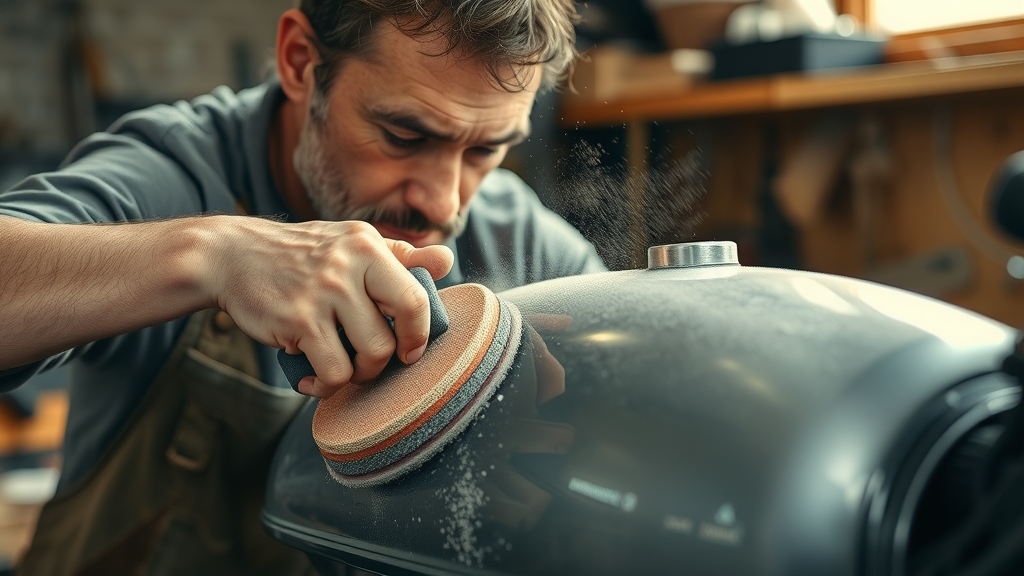
Preparation: Stripping, Sanding, and Repair for Restoring Vintage Motorcycle Finishes
Once you’ve assessed your vintage motorcycle, preparation becomes key. Begin by safely removing old paint using chemical strippers or mechanical means, always wearing quality protective gear to avoid hazardous fumes and particles. Carefully sand all surfaces with an appropriate grit sequence—start with medium to remove stubborn finishes, then progress to fine sandpaper to smooth imperfections. Address any dents with body filler and ensure every plug hole and mounting point is clean and restored to base metal. Patience on this step pays off: a well-prepared surface ensures primers and new paint adhere perfectly, preventing costly do-overs later. Finish with a tack cloth wipe and apply an automotive primer compatible with your classic bike’s original finish, setting the stage for a professional, long-lasting result that honors the bike’s history.
Safe paint removal techniques
Sanding and filling imperfections
Priming procedures for best results
Mastering the Art of Painting Vintage Motorcycle Components
Select paints that match original classic motorcycle color codes—reproducing the authentic look is crucial for collectors and enthusiasts. Professional results often hinge on spraying with a gun in a controlled booth; however, careful hand application can yield great results for intricate touch-ups or small parts. Apply color in multiple thin coats, allowing full cure between layers to enhance depth and durability. Finish with high-quality clear coat for that glassy, show-ready look that resists fading and fuel spills. Be sure to mask off sensitive areas—like openings for the spark plug or fuel cap—to maintain a crisp finish. This step can be transformative: it revives the tank, side covers, and other visible components, restoring the unmistakable luster of vintage bikes and ensuring your restoration stands out whether at a local meet-up or a major show.
Choosing historically accurate paints for classic bike authenticity
Professional painting techniques: spray vs. hand application
Applying layers and clear coating for long-lasting results

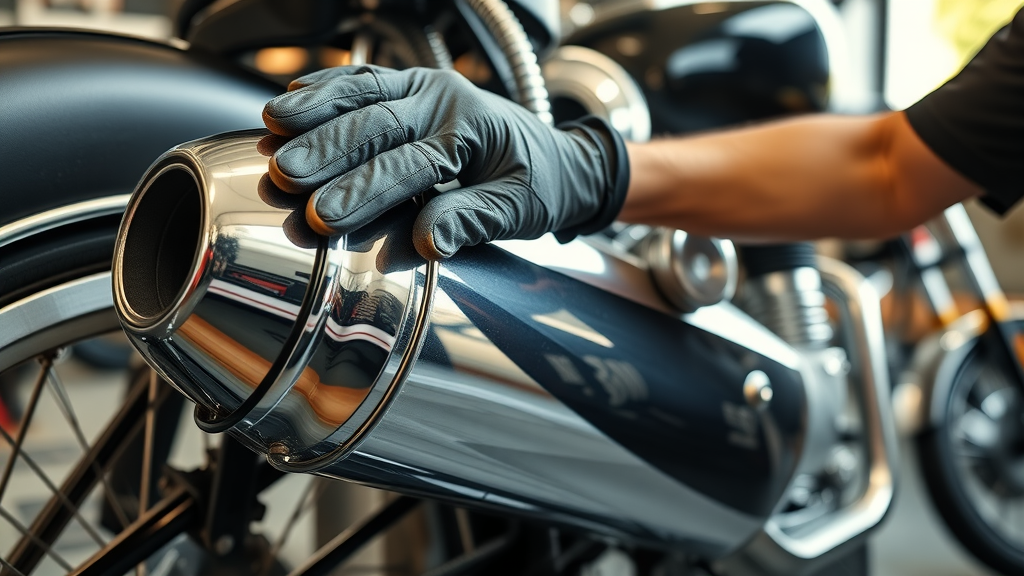
Expert Techniques: Restoring Vintage Motorcycle Chrome for Lasting Shine
Evaluating Vintage Motorcycle Chrome: What Can Be Saved and What Must Be Replaced
Inspect every chrome-plated piece on your vintage motorcycle—exhaust pipes, handlebar trim, and detail hardware are notorious for pitting and corrosion after sitting for years or enduring the elements. Light pitting or dullness can often be polished out, restoring much of the show-quality luster. But severe flaking, deep rust, or missing plating usually requires professional re-chroming or outright replacement, especially for parts that can’t be easily sourced as OEM parts for older bikes. Don’t overlook small chrome details on side covers or the fuel tank rim—the devil is in the details for classic bike authenticity. Knowing what can be salvaged and what needs investment not only preserves the bike’s integrity but also helps you budget and prioritize tasks throughout your classic motorcycle restoration project.
Identifying chrome pitting and corrosion on parts like exhausts and trim
When to re-chrome or replace vintage side covers and fuel tank details
DIY Chrome Polishing and Professional Rechroming for Classic Motorcycles
If your chrome is intact but dull, high-quality chrome polish and gentle buffing techniques can bring a dazzling shine to handlebar trim, exhaust pipes, and even hidden nuts and bolts. Wear gloves and use non-abrasive cloths for the best results—and to protect your hands and the delicate surfaces. For more serious blemishes or lost plating, weigh the cost and results of professional rechroming. While pricier, pro shops can restore even heavily corroded pieces to like-new glory. Step-by-step DIY polishing, followed by protective wax, can keep original hardware looking spectacular for years. But remember: improper cleaning can scratch chrome or expose underlying metal, so follow product instructions and take your time for results worth showing off at any vintage motorcycle event.
Choosing between home polishing and professional rechroming
Step-by-step guide to safe, effective DIY polishing
Addressing Common Restoration Challenges When Restoring Vintage Motorcycle
No restoration is without obstacles, especially with older bikes where parts for older models may be rare or discontinued. Finding vintage side covers, a matching fuel tank, or a period-correct spark plug can stall a project. Many restorers turn to online forums and enthusiast groups to source authentic or quality reproduction parts, sometimes even 3D-printing unavailable trim or brackets. Preserving decals and unique original design elements adds another layer of complexity—research is crucial to ensure you replicate period-correct graphics and finishes. Safety is paramount: even as you focus on restoring the bike’s original appearance, upgrade the brake lines, master cylinder, and wiring harness if needed, especially if the bike has been sitting for years. Restoring vintage motorcycles for safe, regular rides means blending aesthetics with essential motorcycle maintenance and performance reliability.
Dealing with unavailable or rare parts (fuel tank, side covers, spark plug, hardware)
Preserving decals and original design elements
Restoring vintage motorcycles for riding safety
Quality Control: Inspecting Your Restored Vintage Motorcycle for Flawless Results
Your hard work deserves critical inspection before final assembly and that first ride. Use a strong, cool white flashlight to examine every reflection on paint and chrome—no swirl mark, inclusion, or dull spot should go unnoticed. Compare each piece to show-quality standards and ensure all hardware fits as intended with no leftover missing parts. Check for paint overspray, mask lines, or improper clear coat application on the fuel tank and side covers. Only after confirming authentic finish and flawless assembly should you move forward—creating a restored classic motorcycle that stands the test of time, always ready for admiration or the open road.
Checklist for finish quality on paint and chrome
Spotting imperfections before final assembly
Ensuring authentic restoration on classic motorcycle models
People Also Ask: Expert Answers on Restoring Vintage Motorcycle
What is the 70 30 rule on a motorcycle?
The 70-30 rule on motorcycles generally refers to braking technique: use about 70% of your braking force on the front brake and 30% on the rear. This maximizes stopping power while maintaining control—vital knowledge for riders, especially on restored classic motorcycles with drum brakes or different weight distributions. Always practice safe motorcycle maintenance to keep brake lines and master cylinder in top shape for your dream bike.
What is the 1% rule on motorcycles?
The “1% rule” comes from motorcycle culture, signifying the small fraction of riders who operate outside the norms or laws—often attributed to certain biker clubs. For restorers and enthusiasts, the focus is on vintage motorcycles' history and legacy rather than any rebellious connotation.
What is the 12 second rule on a motorcycle?
The 12-second rule is a safety guideline: scan the road ahead far enough that your motorcycle would travel in 12 seconds. This increases situational awareness and allows classic bike riders to react smoothly, especially when riding older bikes with mechanical brakes or unique handling characteristics.
What is the best classic motorcycle to restore?
The best classic motorcycle to restore often depends on your preferences and access to parts. Popular choices include Honda CB series, Triumph Bonneville, and Harley-Davidson Sportster. Select a model with available OEM parts and a strong enthusiast community to ease your restoration project.
Frequently Asked Questions About Restoring Vintage Motorcycle
How do I maintain paint and chrome on my restored vintage motorcycle?
Gently clean painted surfaces with mild auto soap and soft microfiber towels. Use chrome polish to keep trim and exhaust bright; apply protective wax to prevent oxidation and corrosion.Can I restore a vintage motorcycle without professional tools?
Yes—many restoration techniques require basic hand tools, sandpaper, and DIY supplies. However, equipment like a spray gun or polishing wheels improves results for paint and chrome work.What are the most common mistakes beginners make during restoration?
Rushing preparation (especially sanding and cleaning), skipping safety, and using incompatible paints or cheap chrome polish can undermine your restoration. Seek advice from classic bike forums and use a service manual for your model.How to source authentic parts for a classic bike?
Look for specialist online shops, auction sites, vintage motorcycle clubs, and classic bike events. Networking with enthusiasts often reveals hidden sources of rare or NOS (new old stock) parts for older bikes.
Expert Quotes on Restoring Vintage Motorcycle: Insight and Inspiration
"Every restored classic motorcycle is a bridge between the past and the present." – Vintage Bike Restorer
"Attention to detail sets award-winning vintage motorcycles apart from the rest." – Expert Panel Member
Lists: Must-Have Supplies for Restoring Vintage Motorcycle Paint and Chrome
Degreaser and cleaning agents
Fine and medium grit sandpaper
Automotive primer and base coat
Color-matched classic bike paints
Professional-grade clear coat
Chrome polish and protective wax
High-quality masking tapes
Protective gear (gloves, goggles, respirator)
Key Takeaways for Successful Restoring Vintage Motorcycle Projects
Plan every step and budget carefully
Use the correct tools and quality materials
Patience and attention to detail yield the best results
Join restoration communities for support and advice
Conclusion: Embrace the Journey of Restoring Vintage Motorcycles
Great restoration is a journey, not a destination—embrace every phase and celebrate your classic bike’s comeback.
Ready to Start Restoring Vintage Motorcycle Paint and Chrome?
Call Nasty Performance Motorcycle Shop Today: 847-458-4858
Write A Comment