


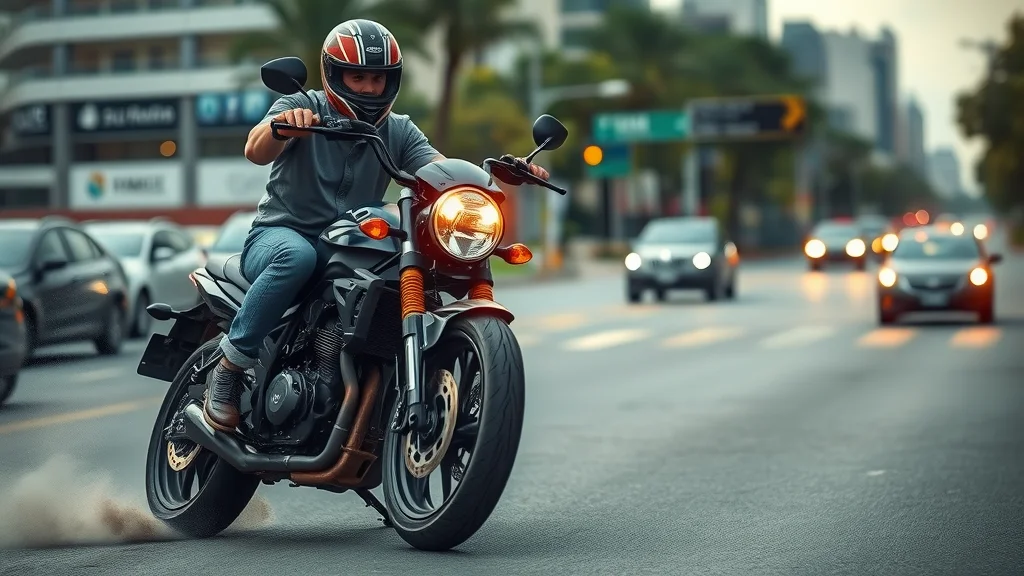
Did you know that improper emergency braking is one of the leading causes of motorcycle crashes? Mastering how to perform motorcycle emergency braking safely could make the difference between a minor scare and a life-altering incident. Every second counts when the unexpected happens on the road. Whether it’s a car turning without warning or an animal darting into your path, knowing the right braking technique isn’t just for expert riders—it’s essential for everyone on two wheels.
Startling Facts: The Importance of Knowing How to Perform Motorcycle Emergency Braking
"A split second can mean the difference between a safe stop and a serious crash—mastering motorcycle emergency braking is crucial for every rider."
Motorcycle riders face significantly shorter reaction times than drivers in cars. An unexpected hazard can appear at any moment, requiring a swift and precise emergency stop. The ability to execute emergency braking correctly improves your stopping power and can greatly reduce stopping distance, which is critical for your safety. Motorcycles use both front and rear brakes, each playing a distinct role in the emergency braking process. Understanding and practicing standardized braking technique ensures that you remain in control of your bike and significantly minimizes the risk of a rear wheel skid or a dangerous wheel lock.
What You'll Learn About Motorcycle Emergency Braking Techniques
- Understanding the dynamics of emergency braking and emergency stop
- Step-by-step process of how to perform motorcycle emergency braking safely
- Differences between rear brake and front brake application
- How to handle gear change and brake lever usage during an emergency stop
- Safety tips for preventing rear wheel lock-up and optimizing braking response
- How to use linked brakes appropriately
Introduction to How to Perform Motorcycle Emergency Braking
Every motorcyclist will eventually face a situation where an emergency stop is unavoidable. Learning how to perform motorcycle emergency braking is not something to leave to chance—not only does it protect you, but it also equips you to react swiftly and confidently in critical situations. Practicing emergency braking builds muscle memory, refines your reaction time, and allows you to manage the front brake, rear brake, and gear change effectively when every split second counts. Far too often, riders either brake too abruptly or not hard enough, leading to front or rear wheel lock, skidding, and loss of control.
While mastering emergency braking is essential for immediate safety, it's equally important to keep your motorcycle in peak condition to ensure your brakes and other systems respond as expected. For a comprehensive approach to motorcycle care, consider exploring seasonal bike care strategies that every rider should know—these tips can help you maintain optimal performance year-round.
This guide will break down the science behind emergency stops, uncover common braking misconceptions, and teach you how to use both the front brake and rear brake efficiently. You’ll also get scenario-specific advice and expert tips on making emergency stops safer—whether you’re navigating wet roads, slippery gravel, or making a quick stop at highway speeds.
Why Learning Emergency Braking is Essential for Every Rider
Accidents rarely announce themselves. When faced with an emergency, being able to brake hard without losing traction or control is a lifesaving skill. Many riders mistakenly believe that just grabbing the brake lever or stomping on the brake pedal will stop them in time, but abrupt braking is the fastest way to lose grip, pitch forward, or send the rear wheel sliding. By mastering how to perform motorcycle emergency braking, you dramatically increase your odds of surviving and avoiding serious collisions. With regular practice in controlled environments, riders internalize safe braking procedures, making them second nature in high-pressure scenarios.

Common Misconceptions About Motorcycle Emergency Braking
There are several widespread myths about emergency braking among both new and experienced riders. One misconception is that using the front brake is dangerous and should be avoided. In reality, the front brake supplies approximately 70-80% of the bike’s stopping power due to weight transfer during hard stops. Another mistaken belief is that the rear brake should be the primary way to stop in a crisis; unfortunately, relying solely on the rear brake extends stopping distances and increases the risk of rear wheel lock-up. Equally problematic is the idea that sudden and maximum brake pressure is always safer—this often leads to wheels locking and skids, especially if the road surface is slippery or uneven.
Core Concepts: Emergency Braking and Emergency Stop Explained
Defining Emergency Braking and Emergency Stop
Emergency braking refers to the rapid, controlled deceleration required to avoid a hazard. An emergency stop is the process whereby you bring the bike to a halt as quickly and safely as possible, maintaining control throughout. During an emergency stop, your goal is to keep your bike upright and in a straight line while maximizing stopping power through balanced use of the front brake and rear brake. The efficiency of your braking technique, the condition of your tires, and your grasp of the brake lever and brake pedal directly affect the likelihood of a safe outcome. These foundational concepts are essential before exploring advanced braking systems or scenario-based adjustments.
The Science of Motorcycle Braking Forces
When you initiate an emergency stop, forces acting on your motorcycle dramatically change. The instant you apply the brakes, weight is transferred forward, compressing the front tire and increasing its traction and stopping capacity, while the rear wheel carries less load. This weight transfer highlights why the front brake is responsible for the majority of your braking power and why careful modulation is needed to avoid pitching forward or causing the front wheel to lose traction. Proper brake pressure application, done progressively and smoothly, helps maintain grip between tires and road while minimizing wheel lock. Understanding braking forces equips you to harness maximum stopping power without exceeding traction limits and risking a fall.
The Role of Front Brake and Rear Brake in Emergency Braking
Front Brake Dynamics in Emergency Stop Situations
The front brake is the workhorse during motorcycle emergency braking, providing up to 80% of the total stopping power, especially as weight shifts forward onto the front tire. Pulling the front brake lever with a progressive squeeze (rather than an abrupt grab) helps maximize stopping power while preventing the front wheel from locking up. Controlled front brake application maintains the bike upright and stable, reducing stopping distances dramatically. However, using too much force on the front brake lever too quickly, especially on slippery or uneven surfaces, increases the risk of losing the front tire grip and results in a fall. Practicing progressive front brake lever use is critical for every rider who wants to stop their motorcycle effectively and safely during an emergency stop.
Rear Brake Usage: Pitfalls and Best Practices
The rear brake supports the front brake by stabilizing the bike during sudden stops. Gently applying the rear brake pedal adds extra control, preventing the rear wheel from lifting and improving overall balance. However, excessive force or abrupt pressure on the rear brake can lead to locking the rear wheel. When the rear wheel locks, the motorcycle skids and can become unpredictable, especially during high-speed stops or on low-traction surfaces. The best practice is to use the rear brake in tandem with the front brake—never as your sole source of stopping power—and to modulate rear brake pressure to maintain stability. This approach ensures that the rear wheel remains in line, reducing the risk of a high-side crash or rear-end skid during emergency braking.
Preventing Rear Wheel Lock-up During Emergency Braking
Rear wheel lock-up remains a common issue during panicked stops. To prevent rear wheel lock-up: apply rear brake pressure smoothly rather than abruptly, especially as the rear becomes lighter due to weight transfer to the front. If you sense the rear wheel beginning to skid or lose grip, immediately release and reapply the brake pedal smoothly to regain traction and keep control. Coordination between the front and rear brake levers is essential; maintaining the bike upright and braking in a straight line further minimizes the risk of either wheel locking. Practice is key—riders who regularly simulate emergency stops in controlled settings become adept at recognizing and correcting rear wheel lock-ups before they escalate.
"Smooth brake lever input, more on the front brake and controlled rear brake pressure, can save you from skidding off course."
Step-by-Step Guide: How to Perform Motorcycle Emergency Braking Safely
- Assess the hazard and remain calm: Instantly identify the need for an emergency stop—keep a cool head to avoid panicked actions.
- Close the throttle and apply both brakes simultaneously: Roll off the throttle completely while engaging both front brake (lever) and rear brake (pedal) at once.
- Apply progressive front brake pressure: Squeeze the front brake lever smoothly and firmly, increasing pressure as the suspension loads up to maximize stopping power.
- Maintain balance with gentle rear brake application: Press the rear brake pedal lightly, adding stability without risking rear wheel lock-up.
- Monitor and control gear change if feasible: If you have time, downshift smoothly while keeping the clutch engaged to avoid destabilizing the bike.
- Keep eyes up and look ahead: Focus beyond the immediate hazard to stay balanced and avoid fixating on obstacles.
- Release brakes gradually once stopped: After coming to a complete stop, let go of the brakes smoothly to prevent sudden jerks or loss of balance.
Detailed Instructions for Using the Brake Lever During Emergency Stop
The key to effective emergency braking is the way you use your brake levers. For the front brake lever, use two to four fingers, squeezing progressively rather than grabbing abruptly. This action gradually transfers weight to the front tire, enhancing grip and reducing the likelihood of the front wheel locking up. Pull the lever in a smooth, controlled motion—avoid sudden, jerky movements that could make the front tire lose traction. Your rear brake pedal should be pressed just enough to add rear wheel stability, but never so hard as to lock up the rear wheel, especially as the suspension compresses and the rear of the bike becomes lighter. By coordinating both levers, you’ll maintain optimal braking force and control, which is the foundation of safe emergency stops.
Optimal Gear Change Strategies While Braking
Gear change during emergency braking should be approached with caution. If possible, downshift as your speed drops, but do so only while pulling in the clutch to prevent engine braking from destabilizing the bike. Many inexperienced riders get caught up trying to find the right gear rather than focusing on stopping safely. It’s more important to bring the motorcycle to a complete stop using the brakes first than to worry about gear position. Once stopped safely, you can shift into neutral or first gear to prepare for moving off again if needed. Practicing smooth gear changes alongside emergency stops in a safe environment can significantly boost your confidence and technique under pressure.
Braking Systems: Understanding Linked Brakes and ABS in Emergency Situations
How Linked Brakes Affect Emergency Braking
Linked brakes are systems where activating one brake (usually the front brake lever) also applies a proportion of the rear brake, or vice versa. This technology helps riders who may struggle to coordinate both front and rear brake inputs during an emergency stop. With linked brakes, stopping power is distributed automatically, reducing the chances of rear wheel lock or applying uneven brake pressure. Riders should still practice the fundamentals, as linked systems are designed to supplement, not replace, correct technique. Familiarize yourself with your specific linked brake setup by consulting your motorcycle’s manual and testing the feel in a controlled area before relying on it in real-world emergencies.
The Role of ABS in Preventing Rear Wheel and Front Wheel Lock-Up
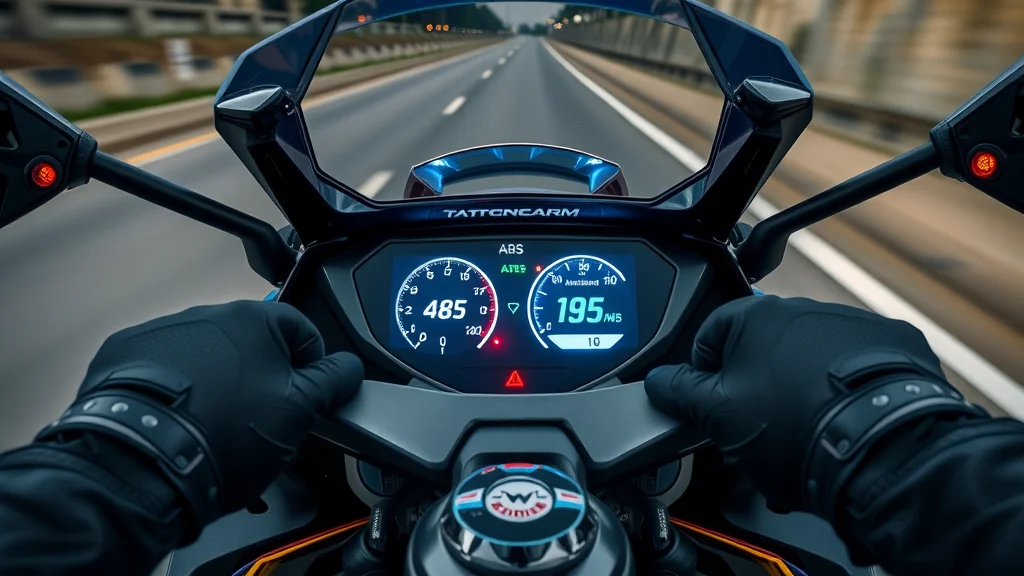
Anti-lock Braking Systems (ABS) are a lifesaver during emergency braking, preventing both the front and rear wheels from locking up when overwhelming brake force is applied. ABS works by rapidly modulating brake pressure when it senses a wheel about to skid, allowing you to brake hard while maintaining steering control. ABS is especially useful in low-traction conditions like wet pavement, gravel, or painted road lines. However, ABS is not a substitute for proper technique; you still need to apply both the front and rear brake progressively and keep your bike upright in a straight line for maximum effectiveness. Understanding how your ABS system responds in different braking scenarios can give you even more confidence during crisis stops.
Scenario-Based Emergency Braking: Real-World Application
Wet Roads: Emergency Stop Adjustments
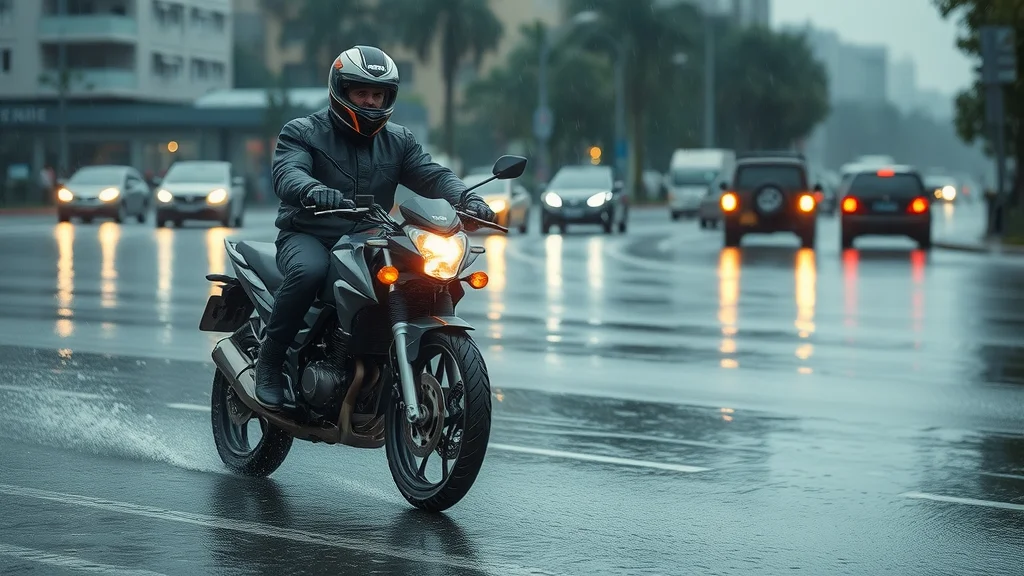
Rain-soaked streets drastically reduce tire grip, increasing stopping distances and the risk of wheel locks. During emergency stops in wet conditions, be extra vigilant and apply the brakes even more progressively and gently than usual. Focus on using both brakes, but avoid sudden or maximum pressure on either the front brake lever or rear brake pedal. Keep your motorcycle as upright as possible and your inputs smooth to maximize the contact patch and prevent tire slip. Allow for a longer stopping distance and always keep your eyes forward to scan for the slickest spots, such as painted road lines or manhole covers, which are especially hazardous during emergency braking on wet roads.
Gravel, Sand, and Slippery Surfaces
Loose surfaces such as gravel or sand pose one of the greatest challenges for emergency braking. Here, the focus shifts to minimizing both braking power and steering input. Use gentle pressure on both front and rear brakes, prioritizing the rear brake slightly more than on asphalt, and try to keep the bike moving in a straight line. Sudden or harsh use of the front brake lever can cause the front tire to dig in and lose grip completely. If you feel a wheel starting to slide or if the wheel locks, quickly release and reapply the brakes to regain traction. Anticipate longer stopping distances and keep your inputs as fluid as possible to stay in control during emergency stops on slippery surfaces.
Highway Emergency Braking: Maintaining Control at Speed
At highway speeds, braking distances extend and the need for precision becomes even greater. When an emergency stop is required, apply both the front brake lever and rear brake pedal simultaneously, increasing pressure as the motorcycle’s weight transfers to the front wheel. Keep your bodyweight slightly back to help maintain bike balance and avoid pitching forward. Remain in a straight line; avoid swerving aggressively, as sudden direction changes can easily overwhelm tire grip and cause a loss of control. Downshift smoothly if time permits, but only after prioritizing braking. Remember that ABS and linked brakes offer valuable support at highway speeds, helping prevent wheels from locking when you brake hard.
Advanced Tips: Mastering How to Perform Motorcycle Emergency Braking
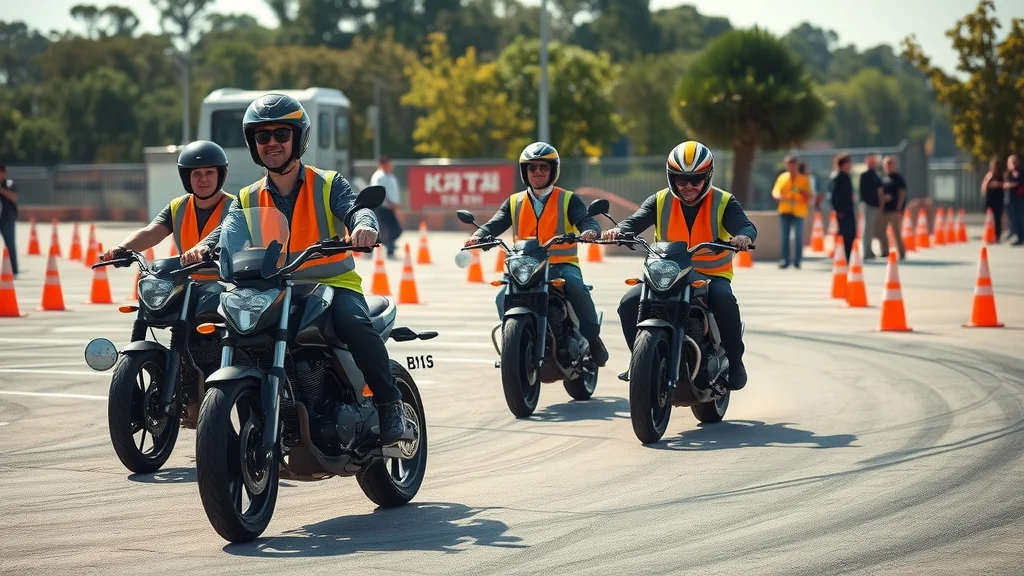
- Practice emergency stops regularly in controlled environments: Set up training sessions in empty parking lots with cones or markers to simulate hazards and sharpen your braking reflexes.
- Understand your brake balance and motorcycle setup: Each bike behaves differently—get to know how your specific model’s front and rear brakes interact during hard stops.
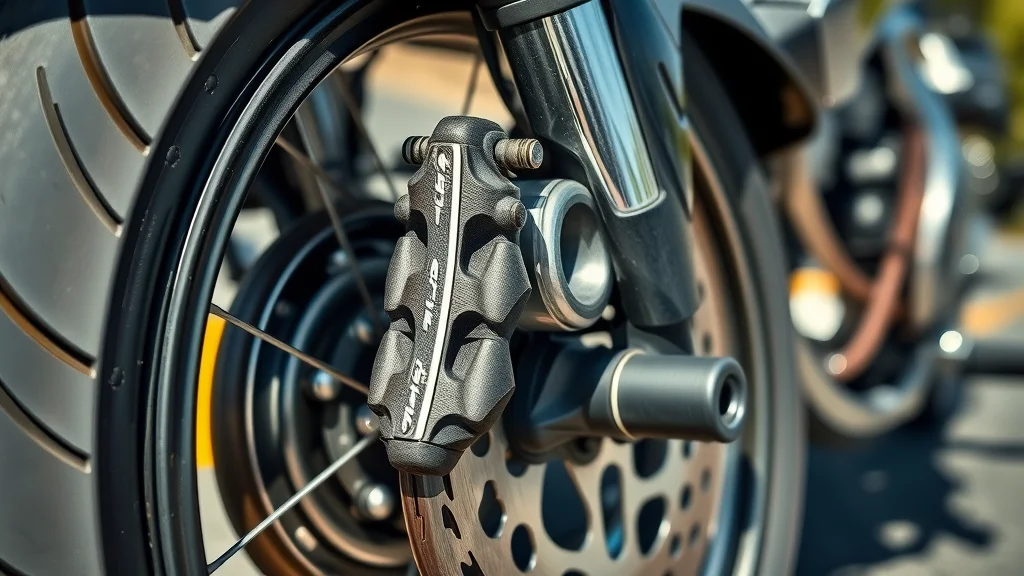
- Maintain your brake system for reliability: Regularly inspect brake pads, rotors, brake fluid, and tire condition to ensure your braking system delivers maximum stopping power when you need it most.
Tables: Comparing Front Brake vs. Rear Brake Impact
| Brake Type | Stopping Power | Risk of Skid | Typical Application |
|---|---|---|---|
| Front Brake | 70–80% | High if abrupt | Primary for emergency braking |
| Rear Brake | 20–30% | Low, but risk of lock-up | Stabilizing aid |
People Also Ask: Motorcycle Emergency Braking
How do you perform an emergency stop on a motorcycle?
To perform an emergency stop, remain calm and instantly close the throttle. Apply both the front brake lever and rear brake pedal simultaneously. Use progressive pressure on the front brake to maximize stopping power without causing the front tire to lock, while gently pressing the rear brake for added stability. Keep your motorcycle in a straight line and your body upright, gripping the tank with your knees. As you come to a complete stop, smoothly release both brakes. Practice these steps regularly in controlled conditions for best results.

Is it better to use front or rear brake during emergency braking?
During emergency braking, the front brake provides most of your stopping power due to weight transfer to the front wheel. Always prioritize progressive front brake use, supplemented by gentle rear brake input for balance. Relying solely on the rear brake significantly extends your stopping distance and increases skidding risk. Both brakes used together, with proper technique, ensure the shortest and safest stop.
What should you avoid during motorcycle emergency braking?
Avoid grabbing or slamming either brake abruptly. Sudden application can trigger wheels locking or skidding, resulting in loss of control. Don’t focus just on the hazard—instead, keep your eyes up and the bike upright. Ensure you don’t downshift abruptly, as it can unsettle the motorcycle. Always strive for smooth, coordinated input on both the front brake lever and rear brake pedal for the most effective emergency stop.
How does road condition affect emergency braking?
Road conditions significantly impact emergency braking effectiveness. Wet surfaces, gravel, and loose debris all reduce traction and increase stopping distance. In these situations, apply brakes more gently and progressively, use both brakes, keep your inputs smooth, and maintain the motorcycle upright in a straight line to prevent losing grip on either wheel.
Can ABS help in motorcycle emergency stops?
Absolutely. ABS (Anti-lock Braking System) helps prevent both front and rear wheels from locking up under heavy braking. It modulates brake pressure automatically, allowing you to focus on steering and maintaining balance even under panic stops on slippery surfaces. However, proper braking technique is still essential to get the best results from ABS.
What are linked brakes and how do they help with emergency braking?
Linked brakes distribute stopping force between the front and rear wheels even if you use just one brake lever or pedal. This aids in maintaining stability and optimizing stopping distances, especially in emergencies. Still, familiarizing yourself with how your linked braking system works is important for maximum safety during real-world emergency braking scenarios.
FAQs About How to Perform Motorcycle Emergency Braking
-
How does body position impact emergency braking?
Proper body position is crucial. Sit upright, grip the tank with your knees, and keep your arms relaxed but ready. This posture keeps the bike upright and stable during aggressive braking, helping maximize grip and control. -
Should you practice emergency stops regularly?
Yes! Regular, controlled practice improves your reaction time, hones your technique, and builds muscle memory for real-world emergencies, making emergency braking more instinctive. -
What's the difference between controlled stop and emergency stop?
A controlled stop is planned and gradual, while an emergency stop is unplanned and requires maximum braking power in the shortest distance, with a focus on keeping control throughout.
Key Takeaways: Achieving Safe Motorcycle Emergency Braking
- Progressive brake application is the safest method
- Understand your motorcycle's braking system (front brake, rear brake, linked brakes)
- Practice in safe, controlled spaces is essential to mastering emergency stop
- Maintain and inspect your braking system regularly
Ready to Enhance Your Safety? Call Nasty Performance Motorcycle Shop Today: 847-458-4858
Take action now and make motorcycle safety your top priority—regular training and expert advice are just a phone call away!
If you're committed to mastering emergency braking, consider taking your motorcycle safety and performance to the next level by focusing on year-round bike maintenance. Proactive care not only extends the life of your ride but also ensures your braking system and other critical components are always ready when you need them most. Discover expert advice and essential routines in Seasonal Bike Care Secrets Every Rider Must Know. By integrating these seasonal strategies with your emergency braking skills, you'll be better equipped for safe, confident riding in any condition.


Write A Comment