
Did you know? According to recent studies, nearly 75% of preventable motorcycle breakdowns are linked to skipped or rushed inspections. A proper checklist guide to motorcycle inspection doesn’t just prevent headaches—it can be the difference between a safe, smooth ride and being stranded on the roadside. Whether you’re a daily commuter or a weekend warrior, this essential guide unlocks the secrets of keeping your motorcycle in peak condition, ensuring every ride begins and ends with total peace of mind. In this comprehensive resource, you'll discover simple, actionable steps and expert tips to maximize safety and performance—covering everything from tire pressure to fluid levels and the electrical system.
Unlocking Road Safety: Why You Need a Checklist Guide to Motorcycle Inspection
Skipping your motorcycle’s inspection checklist isn’t just risky—it’s the quickest path to unexpected hazards and costly repairs that can threaten your safety and your wallet. Every ride introduces new challenges: changing weather, varying road conditions, and natural wear and tear. The checklist guide to motorcycle inspection is your roadmap for surfacing dangers and fixing minor issues before they become major headaches. Keeping up with regular inspections ensures your machine’s fuel system, fluid levels, tire pressure, and electrical system stay within safe operating ranges. This not only extends the life of your motorcycle but also maximizes every moment on the road with minimal interruptions or concerns.
By following a detailed inspection checklist, you make safety a habit rather than an afterthought. You’ll spot worn brake pads before they affect stopping distance, detect low engine oil or leaky fork seals before performance drops, and fix minor electrical faults before they leave you without lights or turn signals in traffic. Whether riding solo or with a group, using a checklist provides peace of mind and helps ensure your motorcycle is always ready for your next adventure—which means fewer surprises, lower maintenance costs, and confidence every time you roll out of the driveway.

What You'll Learn in This Comprehensive Checklist Guide to Motorcycle Inspection
- The key steps in a thorough motorcycle inspection checklist
- How to assess your motorcycle’s fuel system, fluid levels, and electrical system
- Expert tips to maximize safety and performance
- Answers to the most common inspection checklist questions
The Importance of a Motorcycle Inspection Checklist
"A proactive checklist guide to motorcycle inspection is the first line of defense against unexpected hazards and costly repairs." – Motorcycle Safety Expert
Your motorcycle is a complex machine, and every component plays a critical role in your safety and performance on the road. A structured inspection checklist puts you in control. With a systematic approach, you decrease the risk of missed warning signs—such as oil leaks, worn brake pads, or faulty fuel caps—that can reduce efficiency or endanger your ride. Routinely walking through the critical steps means you’re consistently riding a machine in peak condition.
Regular motorcycle inspections are not just a preventative measure—they protect your investment and ensure your piece of mind. By spotting and addressing issues early, you help extend the life of your motorcycle, avoid costly repairs caused by neglect, and ride confidently knowing that every critical component is operating safely. This checklist is as much about protecting yourself and your passengers as it is about getting the most enjoyment and reliability out of every ride.
As you work through your motorcycle inspection checklist, it's also important to consider how seasonal changes can impact your bike's condition and maintenance needs. For practical advice on adapting your inspection routine throughout the year, explore these seasonal bike care secrets every rider should know to keep your motorcycle performing at its best in any weather.
Before You Begin: Preparation for Your Motorcycle Inspection Checklist
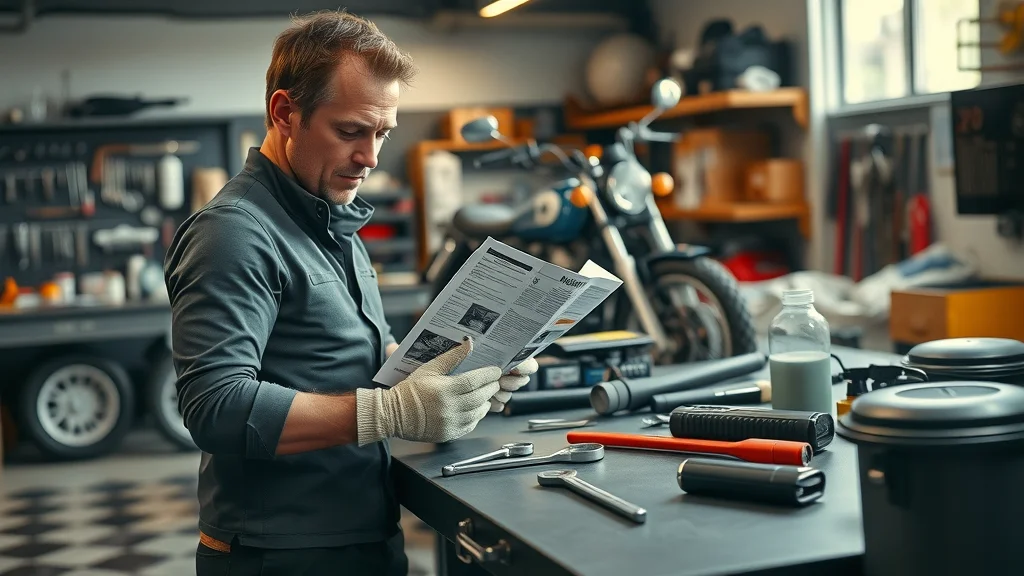
- Gather your inspection tools and owner's manual
- Find a well-lit, level workspace
- Review safety gear requirements
Preparation is the key to an efficient motorcycle inspection checklist. Begin by collecting all necessary tools—including a tire pressure gauge, a flashlight, a set of wrenches, and your motorcycle’s owner’s manual. The manual is a key reference for manufacturer specifications, such as recommended tire pressure (PSI), fluid levels, and maintenance intervals.
Choose a flat, well-lit area—preferably indoors or in a shaded location to prevent sunlight glare. Adequate lighting helps spot signs of wear, oil leaks, and subtle damage. Put on basic safety gear such as gloves and protective eyewear, especially when working around batteries, engine oil, or moving parts. Double-check that your motorcycle is securely on its center or side stand before beginning your assessment. Starting with a clean, organized workspace not only boosts inspection accuracy but makes the process much more efficient and enjoyable.
Full Motorcycle Inspection Checklist Table
| Inspection Area | Recommended Checks | Suggested Actions if Issues Found |
|---|---|---|
| Fuel System | Check fuel lines, connectors, fuel cap & filter for leaks or damage | Replace damaged lines; tighten/replace cap; consult mechanic for leaks |
| Fluid Levels | Assess oil, brake fluid, coolant levels; check for signs of contamination | Top-up or replace fluids; flush system if contaminated |
| Tire Pressure & Condition | Use gauge to measure tire pressure; inspect for punctures, tread depth, wear | Inflate to correct PSI; replace tires with worn tread or deformities |
| Electrical System | Test headlights, taillights, turn signals, horn, battery terminals | Replace bulbs; clean battery terminals; repair faults |
| Brakes | Inspect brake pads/discs; check lever/pedal feel and brake light function | Replace worn pads/discs; address unresponsive brakes or lights |
| Chain/Sprockets | Examine tension, lubrication, wear on chain & sprockets | Adjust tension; lubricate; replace worn components |
| Other Safety Features | Check mirrors, fasteners, reflectors, controls for operation & tightness | Tighten, align, or replace as needed |
Step 1: Fuel System – Your First Stop on the Motorcycle Inspection Checklist
- Inspect for visible leaks or damage
- Check fuel lines and connectors
- Ensure gas cap and filter are functioning properly
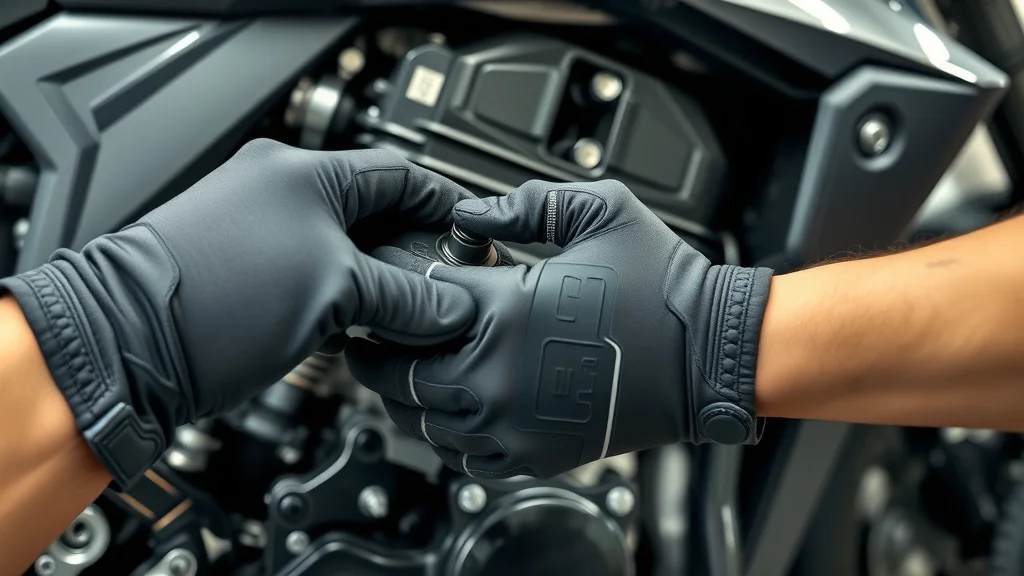
The fuel system is the life source of your motorcycle’s engine. Begin every inspection checklist with a visual sweep for leaks, especially around fuel lines, connectors, and near the fuel cap. Even minor leaks can cause dangerous situations—from fire hazards to power loss. Pay close attention to any wet spots, fuel odor, or discoloration on or under the tank and around the lines. If you detect a leak or cracked hose, replace it immediately or consult a professional, as these can escalate quickly.
Next, verify the integrity and fit of your gas cap and fuel filter. A faulty fuel cap can lead to fuel evaporation, contaminants entering the tank, or failure of emission control systems. Remove the cap and look for signs of damage to the seal, check that it fits securely, and ensure the filter is free of blockages or buildup. Finally, with the engine cold, gently wiggle the fuel lines to ensure all connections are tight but flexible. Completing this step means your motorcycle starts strong, wastes no fuel, and keeps contaminants out—forming the solid foundation for a safe, reliable ride every time.
Step 2: Fluid Levels – Crucial Checks for Motorcycle Longevity
- Check oil, coolant, and brake fluid levels
- Inspect for fluid contamination
- Top-up or replace fluids as necessary
Fluid levels are vital for engine health, cooling, and braking power. Start by checking your engine oil, ensuring the motorcycle is cool and upright. Look for the proper level between MIN and MAX, and pay attention to oil color—dark or gritty oil may signal it’s time for a change or there may be contamination. Next, inspect the coolant reservoir, if applicable, making sure levels are consistent and the fluid is clear (not cloudy or rusty). Low or dirty coolant can quickly lead to overheating and engine damage.
Brake fluid is another essential check—examine both front and rear reservoirs. Fluid should be within the marked lines and free of dark color or floating particles. If you spot a drop in level, address it immediately, as leaks may point to bigger problems in the braking system. Always use the correct fluid type per your manual. Regularly topping off or changing fluids increases the lifespan and reliability of your motorcycle, granting peace of mind across thousands of miles.
Step 3: Tire Pressure and Condition – A Must-Have in Your Inspection Checklist
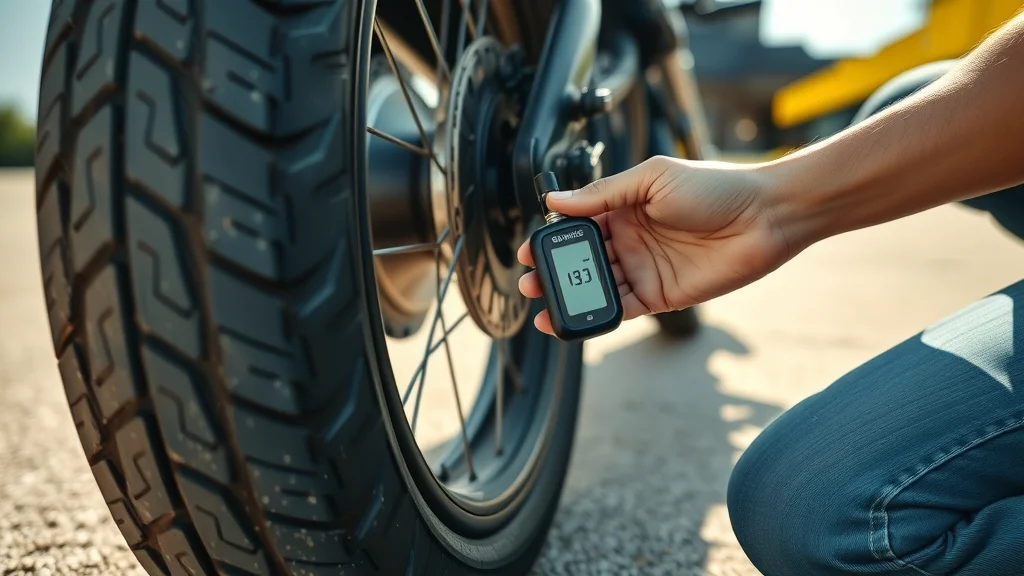
- Monitor tire pressure with a reliable gauge
- Check for punctures, wear, or deformities
- Ensure tires are within manufacturer's recommended PSI
Maintaining tire pressure and tracking tire condition are two of the most crucial aspects of any inspection checklist. Under-inflated or over-inflated tires compromise handling, braking, and overall safety. Use a quality gauge—preferably digital—for accuracy; consult the owner’s manual or sidewall for the right PSI for both front and rear tires. Record your readings each check to track even subtle drops that might indicate a small leak.
Examine both tires for punctures, cracks, foreign objects, and irregular wear patterns. Inspect tread depth to ensure it meets legal minimums and provides enough traction for wet or slippery conditions. Look for bulges or sidewall damage—signs of internal failures that demand immediate replacement. Keeping tire pressure and tread within manufacturer specs ensures proper contact with the road, boosts fuel efficiency, and helps you ride with confidence no matter the journey ahead.
Step 4: Assessing the Electrical System – Stay Powered Up
- Test headlights, taillights, and turn signals
- Check battery terminals for corrosion
- Evaluate horn and gauge functionality
Your motorcycle’s electrical system manages everything from ignition to lighting and safety alerts. Begin by switching on the ignition and checking each light—headlights (high and low beam), taillights, brake light, and turn signals. Confirm all bulbs are operating and produce maximum visibility, as faulty signals or dim lighting can increase your accident risk on the road.
Examine the battery terminals for corrosion (white powdery residue) and ensure connections are tight but not over-torqued. Corrosion can hinder starting and charging; clean terminals with a suitable brush and protect with anti-corrosion gel. Next, sound the horn and check that all gauges—speedometer, tachometer, temperature, and warning lights—respond as expected. An overlooked electrical system failure can leave you stranded or invisible, so always make this a priority on your inspection checklist.
Step 5: Brakes, Chains, and Final Inspection Checklist Details
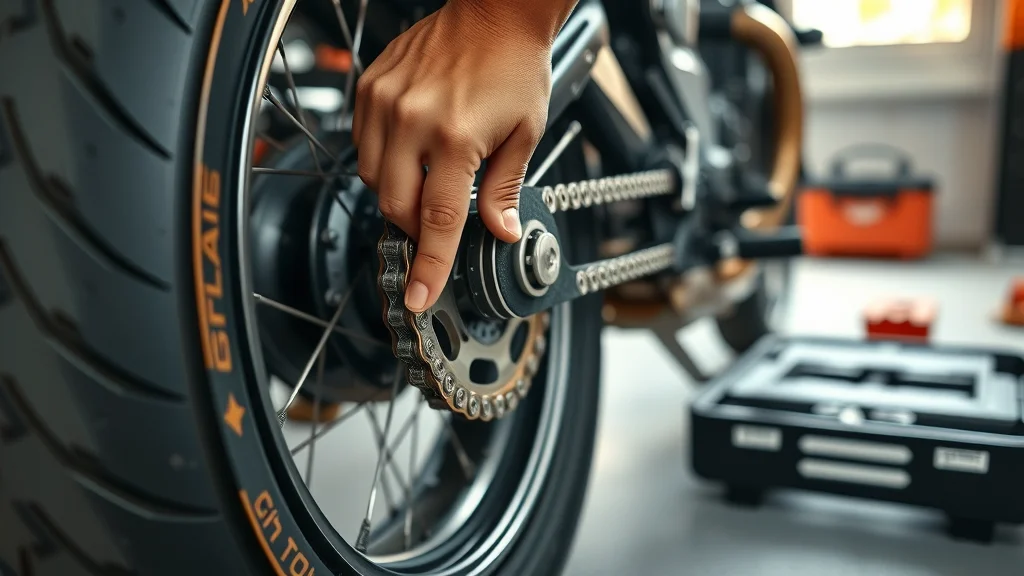
- Inspect brake pads, discs, and performance
- Examine chain tension and lubrication
- Look over all fasteners and safety features
The braking system is essential for control and stopping power. Test lever and pedal resistance to feel for sponginess—if present, check brake fluid level and look for air in the lines or worn brake pads. Examine all visible components, including discs and rotors, for grooves, warping, or signs of wear. Don’t forget to verify brake lights illuminate with light pressure to either lever or pedal, ensuring responsive performance in traffic.
Next, move to the chain and sprocket system. Rotate the wheel and check chain tension—there should be minimal slack but still enough movement per the manual for proper tension. Inspect for dry links, dirt, or visible signs of wear, and apply quality lubricant as needed. Lastly, walk around the bike to confirm fasteners (bolts, nuts, safety pins) are secure and that all mirrors, reflectors, and controls are fully operational. This double-check is the final barrier against surprises—providing a thorough, all-encompassing inspection routine for every rider.
People Also Ask: Motorcycle Inspection Checklist
What should be included in a motorcycle inspection checklist?
A comprehensive motorcycle inspection checklist covers the fuel system, fluid levels (engine oil, coolant, and brake fluid), tire pressure and tread depth, electrical system (lights, signals, horn), braking components (pads, discs, fluid level), chain and sprocket condition, and all safety features such as mirrors, controls, and reflectors. The goal is to ensure no critical component is overlooked, maximizing both safety and performance with every ride.
How often should I perform a motorcycle inspection?
Perform a basic walk-around inspection before every ride for top safety and reliability. For more detailed checks involving fluid levels, brake pads, and chain tension, a weekly or bi-weekly cadence is recommended. Schedule a complete, in-depth inspection at least monthly or after long trips. Regular inspection helps you catch early signs of wear, oil leaks, or dropping fluid levels before they develop into major concerns.
Why is a motorcycle inspection checklist important?
An inspection checklist is essential because it organizes your maintenance routine, helping you to identify and resolve small issues—like worn brake pads or low tire pressure—before they become dangerous on the road. It’s the simplest way to ensure your motorcycle operates in peak condition and that you always ride with confidence and total peace of mind.
Can I perform a motorcycle inspection myself?
Yes, with a clear and structured checklist guide to motorcycle inspection, most riders can independently perform all basic checks outlined here. Having your owner’s manual at hand helps you reference manufacturer specs and acceptable ranges. For advanced repairs or if you detect unusual noises, consistent leaks, or signs of severe wear, seek help from a certified mechanic to ensure both safety and proper intervention.
Expert Tips for Motorcycle Inspection: Go Beyond the Basics
- Document your inspections for reference
- Replace worn parts immediately
- Seek expert help for suspected complex issues
Go the extra mile beyond the standard motorcycle inspection checklist by keeping a simple log or digital record of each inspection. Tracking changes in tire pressure, fluid levels, or component wear helps identify patterns and potential failures before they occur. When you spot signs of wear—from thinning brake pads to minor oil leaks—replace affected parts without delay to avoid reduced safety and performance. If you come across persistent electrical problems, unusual noises, or fluid contamination, don’t hesitate to consult a professional for a complete assessment. Staying proactive today saves time, money, and worry tomorrow.
Frequently Asked Questions About Motorcycle Inspection Checklists
- Which fluids are most critical to inspect regularly?
- Are there seasonal differences in inspection procedures?
- When should I seek a certified inspection?
Which fluids are most critical to inspect regularly? - The most important fluids are engine oil, brake fluid (front and rear), and coolant if your motorcycle is water-cooled. Regularly checking for proper levels and contamination can prevent engine damage, brake failure, and overheating incidents. Are there seasonal differences in inspection procedures? - Yes. In colder months, pay closer attention to battery charge, tire pressure changes, and fluid viscosity. During summer, monitor tire condition, coolant levels, and brake fluid closely due to increased heat and potential for rapid wear. When should I seek a certified inspection? - Consult a professional if you detect severe leaks, electrical failures, persistent unusual noises, ongoing fluid loss, or after a crash. Annual certified inspections are also smart for maximizing the life and safety of your motorcycle.
Key Takeaways: The Ultimate Checklist Guide to Motorcycle Inspection
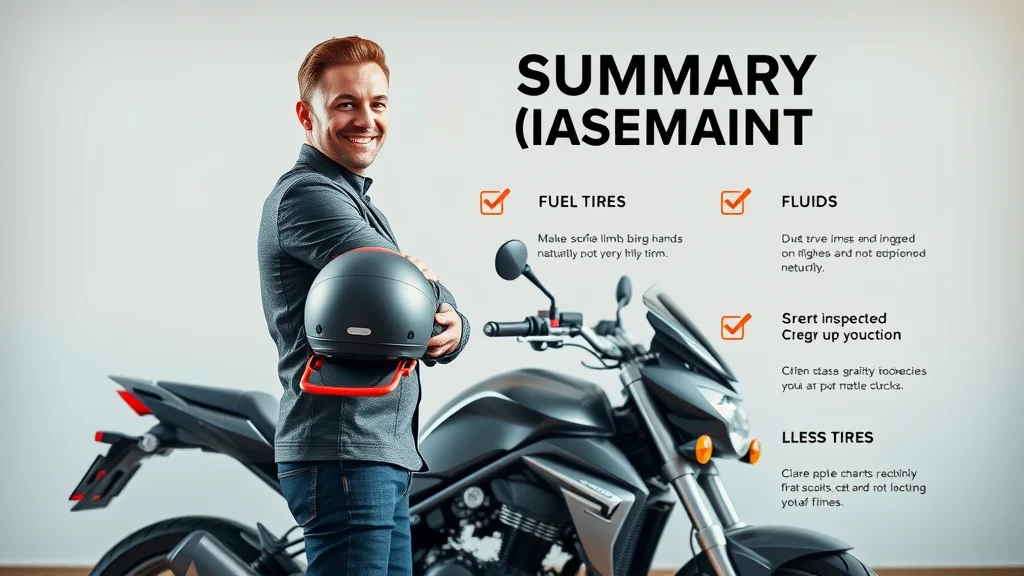
- A structured motorcycle inspection checklist keeps you safe
- Focus on fuel system, fluid levels, tire pressure, and electrical system for reliable rides
- Expert insights and checklists simplify your routine inspection tasks
Ready for a Safer Ride? Schedule Professional Inspection Help Today!
Don’t take chances with your safety or your ride. If you need expert eyes or want more confidence before your next adventure, Call Nasty Performance Motorcycle Shop Today: 847-458-4858 and ride with confidence!
Mastering your motorcycle inspection checklist is just the beginning of a safer, more enjoyable riding experience. To truly protect your investment and adapt to every season, consider expanding your knowledge with expert strategies for year-round bike care. Discover how to prepare your motorcycle for changing weather, prevent seasonal wear, and keep your ride in top shape by exploring essential seasonal bike care tips. Elevate your maintenance routine and ensure every journey is as smooth and reliable as possible—no matter what the forecast brings.


Write A Comment