
Startling Fact: Overlooked spark plugs are among the top reasons for sudden engine breakdowns in motorcycles. Understanding how to perform motorcycle spark plug replacement doesn’t just prevent costly repairs—it can significantly boost your bike’s reliability, ensure responsive performance, and even improve your fuel efficiency. Every rider, from weekend cruisers to daily commuters, can benefit from mastering this essential maintenance skill.
An Eye-Opening Fact: Why Properly Performing Motorcycle Spark Plug Replacement Matters
Recent studies show that overlooked motorcycle spark plugs are among the top reasons for sudden engine breakdowns. Understanding how to perform motorcycle spark plug replacement can dramatically increase the reliability and longevity of your ride while improving fuel efficiency. If you’ve ever been stranded roadside due to a sputtering engine, there’s a good chance a neglected spark plug played a role. Replacing your motorcycle spark plug at proper intervals keeps your combustion chamber firing smoothly, minimizes the risk of hard starts and misfires, and allows your engine’s air-fuel mixture to ignite with peak precision. Whether your ride features a modern efi bike or a vintage classic, taking care of the spark plug is a foundation of stress-free riding. With a few tools, the right technique, and expert insights, you can make this crucial maintenance task routine—leading to smoother throttle response, better gas mileage, and longer engine life. Performing this task correctly can mean the difference between an unforgettable road trip and a frustrating interruption.
What You'll Learn in This Motorcycle Spark Plug Replacement Guide
- Signs it's time to perform motorcycle spark plug replacement
- A step-by-step walkthrough of the spark plug replacement process
- Common complications and safety guidelines for handling spark plugs
- Expert tips to maximize engine performance post-replacement
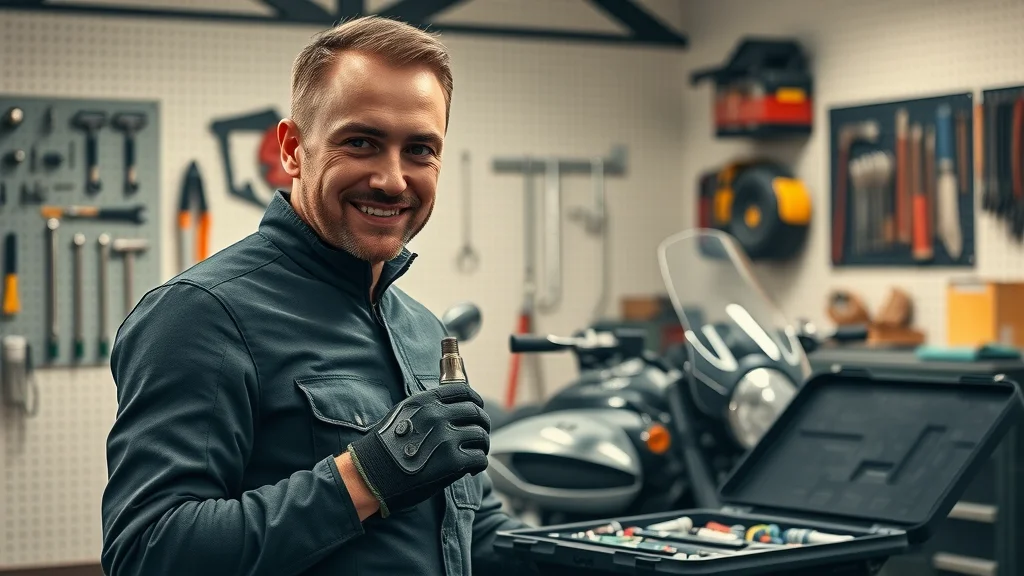
Understanding Motorcycle Spark Plugs and Their Crucial Role
What Is a Spark Plug?
The spark plug is a small but essential component housed in your motorcycle's cylinder head, responsible for delivering the vital electric spark that ignites the compressed air-fuel mixture within the combustion chamber. Every time your engine turns over, it relies on the spark plug’s precision timing and sturdy build to fire efficiently and reliably. If your spark plugs are worn or dirty, you may experience engine misfires, sluggish starts, or even acceleration issues. Modern efi bikes, classic carbureted models, and everything in between depend on well-maintained spark plugs for smooth engine cycles. Paying attention to your plug’s ground strap, center electrode, and ensuring proper spark plug gap are important details that not only affect performance but also prevent excess fuel usage and costly repairs.
Types of Motorcycle Spark Plugs
Motorcycle spark plugs come in several varieties, each tailored for different needs and maintenance schedules. The most common types are copper, platinum, and iridium. Copper spark plugs are the traditional choice, requiring more frequent replacement but offering budget-friendly performance. Platinum plugs, on the other hand, offer better durability and improved conductivity, making them a go-to for riders who want less frequent maintenance without high costs. Iridium spark plugs represent the top end: they last the longest—sometimes up to 50,000 miles—and provide the strongest, most consistent spark, making them ideal for high-performance or modern efi bikes. When choosing between types, consider your motorcycle’s requirements, your average riding conditions, and always consult your owner’s or service manual for specific recommendations. The right spark plug can directly impact how often you need to perform motorcycle spark plug replacement and deliver optimum results.
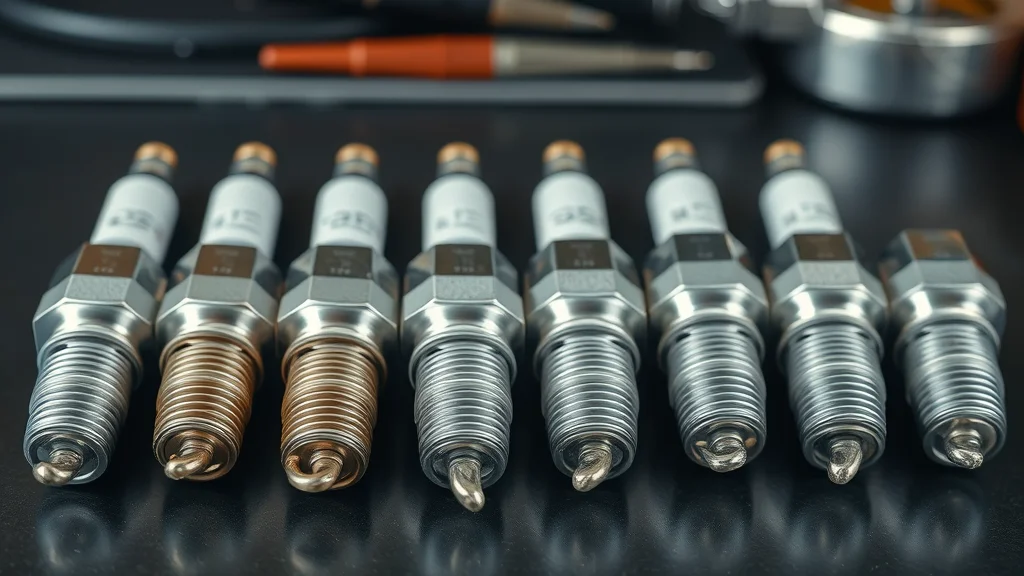
Identifying When to Perform Motorcycle Spark Plug Replacement
Key Symptoms of Worn-Out Motorcycle Spark Plugs
- Hard starts or engine misfires
- Decreased fuel economy
- Unusual engine noises or vibrations
- Visible carbon buildup on spark plugs
Recognizing these warning signs helps prevent unexpected breakdowns and keeps your motorcycle running reliably. Hard starts and misfires usually indicate the plug’s center electrode or ground strap aren’t producing a robust spark. If you notice more frequent fill-ups or struggle to get your engine to turn over—especially on cold mornings—it may be time to check your spark plug. Carbon buildup or oil fouling on the plug tip means your combustion isn’t optimal, affecting everything from throttle response to overall power. Addressing these issues promptly, before they escalate, is a key reason why every rider should schedule regular motorcycle spark plug inspections alongside other routine maintenance tasks, like cleaning the air filter or checking plug wires for damage.
While inspecting your spark plugs is crucial, integrating this check with other seasonal maintenance tasks can further enhance your motorcycle’s reliability. For a deeper dive into comprehensive upkeep, consider exploring essential seasonal bike care strategies every rider should know to keep your machine performing at its best year-round.
Recommended Replacement Frequency for Motorcycle Spark Plugs
"Routine inspection and timely replacement of your motorcycle spark plug can prevent costly repairs and preserve optimal performance," advises motorcycle mechanic specialist.
Most motorcycles require spark plug replacement every 8,000 to 15,000 miles, though this interval can vary based on spark plug type, engine design, and your riding habits. Refer to your official service manual for the maintenance schedule that best suits your bike. While copper plugs have a shorter lifespan, platinum and iridium types can go longer—but all spark plugs need to be checked regularly, especially on modern efi bikes where consistent ignition is vital. It’s a good idea to monitor for performance drops, unusual sounds, or engine warning lights—these often precede visual evidence of spark plug wear. Proactive replacement is always safer than waiting for failure, reducing your chances of being left stranded.
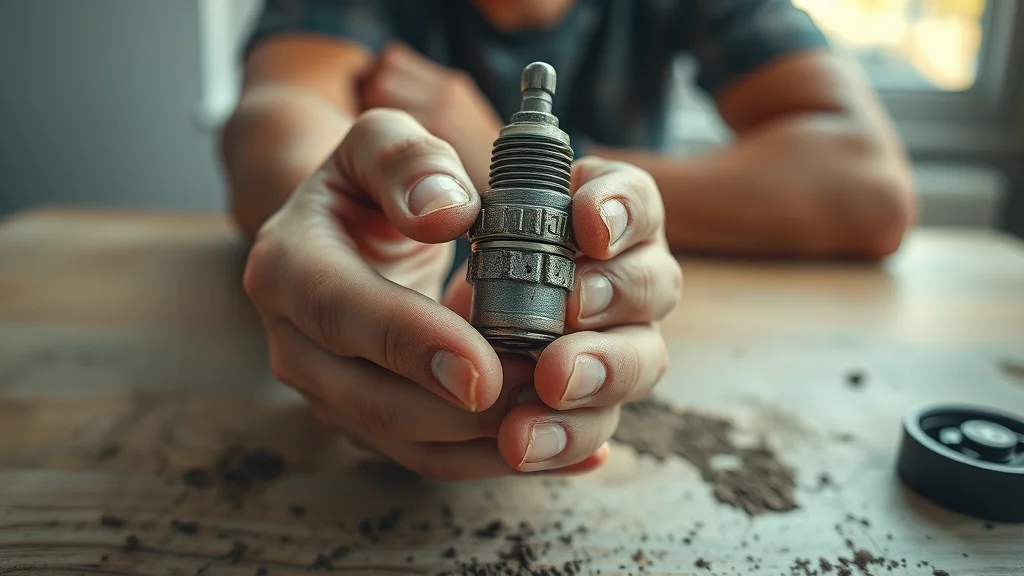
Tools and Materials Needed to Perform Motorcycle Spark Plug Replacement
- New motorcycle spark plugs
- Socket wrench and spark plug socket
- Torque wrench
- Spark plug gap gauge
- Dielectric grease
- Protective gloves
These basic tools are essential for a safe, efficient plug change. Having a gap gauge allows you to check and correct the plug gap quickly, while a torque wrench ensures you won’t over-tighten or damage the threads in your cylinder head. Always wear gloves to protect your hands and keep oils off the new plugs. Dielectric grease applied to your spark plug boot ensures a secure, moisture-resistant connection, and the spark plug socket’s rubber insert helps safely grip the plug during removal and installation. For a truly thorough job, using compressed air to clear debris from around the plug before removal can prevent dirt from falling into the combustion chamber.
Step-by-Step Guide to Properly Perform Motorcycle Spark Plug Replacement
Step 1: Preparing Your Motorcycle for Spark Plug Replacement
Start by ensuring your motorcycle is turned off, fully cooled down, and parked securely on a flat surface. Remove seat panels or side covers to access the spark plug; on some efi bike models, the gas tank may need to be carefully lifted or removed for better access to the plug wires and plug boot. Always keep your workspace organized—a clear surface helps avoid losing small components and makes it much easier to follow each step. Having your tools, a gap gauge, and the replacement spark plug close by will streamline the process and help you avoid interruptions. If you’re unsure about any step, reference your owner’s or service manual for details specific to your motorcycle make and model.
Step 2: Removing the Old Spark Plug
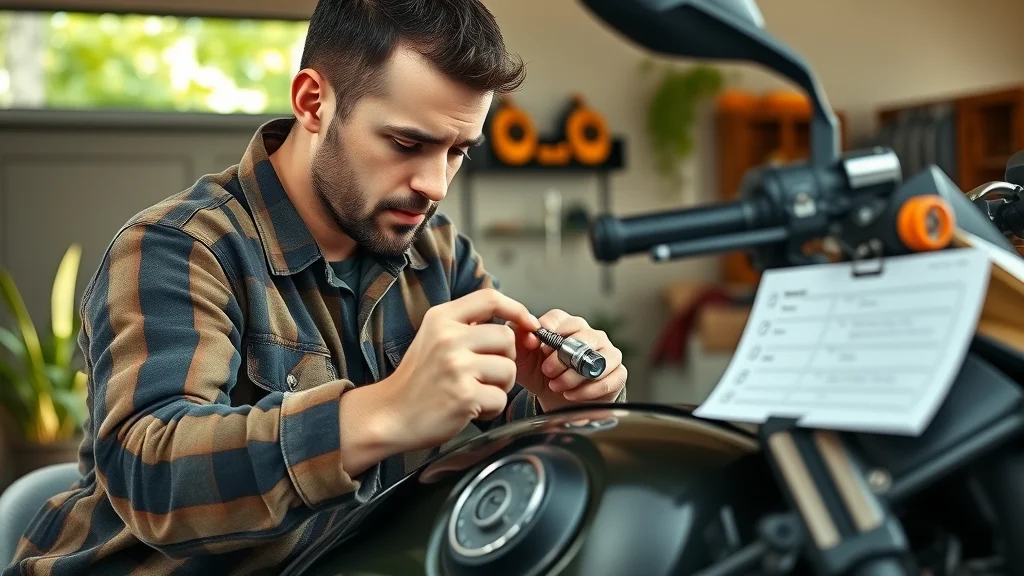
Begin by carefully pulling the spark plug boot or wire off the plug; grip the plug boot itself and not the wire to avoid unnecessary damage. If it’s stubborn, a gentle twisting motion can help. With a spark plug socket attached to your socket wrench, turn the plug counterclockwise to remove it from the cylinder head. Take a moment to inspect the old plug for signs of oil fouling, carbon buildup, or eroded ground strap—these hints can reveal potential engine health issues. If a lot of dirt is present around the plug, use some compressed or canned air to clear it away before removal. This step prevents debris from falling into your engine, safeguarding longevity and performance. Finally, compare the old and new spark plugs for type and length to guarantee correct fitment.
Step 3: Checking and Adjusting Spark Plug Gap
To check the gap on your new motorcycle spark plug, use a dedicated gap gauge or feeler gauge to measure the space between the center electrode and the ground strap. Your service manual will specify the correct dimension, often in millimeters or thousandths of an inch. An incorrect gap can lead to weak sparks, misfires, or engine knock; if you need to adjust, gently bend the ground strap using the gap gauge. Never apply force to the center electrode. This small but vital detail ensures your replacement spark plug fires consistently under all riding conditions, whether you’re cruising city streets or pushing your engine on the open highway. Checking the gap before installation is a pro tip that can dramatically improve combustion efficiency and throttle response.
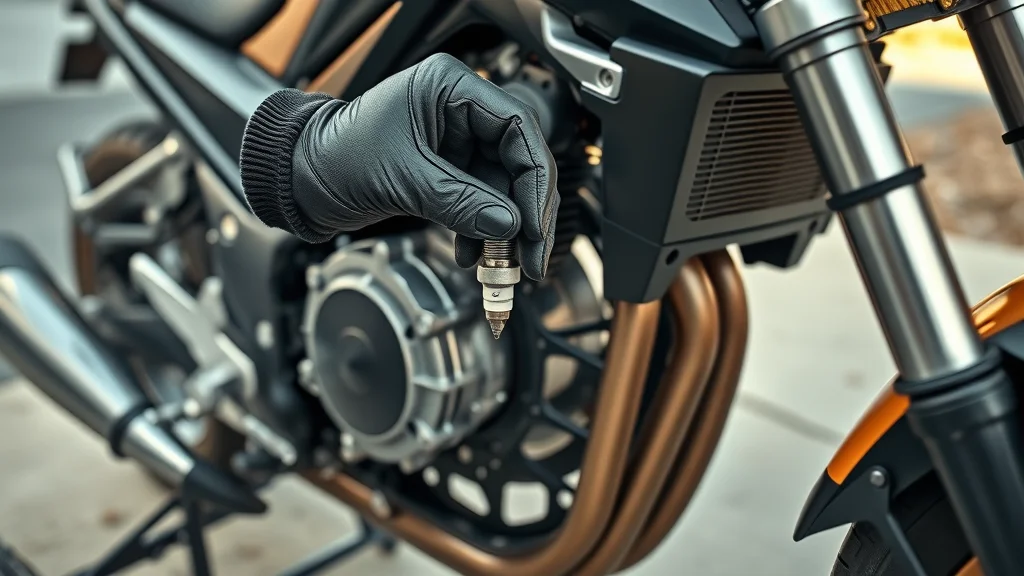
Step 4: Installing the New Motorcycle Spark Plug
Carefully thread the new spark plug into the cylinder head by hand—this prevents cross-threading which could damage your engine. Once finger-tight, use the torque wrench to secure the plug to your motorcycle’s specified torque setting (always found in your service manual). Over-tightening risks stripping threads, while under-tightening can cause leaks or arcing. After the plug is seated, apply a thin coat of dielectric grease to the spark plug boot for optimal electrical contact and moisture resistance, then re-attach the boot or plug wire securely. With this step, you’ve set the foundation for reliable engine firing on every ride. Double-check your work before moving to the next phase to ensure long-lasting results.
Step 5: Final Checks and Testing
Before calling your replacement job complete, re-install any removed panels and review your tool checklist. Turn the key and start your motorcycle, observing for a smooth and steady idle. Listen for any abnormal noises or hesitation—these could indicate a loose plug boot, incorrect gap, or other issues needing attention. Let the engine run for a few minutes and take a short test ride to confirm restored performance. These final checks help confirm your new spark plug is firing correctly and that all connections are secure, so you can hit the road with confidence in your maintenance handiwork.

Troubleshooting After You Perform Motorcycle Spark Plug Replacement
- Engine still misfiring: Inspect wiring and ignition coils
- Difficulty starting: Recheck spark plug gap and tighten
- Check engine light: Use diagnostic tool for additional codes
If your engine continues to misfire after installing a new spark plug, check the plug wire and ignition coil for secure, clean connections—especially on modern efi bikes. If the engine is hard to start, double-check the torque setting and ensure you’ve achieved the correct spark plug gap. Reinstalling the plug or giving attention to the plug boot connection often resolves these issues. If a check engine light appears, a diagnostic scan can point to sensors or other components impacting spark delivery. Follow these troubleshooting steps for a smooth-running motorcycle and peace of mind after replacement.
Best Practices and Expert Advice for Motorcycle Spark Plug Maintenance
"Consistent inspection of your motorcycle spark plugs every season ensures you catch early signs of wear before they escalate into major performance issues." – Certified technician
For reliable performance, inspect your spark plugs at least once per riding season or every 5,000 to 7,500 miles—whichever comes first. Check for carbon buildup, worn ground straps, and maintain the correct spark plug gap using a reliable gap gauge. Integrate spark plug checks with other routine tasks like cleaning the air filter, checking plug wires for cracks, or replacing fuel filters on your modern efi bike. These proactive habits save time and money and extend the life of your ride. Remember, even the best spark plugs wear out eventually, and immediate attention to symptoms ensures enjoyable, uninterrupted journeys. If you experience persistent performance dips despite fresh plugs, consult a professional technician or your bike’s official website for troubleshooting support.
Comparison Table: Types of Motorcycle Spark Plugs by Longevity and Performance
| Type | Expected Lifespan | Performance Benefits |
|---|---|---|
| Copper | Short (8,000–10,000 miles) | Budget-friendly, basic performance |
| Platinum | Moderate (up to 30,000 miles) | Improved durability and efficiency |
| Iridium | Long (up to 50,000 miles) | Highest longevity and spark consistency |
Video Tutorial: How to Perform Motorcycle Spark Plug Replacement
Watch a step-by-step demonstration of how to perform motorcycle spark plug replacement for clear, visual guidance.
Video overview: Hands-on motorcycle spark plug replacement tutorial — Clear, instructional, video footage of a professional mechanic demonstrating spark plug replacement on a standard street motorcycle, with cutaways showing close-ups, tool handling, and before-after engine startup, set in a tidy, modern workshop, friendly voiceover with helpful on-screen steps.
FAQs About Motorcycle Spark Plug Replacement and Maintenance
-
When should I perform motorcycle spark plug replacement?
Spark plug replacement is generally required every 8,000 to 15,000 miles, depending on your motorcycle’s spark plug type and manufacturer guidelines. Check your owner’s manual and follow a regular inspection routine to maintain optimal performance. -
Can I clean and reuse old spark plugs?
While it’s sometimes possible to clean a spark plug with carbon buildup using a wire brush or canned air, it’s often more reliable to replace worn plugs. Reusing excessively worn or fouled plugs may result in continued engine misfires or poor performance. -
What torque setting should I use for my motorcycle spark plug?
Torque specs vary by motorcycle, so consult your service manual for the recommended setting. Over- or under-tightening can cause thread damage or misfires. Using a torque wrench ensures secure installation and proper engine sealing.
People Also Ask (Motorcycle Spark Plug Replacement)
How often should spark plugs be replaced on a motorcycle?
Motorcycle spark plugs should typically be replaced every 8,000 to 15,000 miles, or as specified in your motorcycle’s ownership manual. Routine inspection is recommended for optimal performance.
What is the most sold motorcycle of all time?
The Honda Super Cub holds the title as the world’s best-selling motorcycle, renowned for its reliability and simple maintenance—a testament to the impact of basic upkeep like spark plug replacement.
What is the 4 second rule on a motorcycle?
The 4 second rule involves maintaining a safe distance behind another vehicle to allow enough time to react and stop safely, which is essential for all riders regardless of motorcycle spark plug condition.
What kills spark plugs quickly?
Factors such as poor fuel quality, excessive engine heat, incorrect spark plug gap, and infrequent maintenance can all lead to faster spark plug deterioration.
Key Takeaways for Anyone Set to Perform Motorcycle Spark Plug Replacement
- Regularly perform motorcycle spark plug replacement to prevent start-up and performance issues
- Choose spark plugs recommended by your manufacturer for longevity and engine health
- Use the proper tools and follow precise steps for a reliable replacement process
Contact the Experts for Professional Motorcycle Spark Plug Replacement
If you’re unsure how to perform motorcycle spark plug replacement or want the assurance of professional expertise, call Nasty Performance Motorcycle Shop today at 847-458-4858.
Mastering spark plug replacement is just one part of a well-rounded motorcycle maintenance routine. To truly safeguard your bike’s performance through every season, it’s wise to adopt a holistic approach that includes regular inspections, cleaning, and timely upgrades. Discover more expert-backed tips and advanced care techniques by reading seasonal bike care secrets every rider must know. By expanding your maintenance knowledge, you’ll not only extend your motorcycle’s lifespan but also enjoy smoother, safer rides no matter the weather or road conditions.



Write A Comment