
Did you know? According to industry experts, improper motorcycle fuel tank preparation is the leading cause of early paint failure and corrosion—costing riders hundreds in preventable repairs every year. If you want your motorcycle gas tank to look stunning and last for years, mastering these best practices for motorcycle fuel tank preparation is vital. In this guide, you’ll gain expert-backed, clear steps for prepping, painting, and maintaining your fuel tank—ensuring both resilience and that head-turning showroom shine.
What You'll Learn About Best Practices for Motorcycle Fuel Tank Preparation
- Essential steps for preparing your motorcycle gas tank
- Why tank liner and etch primer are critical
- Common mistakes to avoid during fuel tank preparation
- Tips for when and how to paint a motorcycle gas tank
- Answers to your top questions on motorcycle fuel tank maintenance
Why Best Practices for Motorcycle Fuel Tank Preparation Matter
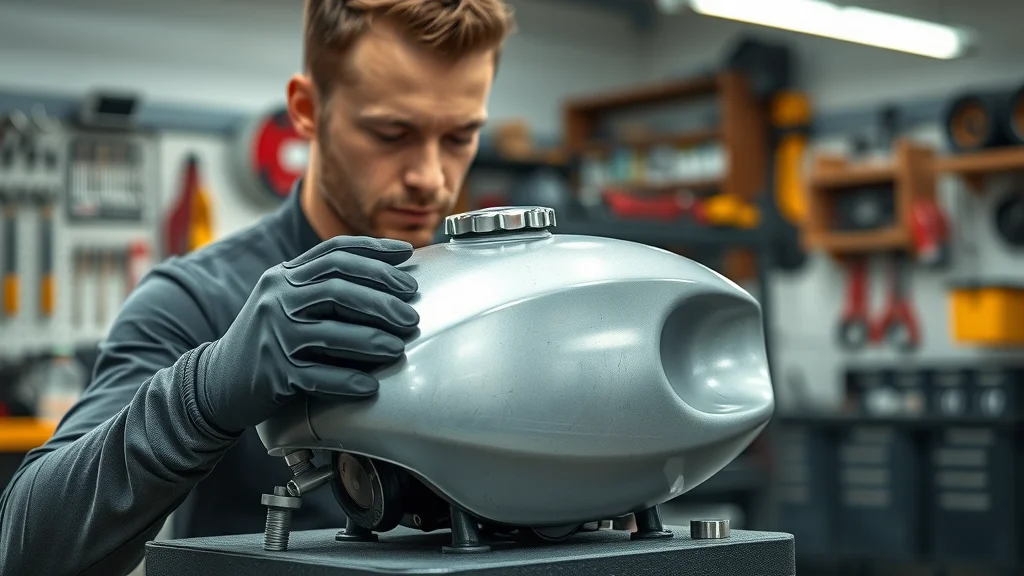
When it comes to a successful paint job and long-lasting performance, few components are as crucial as your motorcycle fuel tank. The gas tank is the centerpiece of your bike’s style and a key protector for your fuel system. Neglecting best practices—like skipping a tank liner or using the wrong etch primer—can result in rust, leaks, and peeling paint. Applying proper techniques means you prevent rust, stop fuel contamination, and give paint a perfect base to adhere. Whether you're restoring a vintage ride or freshening up your current bike, precise fuel tank preparation ensures your investment pays off both in reliability and appearance.
"A well-prepared motorcycle gas tank is the foundation of a long-lasting, beautiful paint job and reliable performance."
Step-by-Step Guide: Best Practices for Motorcycle Fuel Tank Preparation
1. Draining and Cleaning the Motorcycle Gas Tank
- How to properly drain gas from the tank
- Using stabilizer or draining completely
- Cleaning the interior for tank liner application
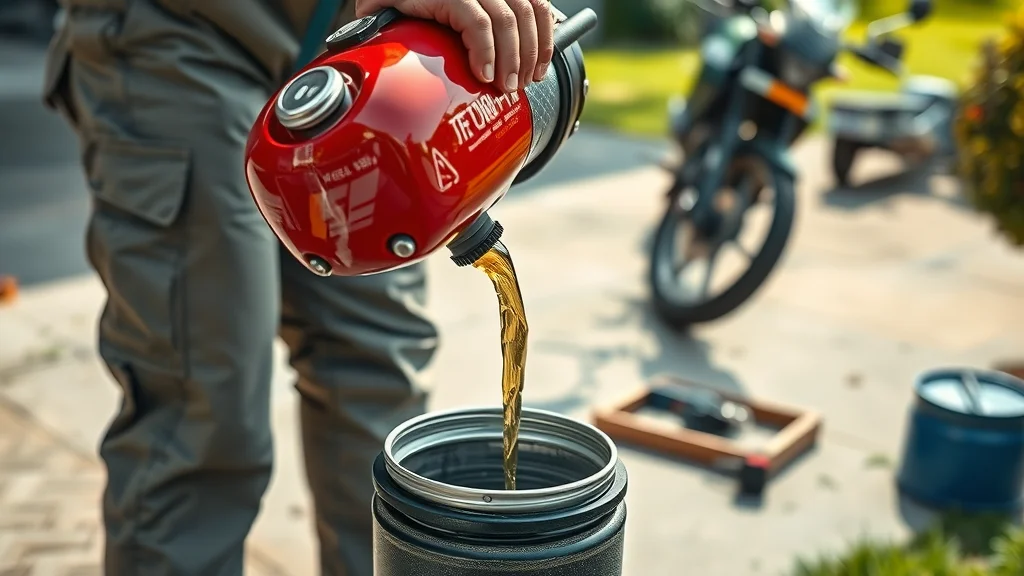
The first step in every fuel tank prep project is to safely remove all fuel from the motorcycle gas tank. Begin by removing the gas cap and opening the petcock or drain plug, tilting the tank over a fuel-safe container. If storing for a long period, decide whether to use a fuel stabilizer or fully drain and dry the tank. A stabilizer can protect fuel from degrading during short-term storage, while a full drain eliminates moisture and prevents rust for longer projects. Once empty, clean the inside with a gentle, non-corrosive detergent or a specialized prep product. This removes old fuel residues, which can interfere with tank liner application or painting down the line. Always allow the tank to become completely dry before proceeding to the next step. For tough deposits, a microfiber pad or appropriate tank cleaning tools ensure a pristine base and can help you get the tank ready for further treatment with liner or primer.
Proper cleaning and preparation of your motorcycle gas tank not only ensures a flawless finish but also sets the stage for effective seasonal maintenance. For a deeper dive into how to protect your bike throughout the year, including fuel system care during storage, check out these seasonal bike care secrets every rider should know.
2. Addressing Rust and Corrosion in the Gas Tank
- Inspecting for rust in the fuel tank
- Methods for rust removal
- Preparing for etch primer
Inspecting for rust is a vital step after cleaning your motorcycle gas tank. Peek inside the tank with a flashlight, paying close attention to weld seams and low points where moisture tends to collect. Surface rust can often be addressed with white vinegar or a commercial rust remover. Pour the rust remover into the tank and agitate it—sometimes using a handful of small nuts and bolts inside to help loosen rusty areas. For heavy buildup, repeated treatments may be necessary. After successful rust removal, rinse thoroughly with water and dry the tank with compressed air or by letting it sit in a warm, dry area. Finally, prep the metal with an appropriate metal prep product to neutralize remaining residues, laying the groundwork for the next step—whether that’s applying a tank liner or moving on to an etch primer.
3. Applying Spot Putty and Tank Liner for a Flawless Motorcycle Gas Tank
- Using spot putty to repair minor flaws
- Importance of a quality tank liner
- Sealing seams and internal surfaces
Before you paint a motorcycle gas tank, check for dents or pitting that could impact the final result. Using a small amount of automotive spot putty, fill minor imperfections on the tank’s surface. Allow it to cure fully, then use fine sandpaper to sand the gas tank for a smooth finish—being careful not to expose bare metal where unnecessary. Next, apply a high-quality tank liner (typically an epoxy liner) on the inside. This step is especially critical for older or restored tanks. The tank liner coats the internal metal surface, stopping fuel leaks and rust from forming. Rotate the tank slowly to ensure all seams and surfaces are thoroughly covered. Once applied, let the liner cure at room temperature for however long the manufacturer recommends—a step that’s often overlooked but essential for a dry surface and long-term protection. Wipe away any excess product from the outside before moving on.

4. Priming and Painting a Motorcycle Gas Tank: Pro Tips
- How many coats of primer for a fuel tank
- Applying etch primer for longevity
- Best practices for painting a motorcycle and clear coat application
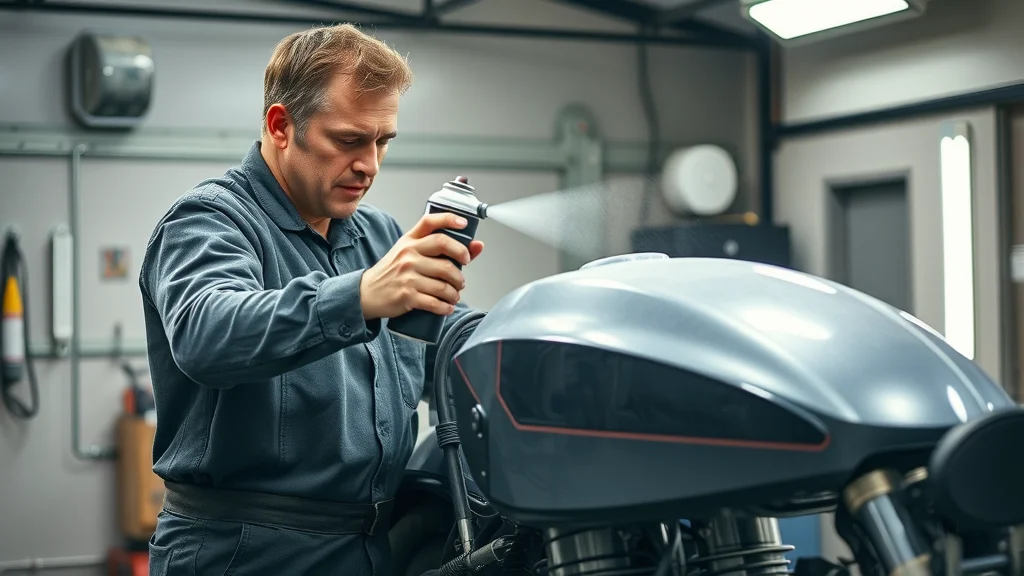
With your gas tank’s exterior flawlessly smoothed and its interior protected by a tank liner, it’s time for priming and painting. Start with a dedicated etch primer; it chemically bonds to the metal, giving paint a solid foundation and offering superior rust prevention. Two to three light coats of primer are standard, letting each dry completely according to product guidelines. For best results, sand the gas tank lightly with fine sandpaper between coats to ensure maximum adhesion. After the primer, apply your chosen automotive paint using smooth, even strokes. Multiple thin coats create the deepest, most resilient color—avoid heavy sprays that can cause drips or orange peel. Finish by applying a clear coat for protection and shine. Allow all layers, especially the final coat of clear, to cure fully on a clean, dust-free dry surface before reassembling and filling the tank. This staged approach keeps the motorcycle gas tank looking new and prevents future paint and corrosion issues.
| Preparation Step | Best Practice | Key Products Used |
|---|---|---|
| Draining/Cleaning | Use stabilizer or full drain before extended storage | Fuel stabilizer, mild detergent |
| Rust Removal | Use non-abrasive methods first | Vinegar, rust remover |
| Spot Putty | Apply sparingly to small imperfections | Automotive spot putty |
| Tank Liner | Coat interior fully and cure as directed | Epoxy tank liner |
| Priming/Painting | Follow primer and paint cure times strictly | Etch primer, automotive paint |
People Also Ask About Best Practices for Motorcycle Fuel Tank Preparation
Is it better to drain gas or use stabilizer?
- Exploring the pros and cons of draining the fuel tank vs. using a stabilizer
- When each method is recommended
Whether you should drain your motorcycle gas tank or use a fuel stabilizer depends on your maintenance plans and climate. Draining the fuel tank entirely is best when your motorcycle will sit unused for months (like in winter storage), as it removes moisture and prevents rust from forming inside. Using a stabilizer, on the other hand, is ideal if you'll ride again within a few weeks. A stabilizer keeps fuel fresh but won’t remove the risk of rust if condensation develops. If you plan to paint a motorcycle gas tank or apply a liner, always ensure the tank is fully emptied and air dried before starting. Regular inspection will help avoid issues linked with fuel breakdown or interior tank corrosion.
How long until gas goes bad in a motorcycle tank?
- Factors affecting fuel degradation in the motorcycle gas tank
- Consequences for fuel tank preparation
Typically, gasoline in a motorcycle tank starts to degrade after about 3–4 weeks, with ethanol blends attracting moisture even faster. Exposure to air from a loose gas cap or a poorly sealed tank allows oxygen and humidity to start forming internal rust and varnish buildups. These conditions undermine future tank liner application and can cause fuel delivery problems. To prevent rust and maintain a clean tank to ensure optimal fuel flow, always fill the tank for short-term storage or drain it entirely for long-term or winter layups. This keeps the metal surface from deteriorating and ensures you’re starting with a clean slate before you paint a motorcycle or perform repairs.
How many coats of primer on a motorcycle gas tank?
- The ideal number of primer coats for optimal adhesion and finish
- Expert insights on etch primer and clear coat usage
For most projects, applying two to three coats of etch primer on bare metal is recommended. This provides enough thickness for adhesion without clogging details or making it harder to sand the gas tank. Each primer layer should be thin and even; let it dry fully to a touchable dry surface before adding the next. After priming, sand with ultra-fine sandpaper to smooth out any texture, then spray your color coat of paint in three to four thin layers. Finish by applying the clear coat generously but evenly—typically two coats—to deliver both protection and shine. Patience through each drying cycle ensures the best possible finish when you paint a motorcycle gas tank.
What does putting salt in a gas tank do?
- Dangers of foreign substances in the fuel tank
- How contamination undermines motorcycle gas tank longevity
Introducing salt or other foreign material into your motorcycle gas tank is disastrous. Salt attracts and retains water, accelerating corrosion and pitting on the tank’s metal surface. Any contaminant can block fuel passages, damage the reserve tank, or destroy engine components. Regularly inspect your fuel tank cap and fill area for debris, and never let anything but clean fuel enter the tank. If you suspect contamination, drain and clean the tank immediately, then follow up with rust removal, liner application, and inspection of the internal metal prep product to restore the tank’s integrity. This way, you protect your bike’s longevity and avoid avoidable damage caused by contamination.
Expert Tips and Common Pitfalls in Motorcycle Fuel Tank Preparation
- Why skipping tank liner can lead to premature failure
- Spot putty mistakes to avoid for a flawless finish
- Paint a motorcycle gas tank: Application timing and technique
Experts warn that skipping tank liner—especially on older fuel tanks—can invite leaks, pinhole rust, and paint blistering from fuel vapor. Always apply an epoxy liner unless using a new tank with factory coating. For spot putty, don’t overbuild; thin layers dry faster and sand smoother, while thick applications might crack as the tank expands or contracts. When it’s time to paint a motorcycle gas tank, time your project around low humidity and moderate temperatures. Use masking tape to protect threads and petcock openings. Remember to sand the gas tank between coats—persistence here means you’ll avoid runs or an uneven clear coat. Avoiding these common pitfalls promises a gorgeous, enduring finish and a motorcycle you’ll be proud to show off.
FAQs on Best Practices for Motorcycle Fuel Tank Preparation
-
How often should I inspect my motorcycle gas tank for rust?
Inspect your motorcycle gas tank for rust at least every six months, and always before painting or applying a liner. Moisture and bad gas can cause rapid corrosion if unchecked. -
Can I apply a tank liner without removing the fuel tank?
While some products allow in-place lining, it’s always best to remove the tank. This ensures a clean, dry surface, full rotation during application, and avoids spilling excess product on your frame or engine. -
Is etch primer necessary before painting a motorcycle gas tank?
Yes, etch primer chemically bonds to the bare metal of your motorcycle gas tank, giving better adhesion for paint and helping to prevent rust. Skipping it often leads to paint chipping or bubbling over time.
Key Takeaways for Motorcycle Fuel Tank Preparation
- Comprehensive preparation ensures a durable and attractive finish
- Using proper tank liner and primer products is crucial
- Regular maintenance prevents issues with your fuel tank
Need Help? Call Nasty Performance Motorcycle Shop Today: 847-458-4858
Ready for a pro-grade motorcycle gas tank finish? Meticulous fuel tank preparation is the secret to riding with confidence and style. Follow these steps—and never skip tank liner or primer—to keep your tank looking flawless for the long haul!
If you’re looking to take your motorcycle maintenance to the next level, consider how seasonal changes can impact every aspect of your ride—from fuel system health to overall performance. Discover expert strategies for year-round protection and longevity by exploring seasonal bike care secrets every rider must know. This resource will help you anticipate challenges before they arise and keep your motorcycle in peak condition, no matter the season. Elevate your maintenance routine and enjoy worry-free riding all year long.


Write A Comment