


Ever turned up your motorcycle stereo on a long ride, expecting great sound, only to find static, weak volume, or lost bluetooth connectivity instead? If so, you’re not alone. Many riders choose advanced audio setups, but even the best motorcycle stereo systems can suffer from unexpected hiccups—making every mile less enjoyable and more frustrating. In this guide, we’ll break down practical motorcycle audio system troubleshooting tips to avoid rookie mistakes and amplify your music playback on any journey.
Unlocking Superior Sound: Why Motorcycle Audio System Troubleshooting Matters
Whether you ride through city streets or at highway speeds, your motorcycle's audio experience can make or break the trip. Riders invest in premium stereo systems and amp kits, expecting their music streaming to cut through engine noise and wind noise. But when issues arise—like poor sound quality, bluetooth connectivity dropouts, or static sound—your enjoyment suffers and your investment risks long-term damage. Regular motorcycle audio system troubleshooting ensures that all components, from speaker wires to smart integration features, deliver superior performance, volume, and clarity wherever the road takes you.
Ignoring minor issues now—such as weak sound, intermittent signals, or physical wear—too often leads to larger stereo system failures or costly repairs in the future. Motorcycle stereo systems are specifically designed to handle road conditions and extreme heat, but only work at their best if consistently maintained. By learning to diagnose, check, and optimize your sound system, you gain control over your ride, ensuring great sound no matter the environment. This proactive approach isn’t just about entertainment; safe and clear audio can be crucial for receiving navigation cues and staying focused, especially at highway speed.
What You'll Learn About Motorcycle Audio System Troubleshooting
- Understand common audio system mistakes riders make
- Master motorcycle audio system troubleshooting steps
- Enhance your motorcycle stereo and sound quality
- Boost your overall audio experience on the road

Essential Motorcycle Audio System Troubleshooting Steps
Before you consider upgrades or professional repairs, start by understanding the vital steps in motorcycle audio system troubleshooting. A methodical approach quickly uncovers whether your issues stem from wiring, speaker installation, or smart features like Bluetooth connectivity. Riders often make the mistake of jumping straight to complex fixes or blaming the factory system, but a structured process ensures you don’t overlook simple, preventable factors. Here, we outline how to assess both physical and electronic elements, spot red flags, and lay the groundwork for flawless audio experience every ride.
Start with a visual and audible check—listen for static or weak sound, inspect for frayed wires or loose amp kits, and confirm all switches and settings. Don’t ignore minor changes in music playback or volume and clarity; these small shifts often hint at deeper issues in a stereo system designed to handle tough road conditions and highway speeds. With the right basic tools and a strategic plan, many common problems can be addressed before they escalate, preserving your investment and enjoyment for years to come.
As you work through these troubleshooting steps, remember that maintaining your motorcycle’s audio system is just one part of keeping your ride in top shape. For a comprehensive approach to seasonal maintenance and to avoid issues that can impact your entire bike, check out these essential seasonal bike care secrets every rider should know.
Identifying Issues with Your Motorcycle Stereo System
- Signs of poor sound quality
- Common motorcycle audio system troubleshooting indicators
- Physical and electronic checks
Common warning signs that your motorcycle stereo system needs attention include a sudden drop in volume, static or hissing noises even at rest, or complete cutouts when you hit certain speeds or road conditions. If you notice distortion competing with wind noise or engine noise while riding, it’s an immediate signal that something’s off. Intermittent loss of music streaming or crackling sounds during Bluetooth connectivity usage can indicate failing speaker wires or ground connection issues—especially in older or factory systems not designed for today’s high-output audio demands.
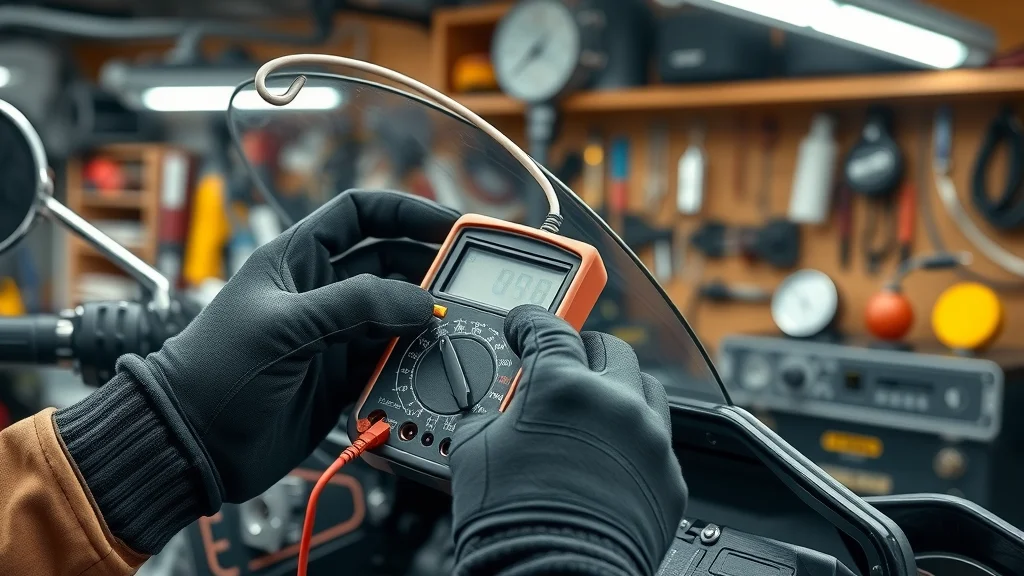
Begin your motorcycle audio system troubleshooting by visually assessing all amplifiers, amp kits, and connections for corrosion or wear. Use your senses: listen for inconsistencies and feel for loose plugs or heated components. Don’t forget electronic checks: a multimeter can reveal undervoltage, inadequate ground connection, or bad fuses that degrade sound quality. Systems designed specifically for motorcycle use rely on robust installation—so frequent, hands-on inspections are key to preventing failures and keeping your stereo system performing at its best.
Basic Tools and Preparation for Audio System Troubleshooting
- Essential troubleshooting equipment
- Preparation checklist for safe inspection
Starting your troubleshooting journey begins by assembling a toolkit tailored to motorcycle audio systems. You’ll need a reliable multimeter for diagnosing electrical issues, insulated screwdrivers, cable testers, extra fuses, and a headlamp for tight spaces. A simple set of zip ties lets you secure loose speaker wires or amp kit elements, preventing minor issues from escalating into major faults at highway speeds. Don’t forget a clean microfiber cloth and electronic-safe contact cleaner—dirt or moisture buildup can sharply diminish sound quality and cause music dropout or interruption.
Preparation also means safety: disconnect the battery before opening any panels on the stereo system, use gloves for insulation, and follow your manufacturer’s instructions. Never rush this process; methodical, careful checks will reveal hidden issues—like hairline cable fractures or worn connectors—especially in factory systems not equipped for modern, higher-power amp kits. Making a habit of routine, well-equipped inspections boosts your audio experience, extends your stereo system’s life, and ensures you can hear your music even through engine noise and wind noise on the open road.
Improving Sound Quality: Targeting the Most Frequent Issues
Even the most robust motorcycle stereo systems can fall victim to diminishing sound quality over time. Recognizing and proactively addressing these frequent issues—like poor speaker placement, wiring faults, or Bluetooth signal problems—ensures your audio experience keeps pace with your on-road adventures. The right fixes can transform a weak or static-ridden stereo system into a setup built for great sound and reliability at any speed. Below, we break down adjustments and repairs that pay big dividends in clarity, volume, and wireless performance for riders who demand the best.
Common mistakes include overlooking speaker direction, failing to check for secure ground connection, or ignoring regular Bluetooth connectivity resets. Every detail—amp kit calibration, tight speaker wires, system cleaning—contributes to a rich, immersive music playback every time you hit the highway. By learning these solutions, you’ll have both factory system basics and smart integration upgrades performing at their highest level, delivering true ride-enhancing audio.
Optimizing Speaker Placement and Output
- Motorcycle stereo speaker adjustment techniques
- Checking for wiring and connection faults
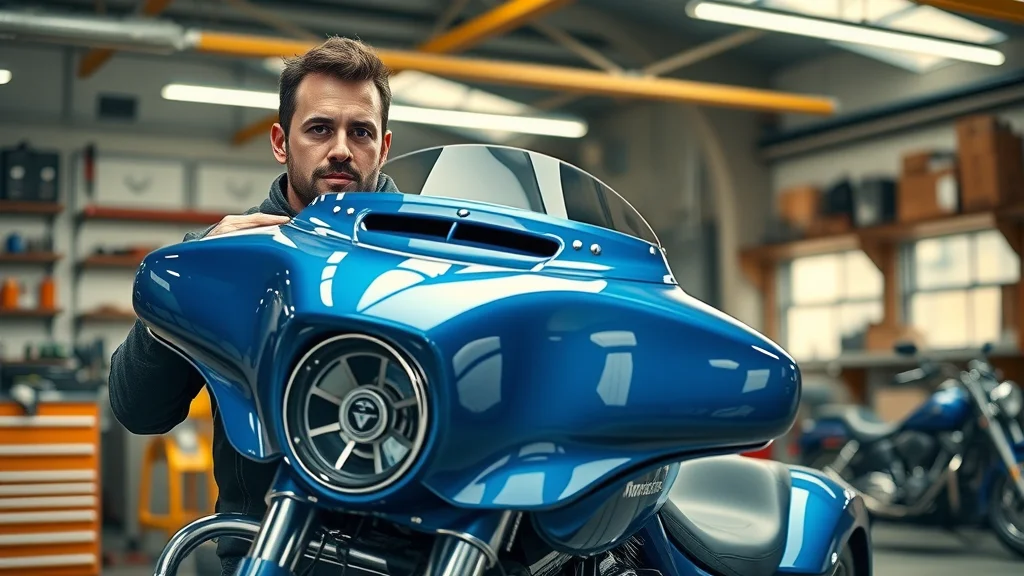
Speaker placement and proper output adjustment play a huge role in your motorcycle audio system’s overall performance. Ideally, speakers should be mounted to minimize wind noise interference and positioned to direct sound toward the rider’s ears, not just out into open air. If music playback suddenly turns weak or muffled during long rides or at highway speeds, don’t dismiss speaker location or vibration as potential culprits. Use manufacturer-recommended brackets and spacers—systems specifically for motorcycle use will often include these options to combat engine noise and the intense environment of the road.
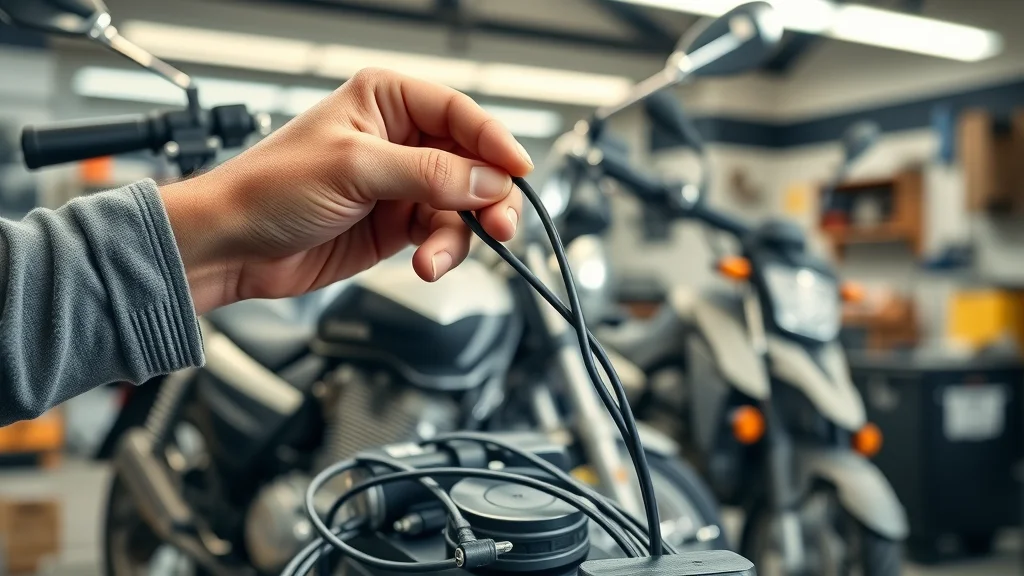
Equally important is a rigorous check of all wiring: loose, corroded, or improperly shielded speaker wires can lead to intermittent connections, resulting in static, distortion, or total audio loss. Carefully inspect and tighten every terminal, test ground connection integrity, and avoid running speaker or amp kit cables near high-interference electronics. Address every weakness and you’ll enjoy a stereo system that delivers great sound—no matter the road, speed, or weather.

Diagnosing Bluetooth Connectivity and Signal Problems
- Bluetooth connectivity loss or interruption
- Fixes for wireless pairing issues in motorcycle stereo systems
One of the most common frustrations for riders is sporadic Bluetooth connectivity or ongoing pairing issues between a phone and a motorcycle stereo system. Wireless music streaming offers freedom and convenience, but the same factors that add joy—like smart integration and music playback at highway speeds—can also invite confusion and dropouts. If you’ve experienced sudden disconnections, lag during music playback, or trouble keeping your devices paired, start troubleshooting by eliminating local sources of wireless interference: avoid pairing multiple devices at once, disable unused connections, and keep your phone’s firmware up-to-date for best broadcast strength.
If problems persist, reset both the stereo system and your Bluetooth device, then re-pair from scratch. Some factory systems and aftermarket amp kits offer manual pairing mode, which can bypass stubborn connection lags. Double-check that stereo and device settings match, and keep physical connections clean. With Bluetooth connectivity delivering so much of today’s audio experience, these simple checks ensure your riding soundtrack remains seamless—no matter where or how far you go.
| Common Motorcycle Audio Problems | Probable Causes | Troubleshooting Steps |
|---|---|---|
| Static sound | Loose wiring | Inspect and resecure wires |
| Low volume | Faulty speakers | Test or replace speakers |
| Bluetooth dropouts | Interference | Re-pair device, check environment |
Avoiding Common Motorcycle Audio System Mistakes
- Neglecting routine system checks
- Ignoring minor sound quality deterioration
- Overloading stereo system beyond capacity
- Incorrect Bluetooth connectivity setups causing audio lag
Many riders stumble over avoidable pitfalls while striving for a superior motorcycle audio experience. The most widespread error? Skipping regular checks of the stereo system’s health—out of sight, out of mind. Ignoring small dips in sound quality often results in permanent speaker damage or deeper electronic faults. Another frequent mistake is pushing the factory system or aftermarket amp kits beyond their recommended power range. Overloaded components wear rapidly, shortening the system’s lifespan and raising the risk of abrupt failure midway through a long ride.
Yet another common problem sits with modern smart features: improper Bluetooth connectivity setups resulting in audio lag, dropped connections, or music streaming delays. Spending a few minutes following best practices for wireless pairing—never connecting when moving, keeping firmware updated, and systematically pairing devices—eliminates these headaches. Ultimately, cautious, routine attention to your motorcycle stereo system protects sound quality, lets you hear your music clearly at highway speeds, and ensures your rides stay as smooth as your favorite playlist.
"Consistent motorcycle audio system troubleshooting doesn't just save you money—it transforms every ride into a superior audio experience. "
People Also Ask: Common Motorcycle Audio System Questions
What two reasons usually cause speaker failure?

Speaker failure in motorcycle stereo systems is most often caused by two main issues: physical damage and prolonged electrical stress. Physical damage can happen when water intrusion, vibration from rough road conditions, or debris gets into the speaker housing, leading to tears or warping of the cone. Prolonged electrical stress arises when the stereo system is operated beyond its power handling capacity—either from using incompatible amp kits or driving speakers at maximum volume for extended periods. Both scenarios result in weak sound, distortion, or complete audio loss, underlining why routine checks and proper setup are crucial for lasting great sound.
How to reset Harley Davidson radio?
Resetting a Harley Davidson radio typically involves turning the ignition switch to accessory mode and then holding down the preset buttons number one and number four simultaneously for several seconds. The display should flash or show a reset message, signaling that the stereo system has returned to its factory settings. Remember to reconfigure Bluetooth connectivity and personal audio preferences after the reset for optimal music playback and sound quality. Always refer to your motorcycle’s user manual, as reset steps might vary by model or year.
How to troubleshoot audio systems?
Begin motorcycle audio system troubleshooting by visually inspecting all components—check the speaker wires, ground connection, and amplifier terminals for signs of corrosion, loosening, or physical wear. Listen for changes in sound quality, distortion, or static, and use a multimeter to test electronic connections and ensure proper voltage flow. If you find that Bluetooth connectivity or music playback is inconsistent, reset and re-pair all wireless devices. Where problems persist, test each component (like swapping speakers) in isolation to pinpoint the exact source. Consistent, step-by-step checks are key for both quick fixes and long-term audio system reliability.
What are the common speaker problems?
The most common speaker issues in motorcycle stereo systems include static, distortion, low volume, complete audio loss, and intermittent output. These typically stem from loose connections, damaged speaker wires, water intrusion, or running the speakers at volumes that exceed their design limits. Vibration and wind noise at highway speed add extra strain, making secure installation critical. If a problem emerges, immediate troubleshooting prevents more severe and expensive damage to your motorcycle stereo system and helps keep your audio experience crisp and reliable.
Expert Motorcycle Audio System Troubleshooting FAQs
-
What signs indicate poor sound quality in a motorcycle stereo?
Look for sudden drops in volume, increased static or distortion, and music that sounds muted or off-balance. These symptoms usually mean it's time for troubleshooting your motorcycle audio system. -
How can I enhance Bluetooth connectivity on my motorcycle stereo system?
Ensure that your devices' firmware is current, keep unused connections turned off, and pair devices in a stationary environment to reduce interference for reliable music playback. -
Are there specific tools for motorcycle audio system troubleshooting?
Yes, essential tools include a quality multimeter, cable testers, insulated screwdrivers, replacement fuses, and contact cleaner. Keeping these at hand allows for quick diagnosis and routine maintenance.
Key Takeaways for Motorcycle Audio System Troubleshooting
- Regular motorcycle audio system troubleshooting prevents long-term damage
- Optimizing your stereo system elevates your audio experience
- Attention to sound quality and connectivity issues ensures safety and enjoyment
Ready to Upgrade Your Ride? Contact Nasty Performance Motorcycle Shop at 847-458-4858
Call Nasty Performance Motorcycle Shop Today: 847-458-4858 to schedule a professional audio system inspection or upgrade. Take the next step toward flawless sound quality and music enjoyment on every ride!
Conclusion: Consistent motorcycle audio system troubleshooting protects your investment, guarantees fantastic sound quality, and ensures your rides are always as thrilling as the open road ahead.
While mastering audio troubleshooting is key to a better ride, true motorcycle care goes beyond just your stereo system. If you’re ready to elevate your entire riding experience, consider exploring expert advice on seasonal maintenance and holistic bike care. Discover how proactive upkeep can prevent issues before they start, keep your machine running smoothly, and ensure every journey is as enjoyable as your favorite playlist. For a deeper dive into comprehensive motorcycle maintenance strategies, don’t miss the insights in Seasonal Bike Care Secrets Every Rider Must Know—your next level of riding confidence starts with the right knowledge.


Write A Comment