
Ever wondered if your brakes would protect you in a split second— or could worn pads put your ride and safety at risk? This in-depth guide on motorcycle brake pad replacement takes out the guesswork, helping riders of all experience levels understand, diagnose, and tackle brake pad issues before they compromise safety. We’ll cover every critical step, from signs of wear to pro tips on installing new pads, so your motorcycle brake system performs at its best every time you hit the road.
Why Motorcycle Brake Pad Replacement Is Critical for Rider Safety
Neglecting to replace worn brake pads can compromise your motorcycle’s most vital safety feature: reliable stopping power. Motorcycle brake pad replacement is not just a routine maintenance task; it’s a lifesaver that ensures your brake system operates effectively whenever you squeeze that brake lever. Old or degraded brake pads reduce friction material, causing increased stopping distances and a less progressive feel, which can be a critical risk in emergencies. Regular pad replacement keeps your braking predictable, especially in sudden or hazardous conditions.
Modern motorcycles rely on a precise combination of brake caliper, pads, and rotors, all working in harmony to deliver strong and controllable deceleration. If your brake pads are thin or contaminated, the caliper piston must travel further and harder to press the pad against the disc, potentially overheating components and damaging the rotor. Worn-out pads could cause metal-to-metal contact, destroying rotor surfaces and leading to costly repairs. For both new and seasoned riders, keeping up with brake pad replacements can make the difference between a close call and a crash.
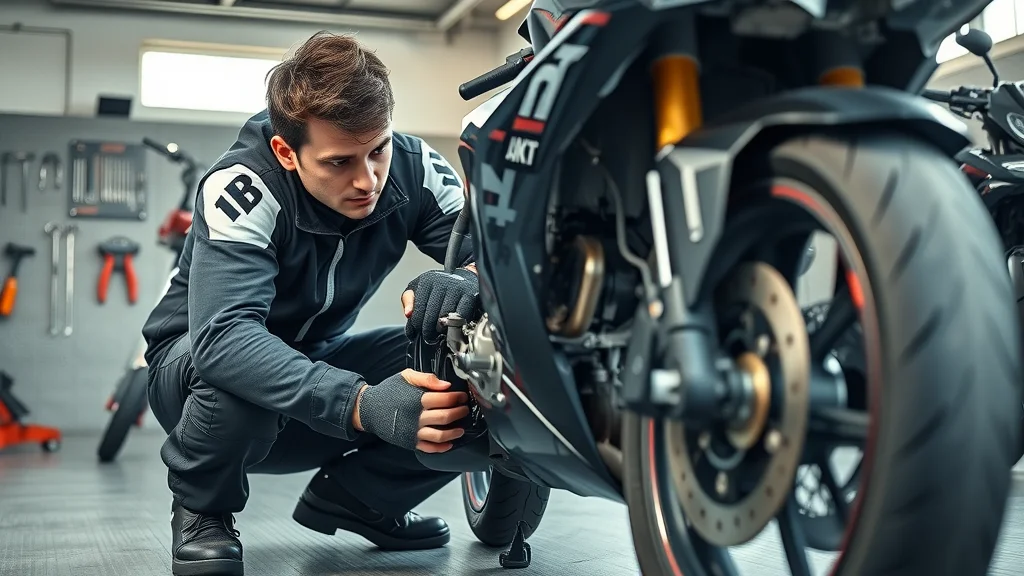
“Your motorcycle brake pads are the front line of your safety—learn the signs before you ride.” – Industry Expert
The Role of Motorcycle Brake Pads in Safe Riding
At the core of every dependable motorcycle brake job lies the humble brake pad. Each pad consists of a friction material bonded onto a metal backing plate, designed to press against your brake disc when the brake lever or pedal is applied. This friction is what allows your motorcycle brake system to slow or stop the bike safely and smoothly. Pads suited to your riding conditions—whether organic pads for daily commutes or sintered pads for high-performance needs—determine not only your stopping distance, but also the progressive feel and control of your brakes.
Functioning as the critical interface in your brake caliper, the brake pads must absorb heat and dissipate energy efficiently. Over time, the friction material wears down, reducing effectiveness, especially as contaminants from the road or worn hardware decrease performance. For every type of motorcycle brake system, keeping a sharp eye on pad thickness and wear not only saves money down the road but makes each ride safer, ensuring your ability to stop when it matters most.
Warning Signs: When to Consider Motorcycle Brake Pad Replacement
Knowing the warning signs of worn pads can prevent damage to your motorcycle brake caliper and rotor. If you hear a squealing, screeching, or grinding noise during braking, it’s likely the brake pad friction material is low and the wear indicator is contacting the rotor. A reduced brake lever response, increased stopping distances, or a spongy feel to the lever or pedal signal that your pads could be too thin to perform effectively.
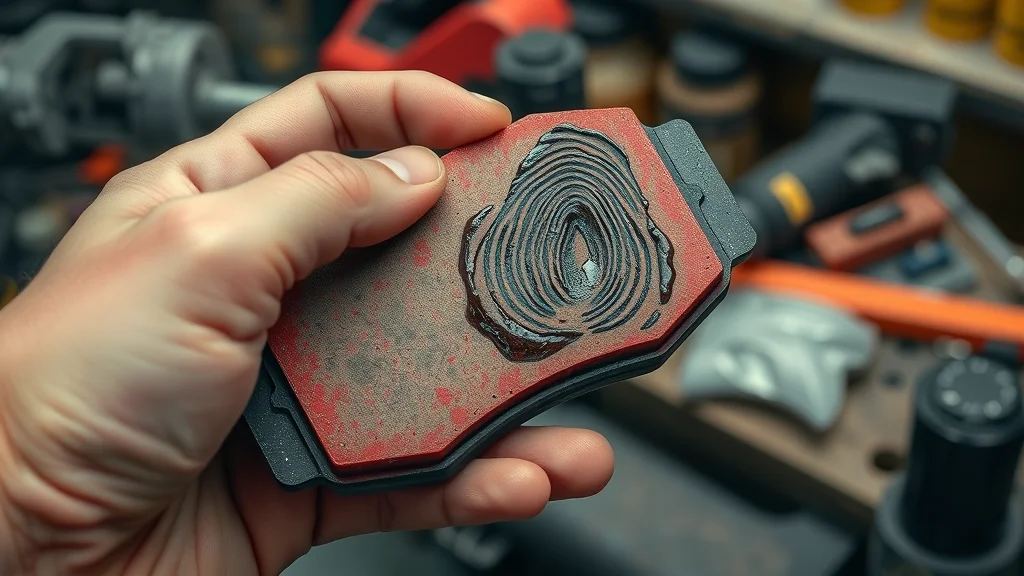
Visual inspection is just as important—look for grooves, cracks, or discoloration on the pads and surface of the rotor. If you see uneven pad wear or oil and debris embedded within the friction material, it’s time for an immediate pad replacement. Ignoring these symptoms could lead to a more expensive brake job or dangerous loss of stopping power while riding.
What You'll Learn About Motorcycle Brake Pad Replacement
- Fundamentals of how brake pads work in your motorcycle brake system
- Necessary tools and preferred safety gear for handling brake pads
- A comprehensive motorcycle brake pad replacement process
- Inspection tips to prolong your motorcycle brake pads’ lifespan
- Common mistakes to avoid during motorcycle brake pad replacement
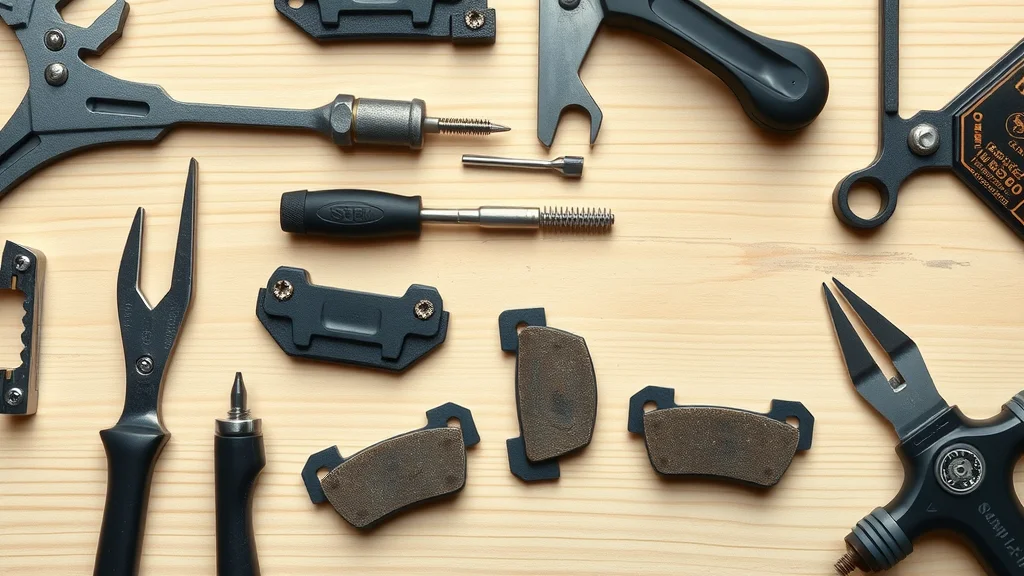
Essential Tools and Safety Gear for Motorcycle Brake Pad Replacement
- Basic toolkit: wrenches, screwdrivers, pliers
- Jack or motorcycle lift for stable access
- Protective gloves and eyewear
- Brake cleaner and lint-free cloths for brake pad handling
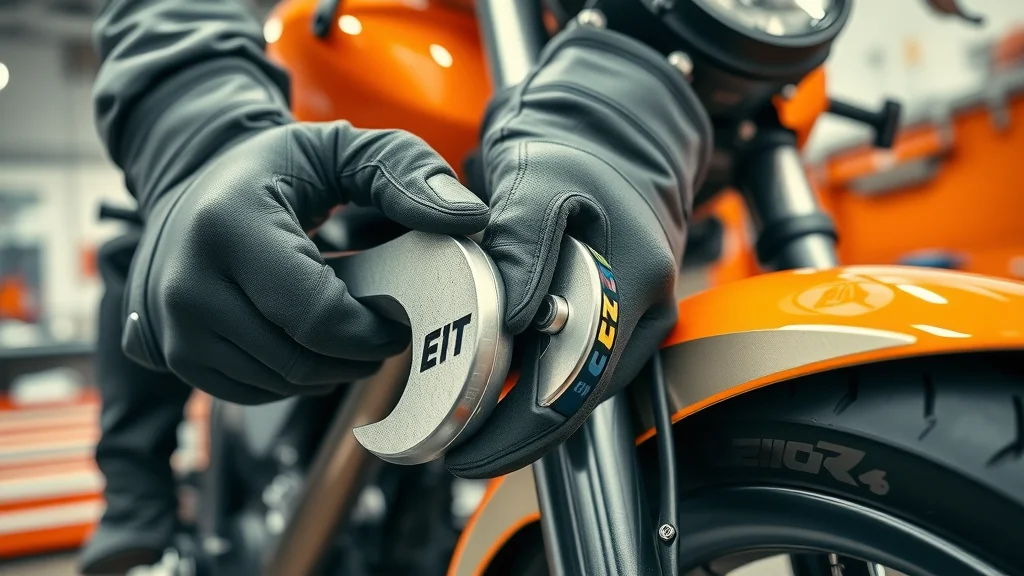
| Tools/Supplies | Function |
|---|---|
| Wrenches | Removing caliper bolts |
| Brake Cleaner | Decontaminating rotor and pads |
| Gloves, Eye Protection | Safety during brake pad replacement |
Step-By-Step Motorcycle Brake Pad Replacement Process
1. Preparing to Replace Your Motorcycle Brake Pads
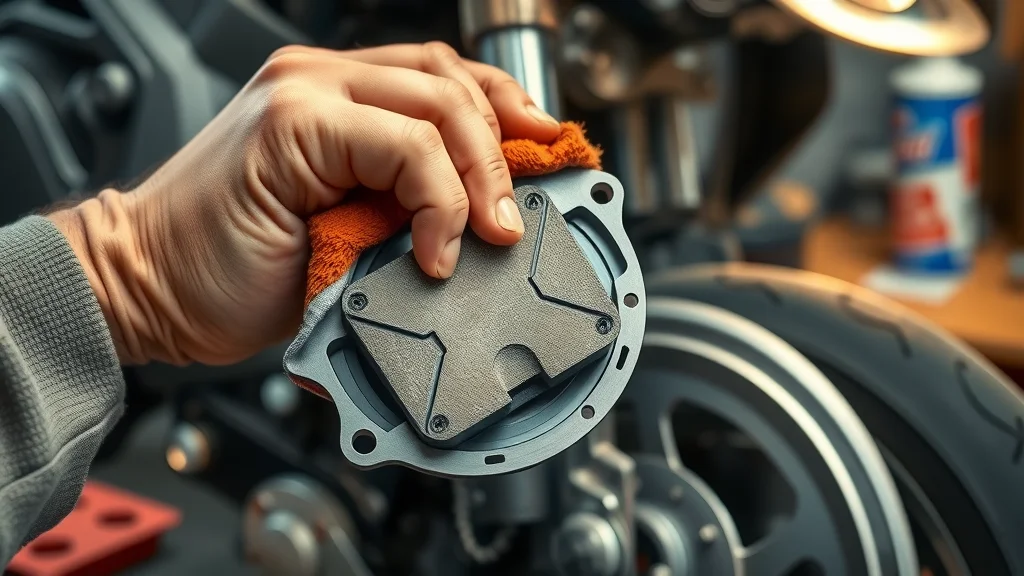
Preparation is an essential step before starting any motorcycle brake pad replacement job. Park your motorcycle on a stable, level surface and use a jack or motorcycle lift to secure it upright. Gather your basic toolkit — including the necessary wrenches or sockets for your specific bike, screwdrivers, pliers, and a can of brake cleaner. Don’t forget to wear protective gloves and safety eyewear to prevent injuries from debris, brake fluid, or metallic dust. Place lint-free cloths nearby for cleaning the caliper, rotor, and your hands as you work.
Before removing any parts, consult your motorcycle’s manual for instructions specific to your make and model. Identify the brake caliper and confirm the correct pad type: sintered pads, semi-sintered, or organic pads may differ in installation. Taking site photos of the assembly beforehand (just like a photo by Ari Henning or other mechanic pros) can help you reassemble everything correctly later. Efficient preparation is the backbone of a safe, successful brake pad replacement.

2. Removing Old Brake Pads Safely
After setting up, locate your brake caliper and remove the caliper bolts with the appropriate wrench. Support the caliper so it doesn’t stress the brake line (never let it dangle from the hose). Carefully extract the retaining pin or spring plate—pay attention to the order and orientation, as this retaining hardware must go back exactly as found to ensure proper performance. Once pins are clear, slide the old brake pads out, noting their position relative to the caliper piston and retaining bracket.
It’s crucial not to damage the caliper piston or seals in this process. If your bike has a master cylinder with a reservoir cap, open the cap slightly to relieve pressure but avoid introducing debris. As you remove the worn pads, look for uneven wear, embedded grit, or loss of friction material. Using a brake cleaner and a cloth, wipe the inside of the caliper and ensure all areas are free of dust and contamination. Removing old pads methodically prevents damage to the caliper pistons and makes fitting the new pads more straightforward.
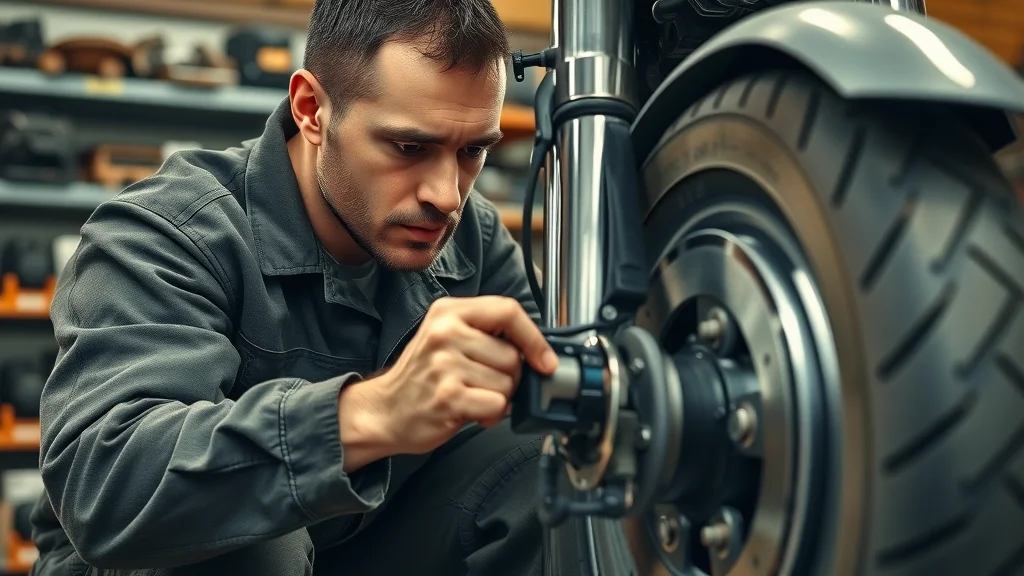
3. Inspecting Your Motorcycle Brake and Brake Pads
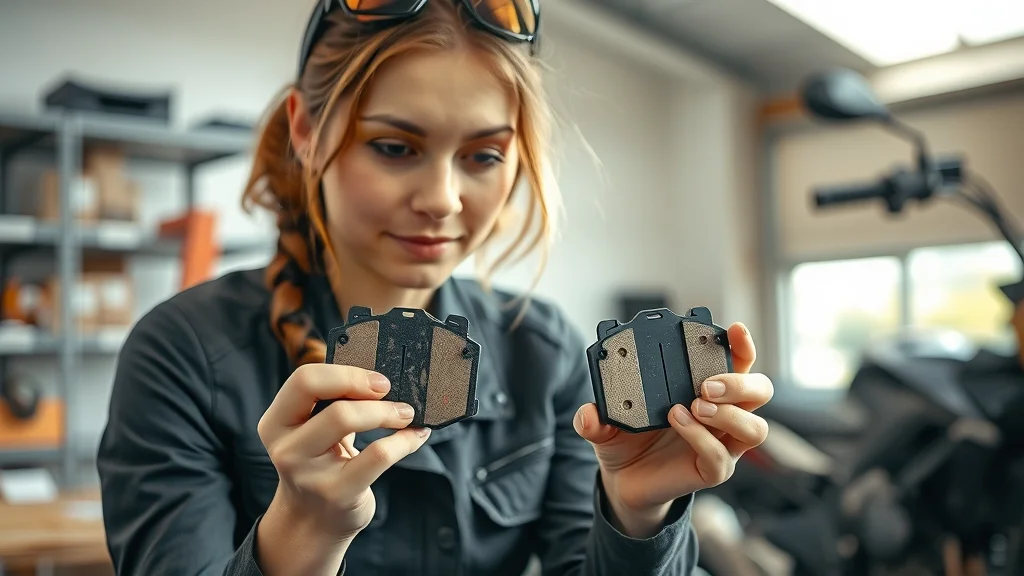
With the old brake pads out, take time to closely examine the friction material, wear indicators, and any defects. Compare the used pads with new replacements, looking for thinning, cracking, or heat discoloration—these are signs the pads have exceeded their lifespan and may have compromised the rotor’s surface. Inspect the caliper piston for smooth extension and retracting movement; consider carefully cleaning the caliper to remove built-up grime.
Assess the brake disc or rotor for grooves, scoring, or blue spots that suggest overheating. Check the retaining hardware and ensure all parts, like threaded pins or spring plates, are undamaged. Confirm that fluid level in the master cylinder is adequate but never overfilled; this is especially important when compressing caliper pistons to create space for thicker, new pads. An attentive inspection not only prolongs the life of your new pads but also enhances your motorcycle brake system’s reliability.
4. Installing New Motorcycle Brake Pads Correctly
Before fitting new brake pads, double-check for cleanliness—any grease or dirt on pad surfaces can impair friction or lead to noise. Compress the caliper piston gently using a pad spreader, C-clamp, or the old pad and a large flat screwdriver. Align new pads as per your earlier site photo or manual, ensuring the friction material faces the rotor and that all shims or spring plates are in place.
Slide new pads into the caliper, reinstall the retaining pin or threaded pin, and torque all bolts to manufacturer specifications. Reattach the caliper to the mounting bracket, again using factory torque settings—improper installation could reduce braking performance and create a serious hazard. Confirm that the brake lever moves freely and returns smoothly after each squeeze. This care guarantees your fresh pads settle in correctly, maximizing stopping power.
As you work through the brake pad replacement process, it's also important to consider how seasonal changes can impact your motorcycle's braking performance and overall maintenance needs. For practical advice on adapting your care routine throughout the year, check out these seasonal bike care secrets every rider must know to keep your ride in top condition no matter the weather.
5. Testing Your Brake Pads After Installation
After brake pad replacement, it’s essential to bed in your new pads to achieve optimal braking performance and avoid brake fade. Reinstall the wheel if removed, and before your first ride, pump the brake lever several times to bring the pads into contact with the rotor, checking for proper resistance. Roll the bike forward and engage the brakes gently to ensure the caliper engages smoothly.
On your test ride, follow the 30 30 30 rule: accelerate to 30 mph, apply the brakes moderately 30 times, allowing at least 30 seconds between stops for cooling. This process helps embed the new friction material onto the rotor for consistent, progressive feel. Monitor the system for any noise, sponginess, or vibration. Address issues immediately, as overlooked installation errors can lead to brake job failure or pad and rotor damage.
Motorcycle Brake Pads Maintenance Tips and Longevity
- How frequent checks maximize your brake pad lifespan
- Tips for preventing premature motorcycle brake pad wear
- Best practices for cleaning and maintaining your brake pads
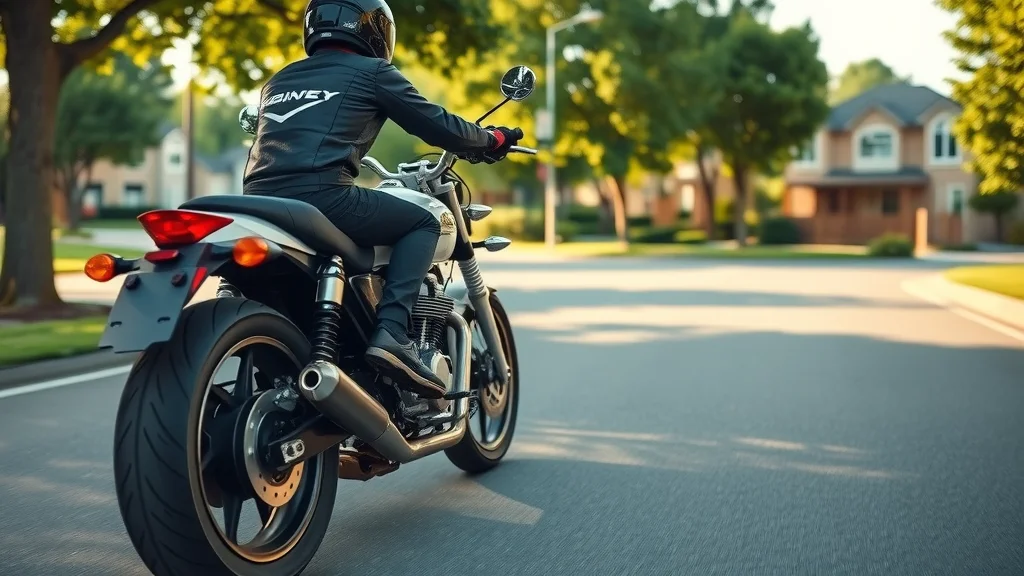
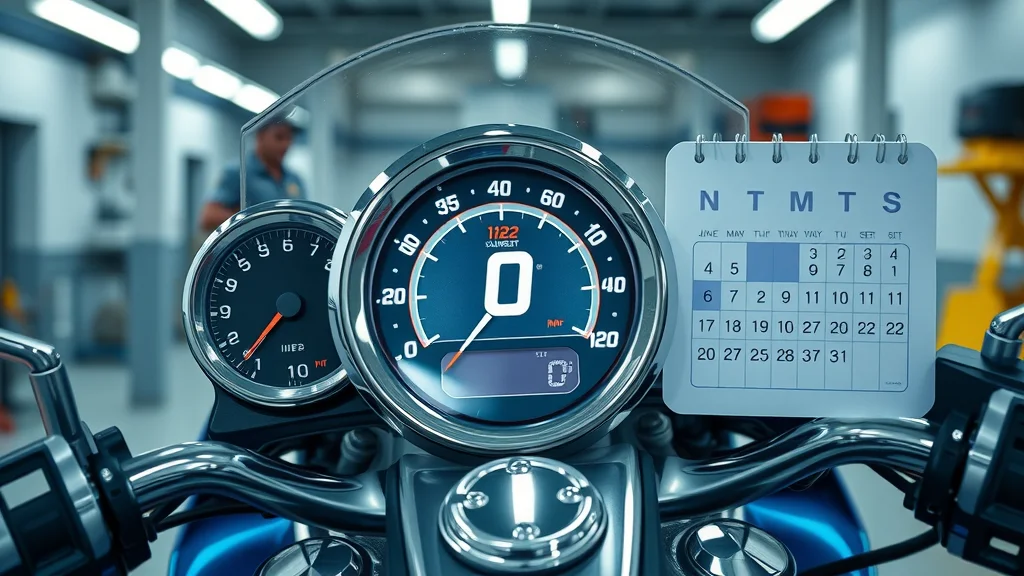
Frequent inspections—at least every 5,000 miles or before long trips—are crucial for maximizing the durability of your motorcycle brake pads. Check pad thickness and the surface for embedded debris. Cleaning the caliper and rotor during each brake job or tire change keeps your brake system free of contaminants that can shorten pad life. Avoid harsh braking whenever possible, as aggressive use generates heat and can speed up wear.
Select pads best suited for your riding style and environment: organic pads offer quieter braking and smoother feel in urban settings, while sintered pads or semi sintered pads excel in high-load or sport scenarios. Always handle pads with clean gloves to prevent oils from contacting the friction material. Maintain proper fluid levels, check retaining hardware for corrosion, and ensure the caliper piston operates freely for longer brake component life.
People Also Ask: Your Motorcycle Brake Pad Replacement Questions
How often should I change motorcycle brake pads?
Motorcycle brake pad lifespans vary—inspect every 5,000 to 10,000 miles or as your motorcycle brake manufacturer recommends.
What is the 30 30 30 rule for brakes?
This refers to gently applying your new brake pads at 30 mph, for 30 times, letting them cool for 30 seconds between each use to bed them properly.
Are motorcycle brake pads easy to change?
With proper tools and guidance, motorcycle brake pad replacement is manageable for most riders with basic mechanical skills.
Does O'Reilly's carry motorcycle brake pads?
Some O'Reilly Auto Parts locations may stock motorcycle brake pads, but check specific store availability or consult a motorcycle-specific retailer.
Common Mistakes to Avoid During Motorcycle Brake Pad Replacement
- Neglecting to properly torque caliper bolts after working with brake pads
- Touching the surface of new brake pads with greasy hands
- Failing to inspect rotors and caliper condition along with motorcycle brake pads
| Mistake | Impact |
|---|---|
| Improper installation | Reduced braking performance |
| Ignoring pad wear indicators | Potential safety hazard |
| Skipping rotor inspection | May damage new brake pads |
Key Takeaways for Motorcycle Brake Pad Replacement
- Routine motorcycle brake pad checks safeguard your safety
- Correct motorcycle brake pad replacement ensures peak performance
- Always follow manufacturer guidelines during any brake pad replacement

FAQs: Further Insights on Motorcycle Brake Pad Replacement
How do I know if my motorcycle brake pads need replacing?
Check your brake pads for thinning friction material, squealing noises, or longer stopping distances. If the pad thickness is less than 2–3 mm or you notice uneven wear, it's time for a replacement.
What are the signs of worn motorcycle brake pads?
Common signs include squeaking or grinding noises while braking, a spongy or unresponsive brake lever, vibration during braking, or visible metal on the pad surface. Any of these signals mean immediate attention is required to maintain safe braking performance.
Can worn brake pads damage other motorcycle brake components?
Yes, riding with worn pads can lead to metal-on-metal contact, damaging the rotor and potentially the brake caliper piston. This can result in much higher repair costs and safety risks.
Should I replace front and rear motorcycle brake pads at the same time?
Not always—check each set independently. Pads may wear differently based on riding style and braking habits. Replace them as needed, but always inspect both front and rear during maintenance.
Contact the Experts for Motorcycle Brake Pad Replacement
Call Nasty Performance Motorcycle Shop Today: 847-458-4858
Don’t leave your safety to chance—get your motorcycle brake pads checked or replaced by trusted professionals. Ride safe!
Mastering brake pad replacement is a vital skill for every rider, but true motorcycle care goes beyond just the brakes. If you’re ready to elevate your maintenance routine and protect your investment year-round, discover how proactive seasonal care can make a difference. Explore essential seasonal bike care strategies that help you anticipate issues before they arise, extend the life of your components, and ensure your motorcycle is always ready for the next adventure. Take the next step in your maintenance journey and unlock the secrets to confident, all-season riding.



Write A Comment