


Did you know that over 35% of DIY brake pad replacements end up with follow-up repairs due to simple mistakes? While changing brake pads on your motorcycle can save you money and offer a sense of accomplishment, a single overlooked step could put your safety at risk. Understanding and avoiding brake pad replacement mistakes is not just about saving costs—it’s about ensuring every ride is safe, smooth, and reliable. Whether you're an experienced do-it-yourselfer or just starting out with DIY brake pad replacement, this comprehensive guide will help you sidestep common pitfalls and master the art of changing brake pads safely.
Understanding Brake Pad Replacement Mistakes
-
Overview of brake pad replacement mistakes and their consequences:
Even the most enthusiastic DIY brake pad replacement can go awry if critical steps are skipped. Common mistakes like improper pad alignment, failing to fully retract caliper pistons, or mismatching brake pads can lead to uneven wear, poor braking performance, and even brake system failure. These errors may not only damage the braking system but could also put you and others on the road in danger. Mistakes during pad replacement can translate to costly repairs and jeopardize the braking system’s reliability. -
Importance of avoiding common mistake in DIY brake pad replacement:
Safety should always be the top priority when tackling brake jobs. Simple oversights—like not cleaning caliper guide pins or using incompatible friction material—can lead to squealing brakes, uneven pedal feel, or danger in emergency stops. Knowing the most frequent brake pad replacement mistakes empowers you to avoid them from the outset, ensuring each changing brake job boosts your motorcycle’s overall performance and secures your peace of mind.
What You'll Learn About Brake Pad Replacement Mistakes
- Identifying typical brake pad mistakes: Pinpoint the most frequent slip-ups that plague DIY brake pad replacement jobs.
- Why pad replacement precision matters: Understand how every detail in changing brake pads contributes to your motorcycle’s safety and performance.
- How to improve your DIY brake pad replacement process: Gain actionable advice so you avoid brake pad replacement mistakes on your next brake job.
Why Attention to Brake Pad Replacement Mistakes is Critical
-
Impact of brake pad replacement mistakes on your motorcycle’s safety and braking system:
A single common mistake, such as failing to secure brake pads or neglecting to lubricate caliper guide pins, can compromise your entire braking system. DIY brake jobs done incorrectly may cause uneven wear, noisy brakes, or even lead to brake fluid leaks. Each part of the braking system relies on proper pad replacement procedures—overlooking one can reduce braking performance, extend stopping distances, and cause unpredictable pedal feel that threatens safe riding. -
A quote from a trusted mechanic discussing common mistake in brake pad jobs:
"One overlooked step in a brake pad replacement can compromise your entire braking system. Always double-check every component before hitting the road." – Certified Motorcycle Technician
Table: Overview of the Most Frequent Brake Pad Replacement Mistakes
| Common Mistake | Impact on Braking System | How to Avoid | Estimated DIY Difficulty Rating |
|---|---|---|---|
| Not Retracting Caliper Pistons Fully | Prevents new pads from fitting correctly and causes uneven wear. | Use a proper tool to compress pistons fully before installing new pads. | Moderate |
| Improper Brake Pad Positioning | Results in brake noise, vibration, and loss of braking performance. | Align pads carefully and ensure proper seating in the caliper. | Easy |
| Skipping Lubrication | Leads to stiff caliper movement and squeaky brakes. | Apply brake grease to caliper guide pins and backs of pads. | Easy |
| Mismatched Brake Pads | Inconsistent wear, reduced effectiveness, and potential caliper damage. | Verify compatibility and always install matching pad sets. | Easy |
For those looking to take their maintenance skills further, understanding how seasonal changes can impact your motorcycle’s performance is just as important as mastering brake pad replacement. You can discover practical tips for year-round care in this guide to seasonal bike care secrets every rider must know, which complements your DIY brake work with broader maintenance strategies.
Preparation Steps: Avoiding Brake Pad Replacement Mistakes Before You Start
-
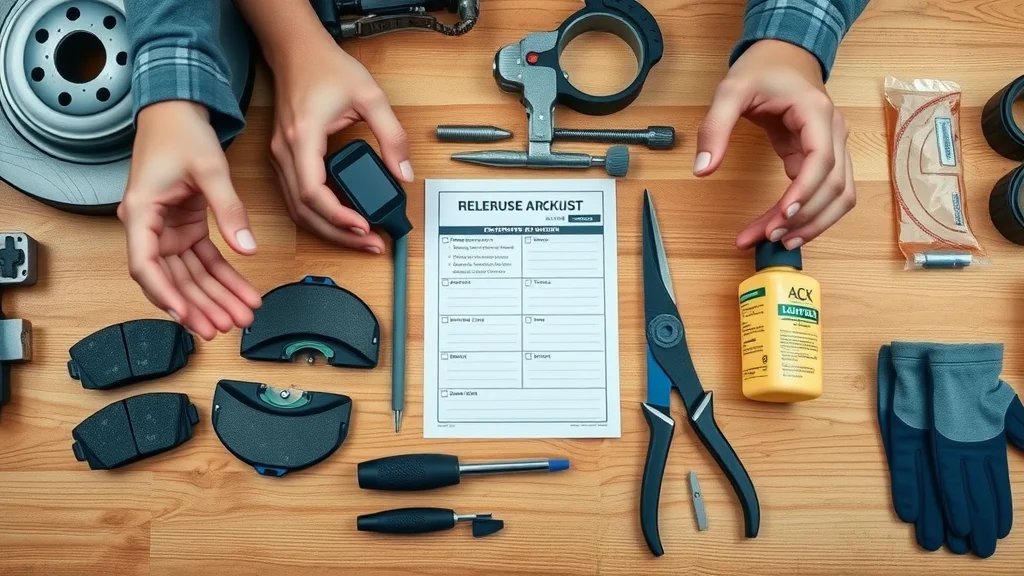
Gathering proper tools for DIY brake pad replacement:
Before tackling any brake job, ensure you have all the right tools on hand. This typically includes a torque wrench, caliper tool, brake pad spreader, high-quality gloves, and cleaning products. Using proper tools reduces the risk of damaging lug nuts, caliper guide pins, or the brake pad itself. Be sure to lay out all necessary equipment on a clear, organized workspace to streamline your pad replacement and help you avoid common mistakes that can arise from being unprepared. -
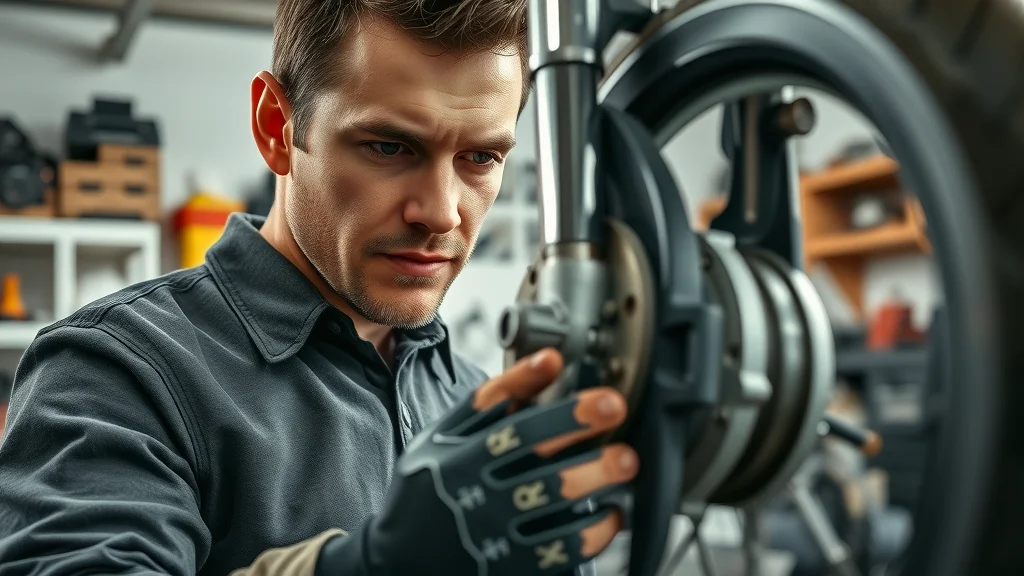
Inspecting brake pads and braking system before pad replacement:
Before starting your DIY brake pad replacement, carefully inspect the current pads, brake rotors, and calipers. Check for uneven wear or signs of brake fluid leakage, as these can indicate underlying braking system issues. Ensuring components are in good condition reduces the risk of new pad replacement mistakes and helps you address problems that could affect your brake job’s effectiveness. -
Checking compatibility of replacement brake pads:
Not all brake pads are created equal. Confirm that your replacements match your motorcycle’s make, model, and braking system specifications. Using mismatched pads can lead to inconsistent braking, excessive wear of the brake rotor, and increased risk for future brake pad replacement mistakes—so double-check before installing.
Step-by-Step Guide: Correct Brake Pad Replacement
- Safely elevate your motorcycle and remove the wheels. Loosen lug nuts and detach the caliper, taking care not to hang the brake by the hose. This avoids strain on the brake hose and prevents brake fluid leaks.
- Completely retract the caliper pistons using a proper caliper tool. Ensure there is enough clearance for the new brake pads—don't force the pads, as this can damage the piston or caliper guide pin.
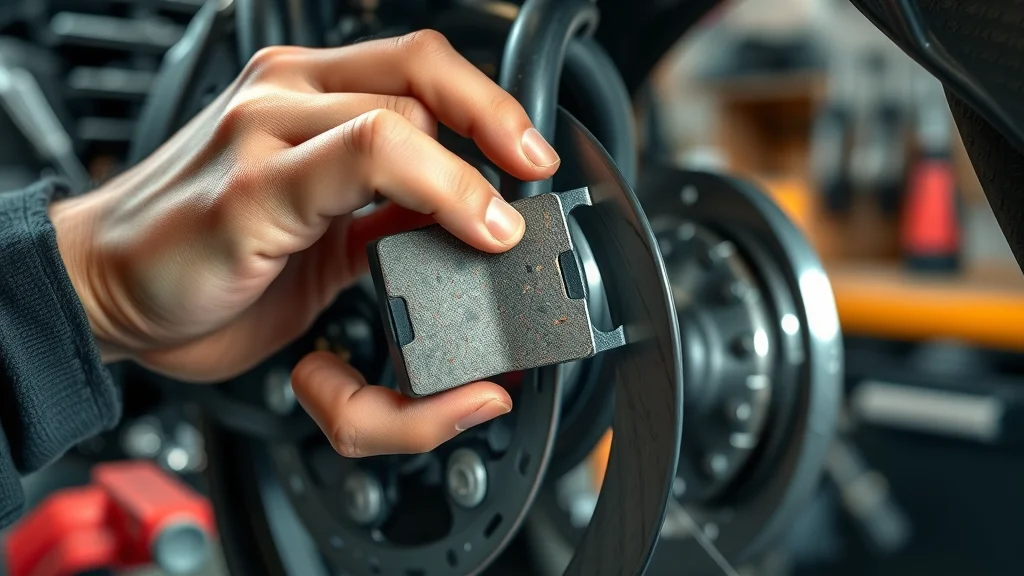
- Remove the old brake pads and carefully clean the caliper, guide pin, and rotor surface. Use brake cleaner to eliminate debris and old lubricant for a smooth pad replacement.
- Align the new brake pads properly in the caliper, ensuring they fit flush against the contact surface. Double-check their position to avoid common mistakes like uneven wear or noise.
- Apply a high-quality brake lubricant to the caliper guide pins and pad backing plates. This step is vital for smooth operation and to prevent squealing.
- Reinstall the brake caliper and torque all bolts to manufacturer specifications. Secure all components and ensure the brake pad is properly seated.
- Pump the brake lever or pedal several times to restore proper brake pad contact and pedal feel before riding. Monitor the system for leaks or warning lights.
- Proper brake pad alignment and installation tips: Always ensure pads sit flush against the rotor and check for any gaps or misalignment. Improper positioning can lead to reduced braking system performance and uneven pad wear.
- Key braking system checks during brake pad replacement: Examine caliper movement, rotor condition, and brake fluid level after each step. Resolve any abnormalities before continuing your brake job.
Common DIY Brake Pad Replacement Mistakes
- Not fully retracting caliper pistons: A frequent error in DIY brake pad replacement, this prevents new pads from fitting and causes the brake caliper to bind or rub against the rotor, leading to reduced performance and uneven wear.
- Improper brake pad positioning: Incorrectly aligned pads can cause contact surface issues, brake squeal, and inefficient stopping power. Careful alignment is crucial for optimal braking system function.
- Skipping brake pad lubrication steps: Not lubricating caliper guide pins or pad backs results in sticky movement and persistently noisy brakes.
- Mismatched brake pads: Installing the wrong type or unevenly worn pads can cause inconsistent pedal feel, faster deterioration, and even damage to the caliper or rotor.
Brake Pad Replacement Mistakes and the 30 30 30 Rule
-
Explanation of the 30 30 30 break-in rule and its relevance to DIY brake pad jobs:
The 30 30 30 rule is a proven break-in method after brake pad replacement: complete 30 gradual stops from 30 mph, spacing each stop about 30 seconds apart. This process evenly beds new pads into your disc brakes while ensuring proper friction material transfer. -
How improper brake pad replacement can make it difficult to implement the 30 30 30 rule:
If pads are mismatched, installed incorrectly, or not properly lubricated, the break-in phase—critical to maximizing pad and rotor life—will not be effective. Skipping steps increases the risk of uneven wear and brake rotor damage, making even the best break-in routine much less effective.

Signs You've Made a Brake Pad Replacement Mistake
- Common symptoms after DIY brake pad replacement mistakes: If you hear squealing, grinding, feel a pulsing brake pedal, or notice inconsistent pedal feel, your brake job may have gone wrong. These warning signs often indicate issues like sticking caliper guide pins, misplaced brake pads, or uneven contact with the rotor.
- Braking system warning indications: Look out for dashboard warning lights, visible brake fluid leaks around the caliper, or excessive brake dust shortly after pad replacement. Ignoring these warning signals can accelerate disc brakes and rotor damage.
- When to revisit your pad replacement job: If you experience any of the above or hear grinding/scraping shortly after DIY brake pad replacement, stop riding and re-examine every step. It’s better to redo a brake job than risk your safety or compromise the braking system further.

How to Fix Brake Pad Replacement Mistakes and Ensure Safety
- Safely lift the motorcycle and remove the wheel and caliper as you did initially.
- Retract caliper pistons fully using a proper tool to ensure room for fitting new pads.
- Thoroughly clean the caliper guide pins, pad slots, and brake rotor surface with approved brake cleaner.
- Carefully realign new brake pads, ensuring both sides are seated evenly on the contact surface.
- Apply the correct lubricant to caliper guide pins and pad backs to prevent squealing and binding.
- Torque all bolts to the manufacturer’s specs for a secure fit and check all components for proper installation.
- Pump the brake lever or brake pedal to restore system pressure and check for leaks before test riding.
- Ensuring braking system integrity after brake pad replacement: Always check brake pedal or lever feel, inspect for leaks, and confirm pads and calipers move freely. Address warning lights on your dash immediately to protect your disc brakes and overall braking performance.
- When to seek professional help after a bad DIY brake job: If repeated attempts result in spongy pedal feel, persistent noises, or leakage, consult a certified mechanic. Some pad replacement issues, like damaged brake rotors or a compromised braking system, require specific expertise and diagnostic equipment.
Expert Quote on the Dangers of Overlooking Brake Pad Replacement Mistakes
"One overlooked step in a brake pad replacement can compromise your entire braking system. Always double-check every component before hitting the road." – Certified Motorcycle Technician
People Also Ask: Brake Pad Replacement Mistakes
What are common mistakes when installing brake pads?
- Skipping lubrication of caliper guide pins and pad backs, not seating pads correctly in the caliper, and ignoring torque specifications are some of the most frequent errors. Missing these steps leads to brake noise, uneven wear, and poor braking system performance—issues avoidable with careful attention during your pad replacement.
What is the 30 30 30 rule for brakes?
- The 30 30 30 rule describes the break-in process for new brake pads: perform 30 gradual stops from 30 mph, each spaced about 30 seconds apart. This bedding-in routine allows friction material to transfer properly and ensures even contact surface wear, maximizing pad replacement effectiveness and disc brakes longevity.
Does Les Schwab bleed brakes?
- Les Schwab shops generally include brake bleeding service during brake pad replacement if necessary to maintain optimal braking system function. Always confirm with your service provider when booking a brake job.
How much do brake pads cost for a Mazda CX-5?
- Brake pad costs for a Mazda CX-5 can vary by location and product. Always consult certified shops or your dealership for accurate pad replacement estimates.
Essential Tools and Products to Prevent Brake Pad Replacement Mistakes
- Recommended equipment for DIY brake pad replacement: Ensure you have a reliable torque wrench, caliper piston tool, brake cleaner, quality gloves, and a jack stand. Having the right gear makes your pad replacement smoother and minimizes the risk of damaging the braking system.
- Top-rated lubricants and cleaning products for brake pads and braking system: Use silicones or high-temp disc brakes grease for guide pins, and an approved, non-oil-based brake cleaner for rotors and calipers to keep everything moving smoothly and cleanly.
-
Checklist for successful pad replacement job:
- New, compatible brake pads
- Brake cleaner and high-temp grease
- Torque wrench and piston retractor
- Gloves and eye protection
- Detailed shop manual for your specific model
FAQs: Brake Pad Replacement Mistakes
-
Can I drive after a DIY brake pad replacement if I suspect a mistake?
It is strongly recommended not to drive until you’ve identified and corrected any possible brake pad replacement mistakes. Continuing to ride may worsen damage or compromise your safety. Always double-check your work if anything seems off. -
What if my braking system feels spongy after pad replacement?
A spongy brake pedal or lever often signals air in the brake lines or insufficient pad contact. Re-bleed your brakes carefully, check all pad and caliper alignments, and ensure no brake fluid leaks are present. Persistent issues require professional inspection. -
How often should brake pads be checked and replaced?
Brake pads should be checked as part of every major motorcycle maintenance schedule or at least every 5,000-7,000 miles, depending on usage. Replace pads when friction material is below minimum thickness, or sooner if uneven wear or performance loss is detected.
Key Takeaways to Avoid Brake Pad Replacement Mistakes
- Always double-check alignment after changing brake pads to ensure perfect seating and avoid uneven wear.
- Follow the 30 30 30 break-in procedure after every DIY brake pad replacement for optimal bedding and longevity.
- Don’t overlook the braking system inspection after pad replacement—catch issues before they become safety hazards.
Conclusion: Mastering Brake Pad Replacement and Avoiding Mistakes
- To prevent brake pad replacement mistakes, follow every step with care, check and double-check your work, and don’t hesitate to review your brake job if anything feels off. Consistent practice and a focus on learning are key to mastering DIY brake pad replacement and ensuring safety every ride.
- Keep honing your skills—confident, mistake-free brake jobs are within every DIY mechanic’s reach!
If you’re committed to keeping your motorcycle in peak condition, don’t stop at just the brakes. Expanding your knowledge to include seasonal maintenance can help you anticipate issues before they arise and extend the life of every component. Explore seasonal bike care secrets every rider must know for expert advice on preparing your bike for changing weather, optimizing performance, and ensuring safe rides all year long. By integrating these advanced care strategies with your brake maintenance routine, you’ll be equipped to handle both everyday upkeep and the unique challenges each season brings. Take the next step in your DIY journey and make your motorcycle maintenance truly comprehensive.
Ready to Safely Replace Your Pads?
- Call Nasty Performance Motorcycle Shop Today: 847-458-4858


Write A Comment