
Have you ever wondered if a single overlooked motorcycle light could put your life—and your ride—at risk? Motorcycle light inspection isn’t just another checkbox on a safety list; it’s the difference between commanding the road and becoming invisible to other drivers. From avoiding penalties to maximizing safety in every condition, this guide will reveal how simple checks can prevent accidents, keep you compliant with the administrative code, and even lower your motorcycle insurance risk. Read on to illuminate every aspect of motorcycle light inspection and ensure every journey starts (and ends) bright.
Why Is Motorcycle Light Inspection Crucial for Riders?
- Explore the importance of motorcycle light inspection in rider safety.
“A thorough motorcycle light inspection can mean the difference between visibility and vulnerability on the road.”
At the heart of motorcycle safety is visibility. Performing a thorough motorcycle light inspection before every ride ensures you remain visible to other motorists in all conditions, from bright sunny afternoons to dark, rainy nights. Visibility isn’t just about seeing—it’s about being seen, which substantially reduces the risk of accidents caused by other vehicles failing to recognize a motorcyclist’s presence. According to motorcycle inspection experts, headlamps, signal lamp devices, and taillights should be checked on a daily basis to confirm they function at peak efficiency.
A faulty or dim motorcycle headlamp or rear lamp can put you at serious risk. Not only do such issues violate administrative code inspection requirements, leading to fines and failed inspections, but they also severely impact safety. A functioning stop lamp, high beam, and signal devices are critical not just for your safety but for everyone on the road. Neglecting a simple light system inspection can lead to strobe light malfunctions, unclear rear lamps, and, ultimately, vulnerability from other drivers’ impaired awareness. Regular inspection is a crucial habit for peace of mind and safety.

What You’ll Learn About Motorcycle Light Inspection
- How to conduct a proper motorcycle light inspection
- Key components to check per motorcycle inspection standards
- FAQs about motorcycle light inspection and legal requirements
This comprehensive guide walks you through every detail of motorcycle light inspection. You’ll master each aspect—spotting issues with your motorcycle headlamp, checking turn signal devices, evaluating taillights and brake control devices, and ensuring compliance with administrative code. Whether you’re a seasoned rider or just got your first motorcycle, this guide gives you actionable, step-by-step knowledge to ensure your motorcycle meets all safety and legal motorcycle inspection requirements. By the end, you’ll know precisely how a robust light system impacts everything from safety to your motorcycle insurance. Plus, you’ll have a ready checklist to never miss a beat in your motorcycle maintenance routine.
As you become familiar with the ins and outs of motorcycle light inspection, it’s also helpful to understand how these checks fit into your broader maintenance routine. For a practical look at seasonal adjustments and how lighting care changes throughout the year, explore essential seasonal bike care strategies every rider should know.
Understanding Motorcycle Inspection: Light Checks Defined
- Overview of the motorcycle inspection process and light checks
- Administrative code requirements for motorcycle light inspection
The motorcycle inspection process is carefully structured to evaluate the full spectrum of safety, from the engine oil and brake fluid to the intricate light system. A core part of this process is light inspection—ensuring every headlamp, signal lamp, and rear lamp functions optimally. According to the administrative code, motorcycles must be equipped with an approved type of lighting that complies with optical centerline and vertical centerline standards. This ensures the high beam, stop lamp, and auxiliary lights provide clear, well-angled illumination without blinding oncoming traffic.
During the inspection, examiners check every signal device for function and compliance. Each lamp is assessed for cracks provided or damage that could cause the light to not project clearly or project through the crack, which could interfere with the intended visibility. Administrative code further stipulates that the centerline of the lamp must be properly aligned, and any auxiliary lights or strobe light used should be of an approved type, especially for police motorcycle or emergency use. Meeting these standards is not just about passing a motorcycle inspection—it’s about prioritizing safety and maintaining eligibility for motorcycle insurance coverage.
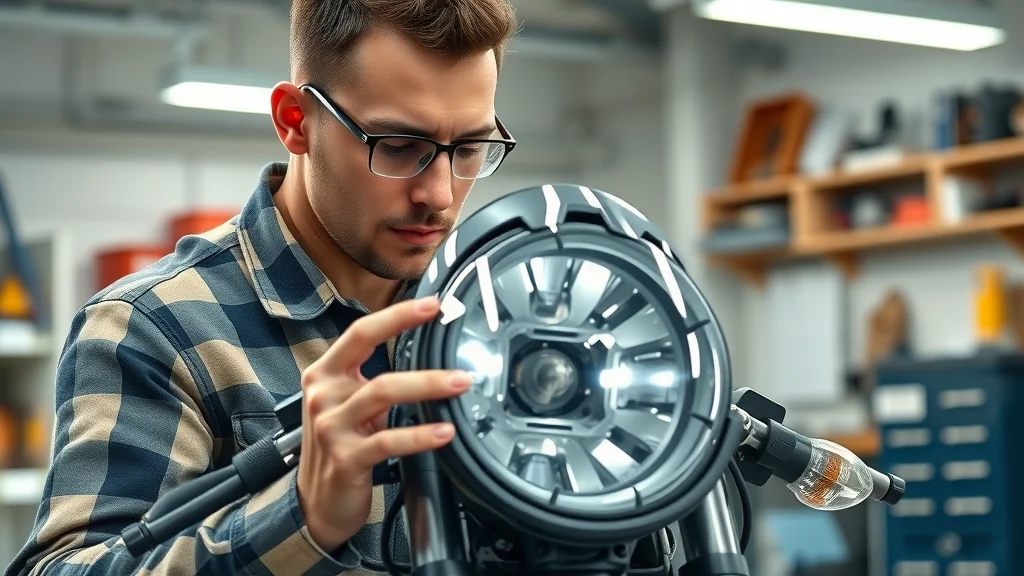
Step-by-Step Motorcycle Light Inspection Guide
Inspecting Headlights: Motorcycle Inspection Standards
- Testing high and low beams for efficiency and compliance
Start your motorcycle light inspection with the headlamp assembly. Test both the high beam and low beam, confirming each function independently and shine a uniform, bright light ahead. The light must not be so intense or misaligned that it blinds oncoming traffic. Use a wall or garage door in a dim environment to check beam pattern and height. Administrative code requires that the motorcycle headlamp's optical centerline aligns with the vertical centerline of the motorcycle—misalignment is a common cause for failing a motorcycle inspection. Confirm that the lenses are free from cracks provided or fogging, as a compromised lens can cause the light to not project effectively, making you less visible on the road and inviting inspection failure.
Inspect for and reject any headlamp where the light does not project a minimum set distance or has obvious defects. If you ride a police motorcycle, make sure the police motorcycle headlamp has the proper strobe light function and complies with auxiliary lights requirements. Routine checks, even on a daily basis, keep your light system dependable—making sure you never get caught unaware, especially during night rides or in poor weather.
Evaluating Turn Signals and Taillights
- Ensuring indicators are functional and visible
Indicator lights, or turn signals, are essential control devices for road communication. Activate left and right signal lamp switches, observing if each signal device flashes at a steady, visible rate. All signal lamps and auxiliary lights must emit a clear red or amber glow, as per administrative code, with no delays or flickers. Inspect for and reject fixtures with faulty wiring, broken bulbs, or damaged covers—these can confuse other drivers or fail to indicate your intentions. Additionally, the rear lamp and taillights must remain steadily illuminated while the engine is running, casting light to the rear of the motorcycle for optimal visibility in all traffic situations.
During motorcycle inspection, examiners check the mounting and lens integrity of each signal device. Ensure lenses are not cracked or missing, and that each lamp is the approved type. This is particularly critical if you have customized lighting, auxiliary lights, or have added strobe light features. Consistently functional taillights and turn signals are not only a matter of personal safety, but also a requirement for passing inspection and maintaining your motorcycle insurance policy.
Checking Brake Lights and Marker Lamps
- Inspection tips for maximum road safety
Press down on both front and rear brake control devices to engage the stop lamp—this should instantly brighten and be easily seen from a reasonable distance. A malfunctioning stop lamp is one of the most common causes of accidents and motorcycle inspection failures. Make sure the lens in brake and marker lamps is clear of dirt, cracks, or fogging to guarantee maximum light output. The light produced must be continuous and uninterrupted; project through the crack or cloudy lens and you risk failing inspection or going unnoticed in crucial braking moments.
Additionally, motorcycle inspection requirements ask for the marker lamps to be securely attached and properly connected through the wiring harness. Inspect for and reject any sign of exposed wires, broken sockets, or poor connections—faulty wiring can cause intermittent failures and undermine your claim with motorcycle insurance in the event of an accident. Don’t skip testing your auxiliary lights or license plate illumination, as these are all part of a comprehensive motorcycle light inspection and are subject to administrative code standards.
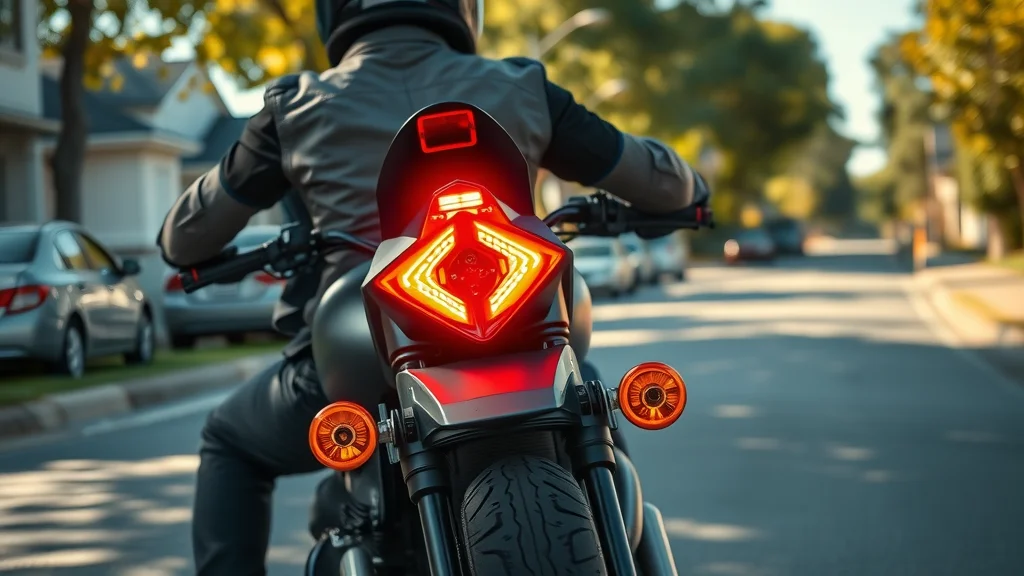
Common Issues Found During Motorcycle Light Inspection
- Burnt-out bulbs and wiring failures
- Lens clarity and fixture damage
During a routine motorcycle inspection, several issues tend to surface, with burnt-out bulbs at the top of the list. A single non-functional high beam, rear lamp, or turn signal lamp can lead to an immediate inspection failure. Equally problematic are wiring failures, where signal devices flicker, don’t light up reliably, or short out altogether. This is common in older motorcycles or those exposed to harsh elements, making daily basis checks even more relevant to keep your light system dependable.
Another prevalent problem is foggy or cracked lenses, which directly compromise the lens in brake and signal lamp assemblies. Not only does a damaged lens impact how much light projects onto the road, it can also diffuse or distort the signal, increasing vulnerability. Lamp fixtures that are loose, misaligned, or of a non-approved type are also flagged during inspection. Regular inspection and prompt replacement of bulbs and lenses ensure full visibility, legal compliance, and a hassle-free motorcycle insurance claim process if ever needed.
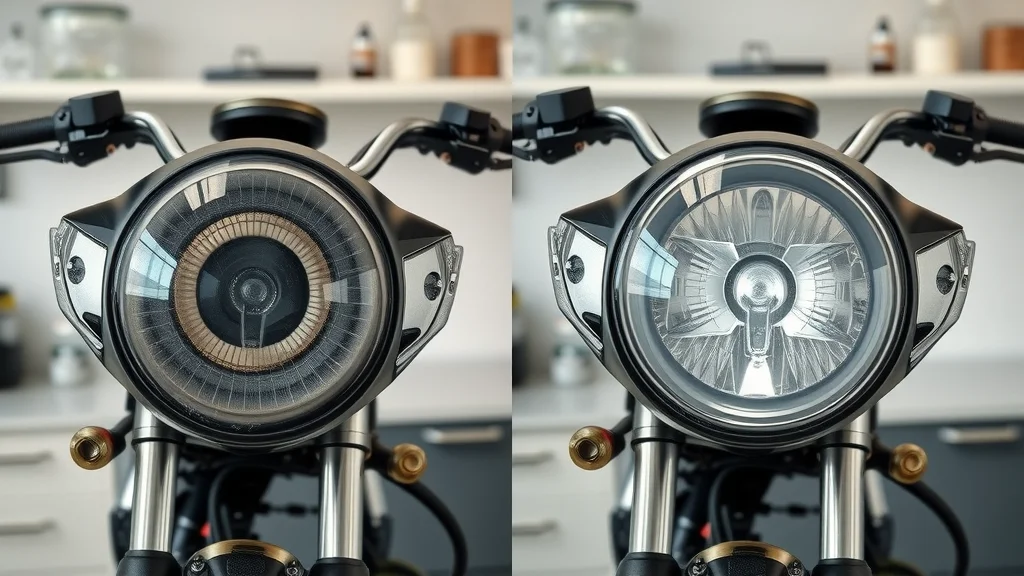
Motorcycle Inspection Checklists: What to Look For
- Checklist for every motorcycle light inspection: what should you never miss?
- Check headlamps (high and low beam) for brightness and aim
- Inspect taillights and stop lamp for clarity, brightness, and instant response to brake control devices
- Test all signal lamp devices for steady blinking and visibility
- Examine marker and auxiliary lights for proper color, type, and operation
- Verify the condition of all lens and fixtures—no cracks provided, fogging, or missing covers
- Review wiring harnesses for corrosion, exposed wires, or loose connections
- Confirm license plate and rear lamp illumination
- Ensure all lights are the approved type and mounted to administrative code standards
Reference this checklist before every ride—it’s your step-by-step system to ensure passing inspection, staying safe, and maximizing the longevity of your motorcycle light system. Keeping up with these critical inspection points can also contribute to lower motorcycle insurance premiums by proving diligent maintenance and compliance.
Demonstration: Complete Motorcycle Light Inspection in ActionLegal & Regulatory Insights: Administrative Code and Motorcycle Inspection
- Understanding administrative code and compliance for motorcycle inspection
The administrative code sets the foundational rules for motorcycle inspection. These regulations specify everything from required lamp colors (red or amber for turn signals and brake lights) to alignment along the vertical centerline and optical centerline of the bike. Administrative code guidelines also outline the approved type of bulbs and auxiliary lights permissible, ensuring each motorcycle on public roads is visible no matter the conditions. Failing to comply can result in costly citations, denied motorcycle insurance claims, or having your bike taken off the road until repairs are completed.
Mechanics and inspectors utilize detailed legal checklists to guarantee every motorcycle passes a thorough light system examination. They inspect for and reject any lamp or signal device that doesn’t meet code requirements or whose light does not project as required. Riders should regularly review local and state regulations, as the administrative code can be updated to include new lighting technology—such as LED and strobe light systems, which have specific allowances or restrictions.
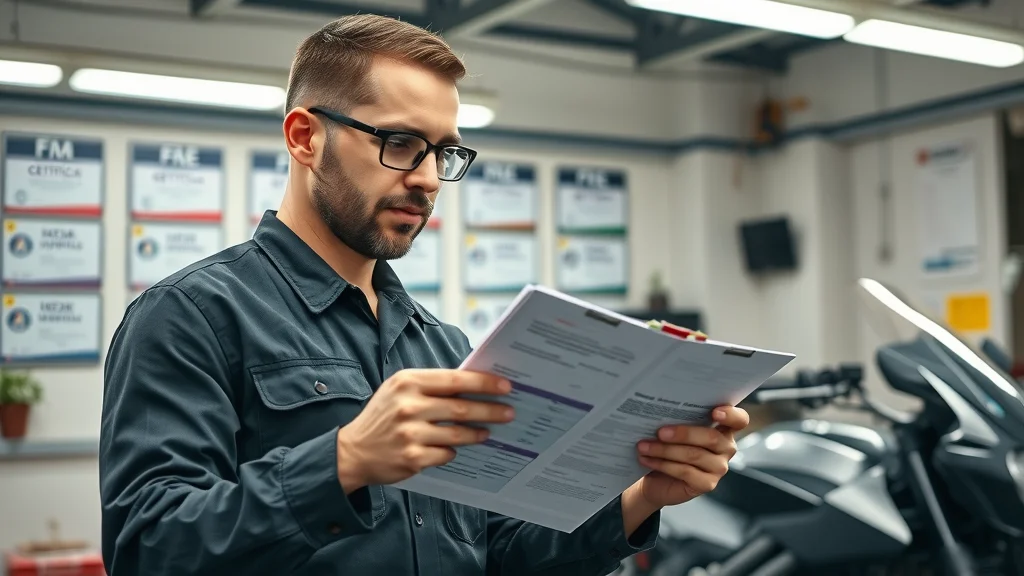
Motorcycle Insurance Implications After Light Inspection
- How your motorcycle inspection affects motorcycle insurance policies
Few riders realize that the outcome of their motorcycle inspection, especially the light system, can directly influence their motorcycle insurance coverage and premiums. Claims for accidents where a stop lamp, rear lamp, or signal lamp malfunctioned may be denied by insurers, as this demonstrates non-compliance with legal safety standards defined by administrative code. Insurance adjusters often check maintenance and inspection records when reviewing a claim involving visibility or signaling issues.
Consistently passing motorcycle inspections, including thorough checks of your headlamp, auxiliary lights, and control device integrity, shows insurance companies that you’re a responsible rider. This reputation can result in more favorable policy terms, reduced monthly premiums, and minimum hassle during claims processing. Make it a routine—just as important as engine oil or brake fluid checks—to inspect the full lighting system and retain records of every inspection for your motorcycle insurance documentation.
| Component | Inspection Criteria | Pass | Fail |
|---|---|---|---|
| Headlamp (High/Low) | Bright, properly aimed, no cracks or fogging | ✔ | Dim, misaligned, cracked, fogged, fails to activate |
| Turn Signals | Steady blinking, red or amber, approved type | ✔ | No flash, slow/fast blinking, wrong color, non-approved type |
| Rear Lamp/Taillight | Continuous light, clear visible red, functional lens | ✔ | Intermittent, dim, unclear lens, non-functional |
| Stop Lamp/Brake Light | Instant bright-up when brake control device used | ✔ | No response, delayed, flickering, broken lens |
| Auxiliary/Licence Plate Lights | Correct color, securely mounted, all bulbs working | ✔ | Burnt out, broken mount, wrong bulb type |
Expert Quotes on Motorcycle Light Inspection
"A routine motorcycle inspection, especially lights, can prevent tickets and accidents." – Leading Motorcycle Safety Expert
Riding advocates emphasize the preventive power of regular motorcycle inspection. Experts agree: prioritizing your light system—headlamps, turn signals, and stop lamps—keeps your motorcycle visible, helps avoid costly tickets, and protects you from avoidable accidents. Listen to the professionals, and let your lights lead the way to a safer, smoother ride every time.
People Also Ask: Your Motorcycle Light Inspection Questions Answered
Which bike is most liked by girls?
- Discuss the appeal of motorcycle models based on safety, style, and visibility, integrating motorcycle light inspection relevance.
While style, comfort, and performance often influence preference, many riders—regardless of gender—prioritize bikes that combine safety, modern aesthetic, and standout lighting features. Motorcycles with advanced light systems (LED headlamps, well-integrated signal devices, and stylish auxiliary lights) are especially attractive as they offer heightened visibility and flair. Routine motorcycle light inspection guarantees that these safety features stay at their best, ensuring the motorcycle remains both appealing and road-ready. Whether you’re riding solo or carrying a passenger, maintaining your light system is key for both safety and personal style.
What is the 4 second rule on a motorcycle?
- Explain safe following distance and how proper motorcycle light inspection can increase reaction time and safety.
The "4 second rule" is a safety guideline for motorcyclists, advocating that you should keep at least four seconds of distance between yourself and the vehicle in front of you. This ensures enough reaction time to respond to sudden stops or changes. Your motorcycle light inspection directly impacts this rule by confirming that your stop lamp, rear lamp, and turn signal lamps are functioning—all critical for communicating your intentions to motorists behind you. When your lights are clear and responsive, you maximize your chances of being seen, especially in poor visibility or high-traffic areas.
Is it legal to ride a motorcycle with LED lights on?
- Clarify administrative code requirements and legality tied to LED usage in motorcycle light inspection.
Using LED lights on motorcycles is legal in many states, as long as they comply with administrative code requirements. The lights must be the approved type, project appropriate colors (often red or amber for signal lamps), not function as distracting strobe lights unless you’re operating a police motorcycle, and must not interfere with other drivers’ visibility. Your motorcycle light inspection should always confirm that any custom or auxiliary LED lights meet local legal standards to avoid fines, failed inspections, or denied motorcycle insurance claims.
How to check motorcycle headlights?
- Offer step-by-step instructions for motorcycle light inspection focusing on headlight testing.
To check your motorcycle headlamp, position your bike on a level surface facing a wall at dusk or in a shaded area. Switch on the low beam and observe its height and spread; it should create a defined pool of light on the wall. Toggle to the high beam and ensure the light projects farther down the optical centerline without scattering. Inspect for lens cracks and make sure the bulb lights up instantly. If possible, use a mirror or reflective surface to observe the light from different angles, checking for consistency and color compliance as dictated by administrative code. Resolving any dimness or misalignment ensures you remain visible and road-legal.
Frequently Asked Questions About Motorcycle Light Inspection
- Include top questions regarding motorcycle inspection, motorcycle insurance, and compliance with administrative code.
-
How often should I perform a motorcycle light inspection?
It's wise to perform a quick inspection on a daily basis—especially before long rides. Regular checks catch small problems before they become hazards or inspection failures. -
What if my motorcycle fails inspection due to a bad light?
Most jurisdictions allow corrections for failed items like bulbs, lenses, or wiring. Prompt repairs prevent penalties, preserve compliance, and maintain motorcycle insurance eligibility. -
Does administrative code change for custom or aftermarket lights?
Many areas require aftermarket lights to still be of an approved type and not use distracting strobe light patterns unless permitted. Always verify administrative code or consult a qualified shop. -
Can a bad light affect my motorcycle insurance?
Yes—if a malfunctioning headlamp or signal lamp contributed to an accident, insurers may reduce or deny a claim based on non-compliance with legal safety standards. -
What color must my turn signals and brake lights be?
Administrative code usually requires turn signals and brake lights to be red or amber. White or blue lights, or those that project through the crack or lens defects, can lead to inspection failures.
Key Takeaways: The Impact of Regular Motorcycle Light Inspection
- Regular motorcycle light inspection is your best defense against accidents, citations, and insurance problems.
- Stay compliant with the administrative code by ensuring every headlamp, signal lamp, and stop lamp is of the approved type and fully operational.
- Routine inspections not only keep your ride roadworthy—they also protect your investment and reputation with motorcycle insurance providers.
Conclusion: Don’t Skip Your Next Motorcycle Light Inspection
- Every ride is safer with a quick motorcycle light inspection. Prioritize it—because visibility protects lives.
If you’re committed to keeping your motorcycle in peak condition, don’t stop at just the lights—comprehensive care is the key to a safer, smoother ride all year long. Discover how proactive maintenance, from seasonal storage tips to weather-specific adjustments, can extend the life of your bike and enhance every journey. For deeper insights and expert advice on holistic motorcycle upkeep, check out seasonal bike care secrets every rider must know and take your maintenance routine to the next level.
Ready for a Safer Ride?
- Call Nasty Performance Motorcycle Shop Today: 847-458-4858



Write A Comment