
Did you know that skipping a motorcycle fluid levels spring check can increase your risk of breakdown or mechanical failure by over 50% on your first ride of the season? The transition from winter storage to spring cruising isn’t just about dusting off your helmet—it’s about making sure every fluid level in your bike is primed for optimal performance and safety. This comprehensive guide dives deep into fluid checks, essential maintenance, and the simple steps that keep your ride smooth all spring and beyond. Don’t let a minor oversight cut your riding new season short—read on to discover the ultimate motorcycle maintenance checklist every rider needs.
Why Motorcycle Fluid Levels Spring Checks are Essential for Motorcycle Maintenance
Spring fluid level checks aren’t just a box to tick—they’re a critical safeguard for both your motorcycle’s life and your own safety. After months of winter storage , fluids may have settled, degraded, or even developed leaks. Ignoring these changes can transform a simple joyride into an expensive mechanical setback—or worse, increase the risk of a motorcycle accident on your next outing.
Your engine oil, brake fluid, coolant, and even your gas tank are all susceptible to the effects of temperature swings and inactivity. Condensation, thinning, and evaporation can all alter fluid efficacy. Completing a maintenance check ensures every system—engine, brakes, cooling, and fuel delivery—is ready to perform in harmony, giving you peace of mind and optimal performance as you start your riding season .
By prioritizing motorcycle maintenance at the start of spring, you’re investing in both your bike’s longevity and your own experience on the open road . Let’s break down what you’ll learn about motorcycle fluid levels spring for a safer, smoother season ahead.
- How to quickly assess all critical motorcycle fluid levels in spring
- The after-effects of winter storage on your bike’s fluid system
- Steps to inspect, top off, or replace oil, brake fluid, coolant, and gas
- How air filters, brake pads, and spark plugs affect spring performance
- A practical, repeatable maintenance checklist for every rider
The Startling Truth: Motorcycle Fluid Levels Spring and Winter Storage Effects
Coming out of winter storage , many riders assume their bikes are ready for a new season with just a tire pressure check. In reality, your motorcycle’s fluid levels might have changed considerably during the off months. Oil can thicken or break down due to cold temperatures, while coolant may develop gaps or pockets from freezing and thawing. Brake fluid is particularly vulnerable—absorbing moisture if left unchecked, which can reduce braking performance or even compromise safety on your first test ride .
"Neglecting your motorcycle’s fluid levels each spring can increase the risk of mechanical failure by up to 60% compared to regularly maintained bikes." — Industry Expert
The gas tank is also a focal point. Old fuel can leave behind varnish-like residue or water, potentially clogging injectors or carburetors. Meanwhile, your motorcycle battery might suffer from a slow discharge, impacting both starting and overall electrical health. Skipping a thorough maintenance check after a long winter could set you up for frustrating rides or costly repairs down the line.

Comprehensive Motorcycle Maintenance Checklist for Riding Season
Motorcycle Fluid Levels Spring Priorities: Why Timing Matters
Timing your maintenance check for early spring is critical—waiting until after your first ride can invite trouble. At this stage, your bike’s fluid levels reflect months of inactivity. Addressing them before they compromise performance or safety is the smartest move. This also gives you time to identify potential leaks, top off vital fluids, and ensure your machine is in top shape before the busier riding months.
Prioritizing spring checks is also about preventing irreversible damage. Oil that’s broken down may contain contaminants or acids from condensation; leaving it unchanged can wreak havoc on engine internals. Brake fluid exposed to winter humidity may lose its integrity, reducing stopping power at a critical moment. Act now and your first test ride will showcase your bike at its peak—not reveal neglected wear or damage.
Above all, spring maintenance is about building confidence for every mile ahead. A proactive motorcycle maintenance checklist means less time off the road and more freedom to enjoy the season ahead.
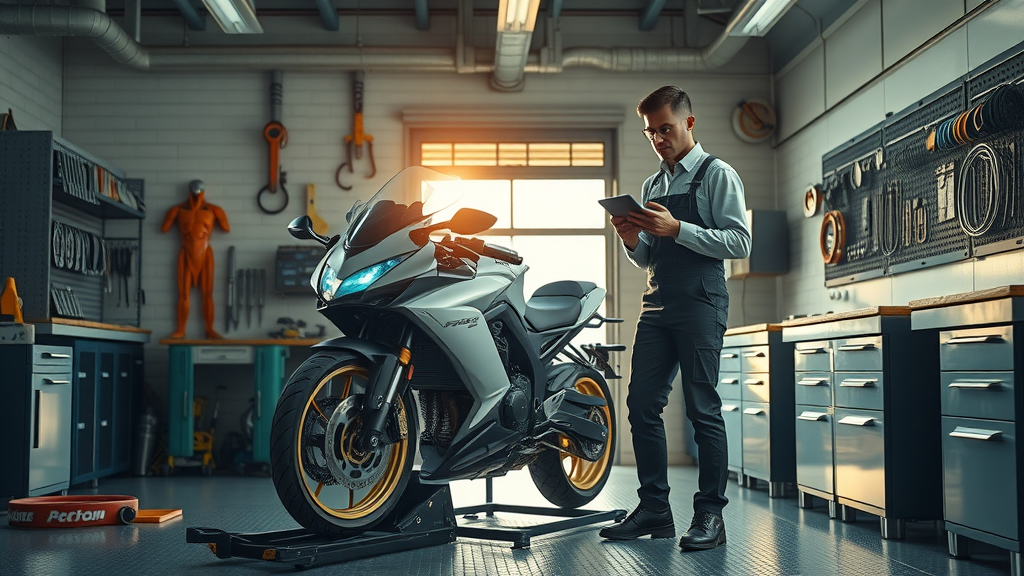
Maintenance Check: Assessing All Fluid Levels After Winter Storage
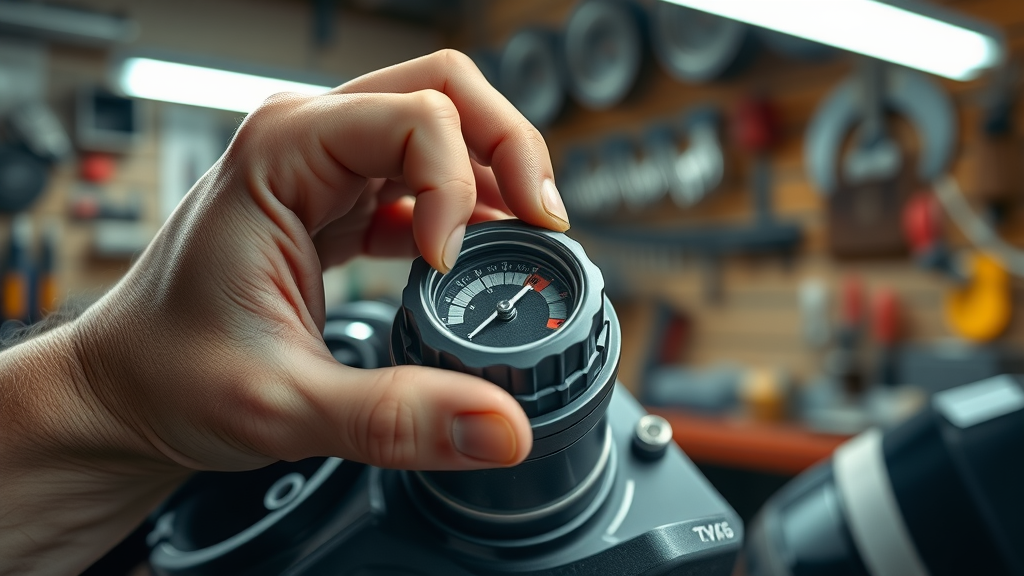
A complete maintenance check after winter storage involves more than just peering at an oil window or glancing at a gas gauge. Start with the oil—use the dipstick (if equipped) or sight glass, ensure oil clarity, and note the oil level matches the recommended level from your owner’s manual. Next, verify coolant levels with the radiator cap and overflow tank; check for clarity and proper volume. Inspect brake fluid by looking at the transparent reservoir and comparing against the marked “Min” and “Max.” Don’t forget to smell for any burnt or sour odor—this can signal contamination.
Your gas tank deserves careful attention, especially if left less than full over winter, leading to condensation and possible rust. Drain or refill with fresh fuel if needed. A quick scan for leaks, corrosion, or odd coloration in any fluid can save hours of repair down the line. This comprehensive approach to fluid levels sets the baseline for your bike’s health through the entire riding season .
Key Fluid Level Checks: Oil, Coolant, Brake Fluid, and Gas Tank
Oil, coolant, brake fluid , and the gas tank are the cornerstones of your spring maintenance check. Oil lubricates moving parts and minimizes wear—its level and cleanliness are vital indicators of overall engine health. Coolant keeps your engine running smoothly and flees the dangers of overheating. Always check coolant hoses for cracks or leaks and top off with manufacturer-recommended coolant if needed.
Next comes brake fluid : low or dirty fluid can seriously compromise braking power, especially on surprise stops or wet roads. Check both front and rear brake reservoirs for proper levels and color. Your gas tank shouldn’t be ignored either. Old fuel can cause hard starts, hesitation, or even deposit buildup in your fuel system. Cleaning or refilling the tank—plus adding a fuel stabilizer if needed—can ensure flawless performance on every spring ride.
| Fluid | Inspection Points | Action Steps |
|---|---|---|
| Oil | Check dipstick/sight glass, color, level | Top off/change as needed, use correct viscosity |
| Coolant | Radiator/overflow tank, check for leaks | Refill/replace coolant, inspect hoses |
| Brake Fluid | Reservoir level, clarity, contamination | Top off, replace if dirty, check brake lines |
| Gas | Tank fullness, old or stale fuel, corrosion | Drain/refill tank with fresh fuel, add stabilizer if needed |
How to Inspect and Top Off Motorcycle Fluid Levels in Spring
Step-by-Step Guide: Performing a Fluid Level Maintenance Check
Ready to tackle your own motorcycle fluid levels spring inspection? Here’s a step-by-step guide for a thorough, stress-free process. Start by positioning your bike securely on a level surface, using a center stand or paddock stand if possible. Let your bike cool to ambient temperature—this is critical for accurate oil and coolant readings. Grab your owner’s manual for fluid specifications and proceed down your maintenance checklist .
Begin by examining the oil. Remove the dipstick, wipe it clean, reinsert, and remove again to check oil level and color. Repeat the process for coolant—never open a hot radiator cap. Check the overflow reservoir and fill to the recommended level. Next, inspect brake fluid reservoirs for both front and rear brakes, making sure fluid is between “Min” and “Max” marks and free of cloudiness. Finish with the gas tank : if fuel is more than a month old, consider draining and refilling with fresh gasoline. As you go, check for any leaks, stains, or signs of corrosion that may need attention before your first ride of the season.
After completing all fluid inspections, start the engine and let it idle for a few moments. Check for dashboard warning lights, listen for irregular sounds, and visually confirm there are no leaks beneath the bike. This comprehensive check ensures your motorcycle is as ready as you are for the open road .
Checking Your Brake Fluid: Why It's Critical After Storage
Brake fluid is your direct line to stopping power—and after sitting idle for months, it’s one of the most vulnerable fluids in your machine. During winter storage, brake fluid can absorb atmospheric moisture, making your brakes feel spongy or unpredictable. Before you even think of hitting the road, check both front and rear brake fluid reservoirs. The correct fluid should appear clear or slightly amber, not brown or cloudy.
If you notice the level at or below the “Min” line, or if the fluid is dirty, flush and replace it with manufacturer-recommended brake fluid. Ensure reservoir seals are intact and there’s no evidence of leaks along the brake lines. After topping off, test your brake lever and pedal for firmness. This quick check could be the difference between a safe stop and a close call.
Oil Level Inspection: When It’s Time for a Change
Your engine oil acts as the bike’s lifeblood—protecting against wear, overheating, and internal corrosion. The oil level should always fall within the range indicated on the dipstick or sight glass. If oil appears thick, very dark, or smells burnt, it’s overdue for a change. Regardless of mileage, oil ages while sitting—so a spring swap is often the best choice after winter storage .
Fresh oil ensures that all moving parts are properly lubricated and allows your engine to maintain optimal efficiency. Refer to your owner’s manual for the right viscosity and type for the season. Replacing oil and installing a new filter is a straightforward, cost-effective step that pays off every time you twist the throttle in the new riding season .
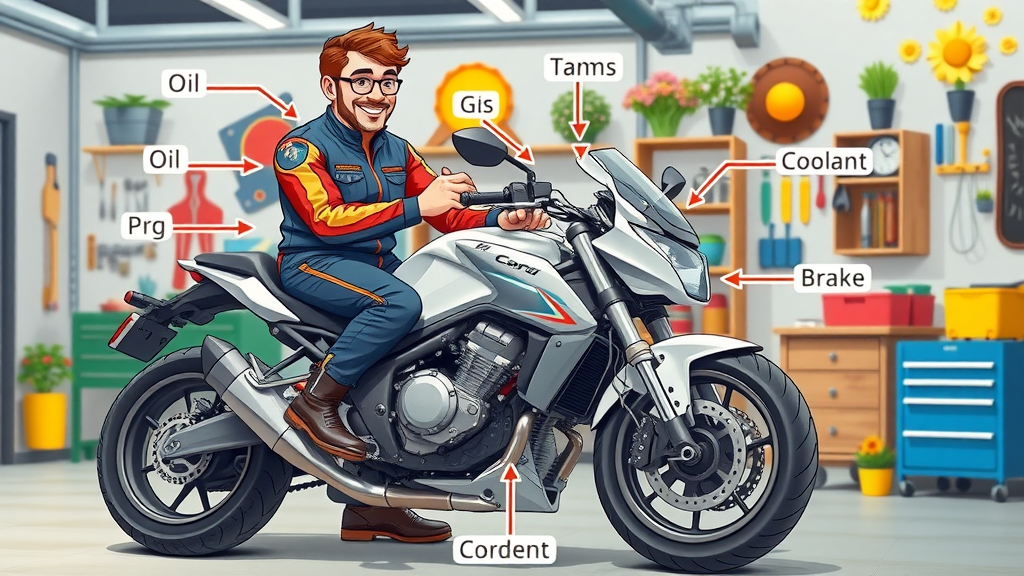
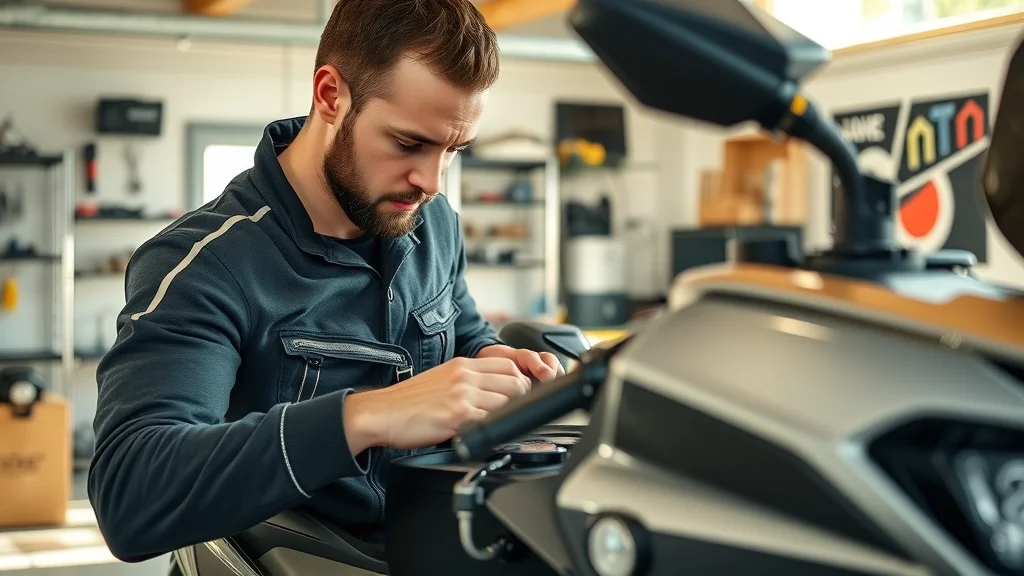
The Role of Brake Pads, Air Filter, and Spark Plug in Motorcycle Maintenance
Beyond fluids, spring motorcycle maintenance demands attention to wear items like brake pads, your air filter, and spark plug. All three play outsized roles in your bike’s overall health and performance. Ignoring worn components can lead to sluggish starts, reduced power, and in the case of brake pads , dangerously delayed stopping distances. Making these quick checks part of your maintenance checklist pays dividends for safety and reliability all season long.
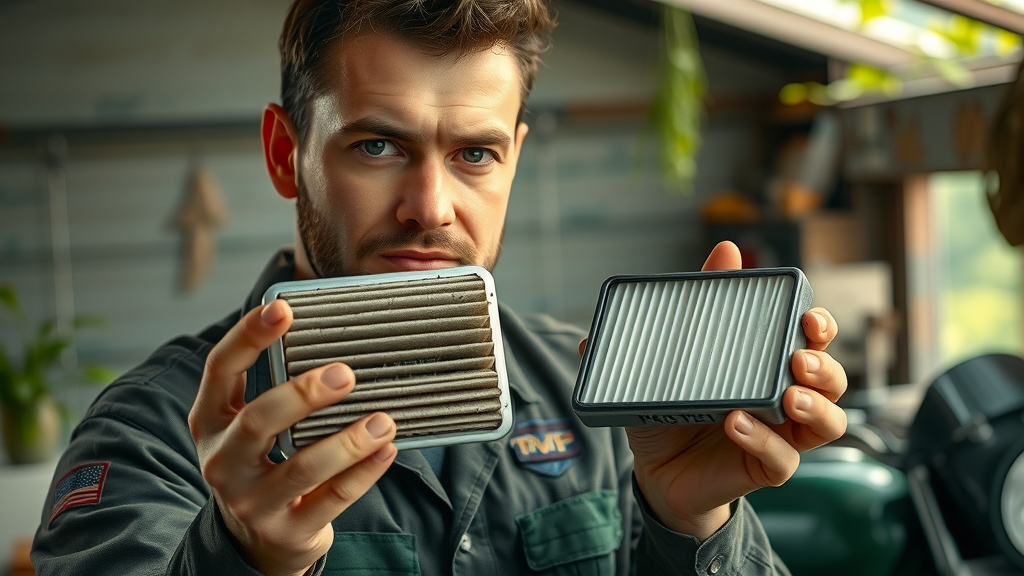
If you notice squealing, reduced stopping power, or deep grooves in your pads, swap them out before riding further. For air filters, a clogged or dirty filter starves your engine of fresh air, affecting both power delivery and fuel economy. And a clean, functioning spark plug ensures effortless starting and idle—all crucial after a long off-season.
Brake Pads and Brake Fluid: Staying Safe on the Open Road
Spring is the perfect time to remove your calipers and visually inspect each brake pad . They should have even wear, adequate material, and no embedded debris or contaminants. Thin pads not only compromise stopping distances, but can cause damage to your rotors—making timely replacement an easy, affordable safeguard.
Pair this check with a review of your brake fluid and brake lines for leaks, cracks, or swollen areas. Properly functioning brakes are non-negotiable for riding safe —particularly as you encounter road debris, wet patches, or emergency stops on your first rides of the year.
Air Filter and Spark Plug: Small Details, Huge Impact on Spring Performance
Your air filter keeps dust and pollen out of the engine—clean it or replace it if it appears clogged, dark, or breaks apart when tapped. A fresh filter improves throttle response and efficiency, giving you a smoother ride when spring allergens are everywhere. The spark plug is equally crucial: signs of wear, carbon buildup, or oil residue mean it’s time for a new one. A quick swap ensures your engine fires up immediately and operates at peak power through the heart of the riding season .
Test Ride: Ensuring Your Motorcycle is in Top Shape for the Riding Season
Once you’ve completed every item on your motorcycle maintenance checklist , your bike is almost ready. Before embarking on your first adventure, the test ride serves as the ultimate diagnostic tool—verifying that every change and inspection delivers the results you expect.
Pre-Ride Checklist: Confirming All Fluid Levels and Critical Components
Before rolling out, double-check all fluid levels —oil, coolant, brake fluid, and gas. Confirm proper function of turn signals, brake light , horn, and mirrors for overall working order . Also, inspect your tire tread and tire pressure : both can shift during winter storage and dramatically impact safety and handling.
Give the brake lever a squeeze and ensure both front and rear brakes bite firmly and evenly. Test other features like the clutch, throttle, and all lights. Start the bike, listen closely, and look for unusual vibrations or dashboard alerts that could signal trouble. This extra five minutes could be the difference between a great time and a roadside breakdown.
Why a Test Ride Reveals Success of Your Maintenance Checklist
A short, cautious test ride validates your hard work—is throttle response snappy, braking smooth, and engine sound consistent? Ride slowly at first, testing acceleration, braking, and cornering gradually. Feel for any hesitation, sluggishness, or odd noises. If your motorcycle responds crisply, congratulation: your fluid level checks, new spark plug, and clean air filter are all working in concert for a hassle-free ride of the season .
If you notice anything off, stop immediately and reassess. Better to identify and address even minor issues now than on a remote stretch of the open road later on.
People Also Ask: Motorcycle Fluid Levels Spring FAQs
What is the spring rate in motorcycle suspension?
The spring rate in motorcycle suspension measures the stiffness of the suspension spring, indicating how much the spring compresses under a certain load. It directly affects ride quality, handling, and comfort—especially important for adjusting to heavier or lighter loads over the riding season .
How to get a motorcycle ready for spring?
Getting your motorcycle ready for spring means conducting a complete motorcycle maintenance routine: check and top off all fluid levels , inspect the brake pads and spark plug , clean or replace the air filter , verify battery charge, and conduct a maintenance checklist covering tires, lights, and controls. Only then is your bike ready for the open road .
How to read brake fluid level on a motorcycle?
Locate the brake fluid reservoir, typically found near the handlebars (front brake) or rear foot control (rear brake). The reservoir has “Min” and “Max” lines—ensure fluid sits between these markings and appears clear or amber. If it’s low or contaminated, top off or replace immediately to maintain a safe fluid level .
What is spring preload on a motorcycle?
Spring preload refers to the initial tension set on your motorcycle’s suspension springs, affecting ride height, comfort, and handling. Adjusting preload lets you tailor your bike’s response for varying loads or rider weight—essential for consistent, predictable performance across the entire riding season .
Expert Tips for Keeping Motorcycle Fluid Levels Spring-Ready All Season
- Schedule regular maintenance checks. Don’t wait until problems surface—routine care preserves fluid performance.
- Record all changes in a maintenance log. This helps you track dates, fluid types, and intervals—crucial for warranty and resale value.
- Replace any outdated fluids or worn parts before hitting the open road . Safety and reliability depend on it.
Common Mistakes and How to Avoid Problems with Motorcycle Fluid Levels Spring
- Overlooking small leaks—these can develop into major failures in the middle of the season.
- Ignoring old brake pads —worn pads undermine stopping power.
- Failing to change air filters and spark plugs —poor performance often comes down to a neglected $10 part.
- Skipping a maintenance checklist after winter storage —last season’s issues may have grown worse.
Maintenance Checklist Recap: Motorcycle Fluid Levels for Peak Performance
- Inspect oil and change if necessary.
- Check and refill coolant and brake fluid.
- Test brake pads and replace if needed.
- Assess gas tank and fill with fresh fuel.
- Clean or replace air filter and spark plug.
Watch: Demonstrating a Spring Motorcycle Fluid Level Check: Step-by-Step Visual Guide
FAQs on Motorcycle Fluid Levels Spring and Annual Maintenance
-
How often should you inspect motorcycle fluid levels in spring?
It’s recommended to check all fluid levels at the very beginning of the riding season , then at least monthly through spring and high-use months, or after every 1000-1500 miles, whichever comes first. -
Can neglected fluids damage your engine?
Absolutely—old or low fluids can cause overheating, poor braking, sluggish performance, and even total engine failure if left unchecked. Stay proactive with your motorcycle maintenance checklist . -
How long does a full spring maintenance check typically take?
Most riders can complete a thorough inspection of all fluid levels, air filter, and brakes in about 30-60 minutes. Allow extra time for oil changes or if you find any issues that require repairs or part replacements.
Final Thoughts: Prioritizing Motorcycle Fluid Levels Spring for Reliable Motorcycle Maintenance
"Your motorcycle’s performance and your safety both depend on the fluid levels you maintain each spring. Don’t cut corners—thorough maintenance is the key to riding season success." — Veteran Mechanic
Make spring fluid level checks a non-negotiable habit: schedule timely maintenance and address every detail for a safe, problem-free riding season .
Ready to Ride? Ensure Peak Performance with Professional Motorcycle Maintenance Support
Don’t let overlooked fluid levels or minor wear turn into major headaches. Call Nasty Performance Motorcycle Shop Today: 847-458-4858 to schedule your comprehensive spring maintenance check and ride with confidence!
Ensuring your motorcycle is in top condition for spring riding is crucial for both safety and performance. The article “Spring Motorcycle Maintenance Checklist | RIDE Safe” provides a comprehensive guide covering essential checks, including tire pressure, fluid levels, and brake inspections. ( shop.rideadv.com ) Additionally, “A 15-step guide to preparing your motorcycle for spring” by American Modern Insurance Group offers detailed steps to get your bike road-ready after winter storage. ( amig.com ) By following these expert recommendations, you can ensure a smooth and safe riding season ahead.

Write A Comment