


Did you know that, according to the NHTSA, over 20% of motorcycle accidents are linked to brake failure or compromised braking performance ? Your motorcycle brake system is the critical connection between you and a safe stop. This article will guide you through everything you must know about motorcycle brake inspection—how to spot problems before they escalate , avoid expensive repairs, maximize safety , and enjoy complete confidence every time you apply the brake.
Why Motorcycle Brake Inspection is a Critical Safety Measure
"According to the NHTSA, over 20% of motorcycle accidents are linked to brake failure or compromised braking performance."
- Understand the role of regular motorcycle brake inspection in accident prevention
- Identify consequences of skipping brake inspections
- Real-life examples of avoidable incidents due to neglected brake pads and brake fluid
Regular motorcycle brake inspection is not just a suggested maintenance task—it’s a vital step in keeping you and your passengers safe on every ride. When you skip a brake inspection, you risk allowing subtle issues like pad wear , contaminated brake fluid , or failing brake lines to go undetected. These minor concerns can quickly escalate, drastically reducing the effectiveness of your brake system and possibly leading to disastrous results, including collision or injury. Case studies show that many accidents could have been prevented with something as simple as regular checks for thinning brake pads or fluid level issues .
Consider a scenario where a routine inspection reveals a small crack in your brake line . Addressing it early can be an easy, low-cost fix. Ignored, that crack could create a leak, letting your brake fluid escape and causing a frightening loss of stopping power when you need it most. Don’t wait for a near-miss or brake warning lights—integrating consistent inspections into your schedule is one of the most effective ways to protect yourself, avoid expensive repairs, and ensure uncompromised brake performance .
What Motorcycle Brake Inspection Involves: A Step-by-Step Overview
- Check for wear and thickness of brake pads
- Inspect brake fluid levels and quality
- Evaluate both disc brakes and drum brakes
- Examine the entire brake line and brake system components
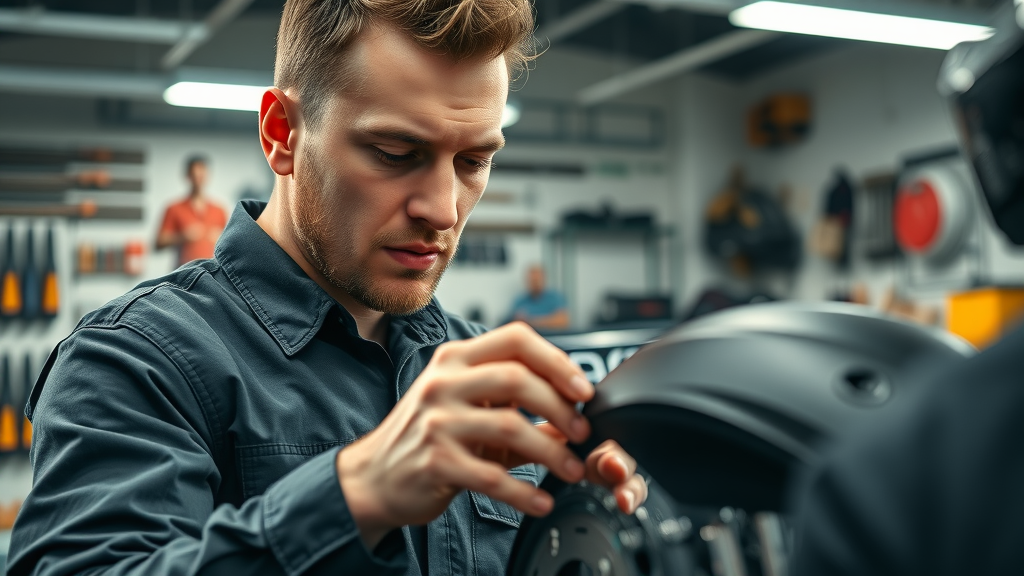
A professional motorcycle brake inspection covers far more than a quick glance at your wheels. Step by step, it ensures each piece of your braking system functions as it should. This begins with visually checking brake pad thickness and wear, as well as scanning for visible cracks or crumbling—signs your brake pads may need urgent replacement. Next, an assessment of brake fluid level and clarity is crucial; if fluid appears cloudy or discolored, it’s a clear indication it’s time for a fluid change to maintain reliable brake performance.
Both disc brakes and drum brakes require close evaluation. Disc rotors are checked for grooves or warping, while drum brakes are tested for brake shoe wear and soft pedal feel. An inspector then reviews your entire brake line for leaks, bulges, or corrosion, ensuring there are no hidden dangers lurking beneath. The process also reviews all hardware, connectors, and the master cylinder , providing a comprehensive picture of your overall brake operation and identifying any need to replace the brake parts before trouble strikes.
| Inspection Step | Why it Matters | Recommended Frequency |
|---|---|---|
| Visual check of brake pads | Ensures pads haven’t worn out, maintaining stopping power | Every 1,000 miles or 3 months |
| Brake fluid assessment | Prevents spongy brakes and corrosion | Every 6 months |
| Disc and drum brake examination | Prevents warping or jamming | Every 3,000 miles |
| Brake line inspection | Prevents leaks and loss of pressure | Annually |
Key Components to Assess During Motorcycle Brake Inspection
Motorcycle Brake Pads: How to Check for Wear
- Look for uneven or thin brake pads
- Assess for glazing or contamination
Brake pad wear is the most common cause of diminished brake performance for motorcycle riders. Start by closely inspecting your motorcycle brake pads —if they appear thin, uneven, or show signs of cracking and chipping, they likely need replacement. A quick visual check can reveal whether the wear indicator is exposed, signaling the pad’s thickness has reached its safe limit. Moreover, look out for glazing, which occurs when pads become shiny due to overheating, or contamination from oil, grease, or dirt, all of which compromise braking effectiveness.
"Worn motorcycle brake pads can double your stopping distance."pad wear brake rotor brake pads
Inspecting Disc Brakes and Drum Brakes on Motorcycles
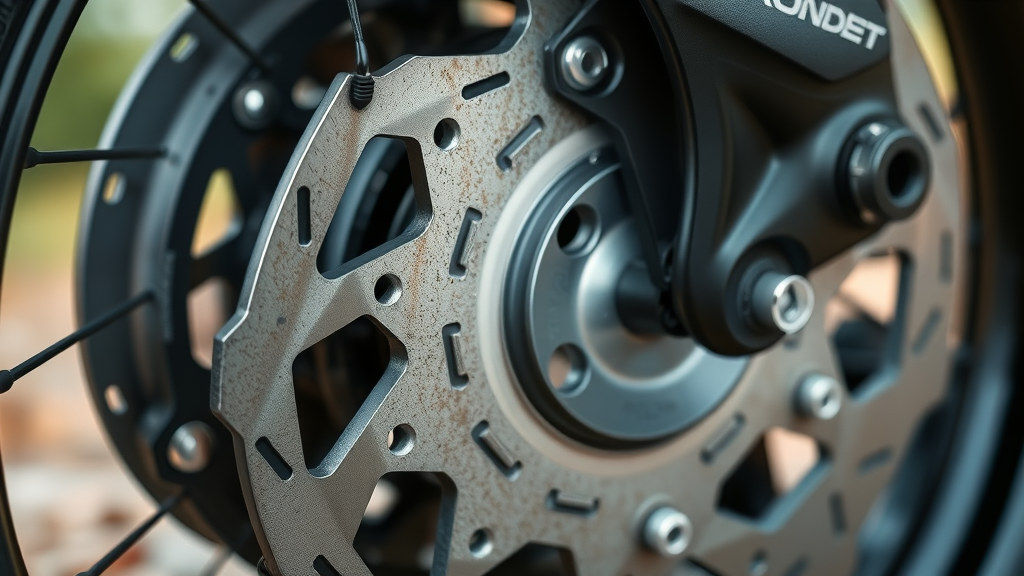
- Signs of worn disc brakes: grooves, scoring, discoloration
- Drum brake symptoms: soft pedal, longer stopping
Modern motorcycles typically use a combination of disc brake and drum brake systems. A thorough brake inspection requires assessing both for unique signs of wear. Start with the disc brake rotors , looking for obvious grooves, heat discoloration (often blue or gold), or excessive scoring. These signs indicate excessive friction or overheating and may point to underlying problems with the brake pad or caliper alignment.
For drum brakes , pay attention to a soft or unusually long pedal travel, which could mean the brake shoes are worn or out of adjustment. Both types of brakes should stop the motorcycle firmly and predictably without pulsing or noise—issues signal that professional service is needed. Regular assessments prevent catastrophic failures like seized hydraulic drum components or warped rotors, both leading contributors to lost stopping power and increased risk on the road.
Brake Fluid: Why It’s Essential in Motorcycle Brake Inspection
- Cloudy or discolored brake fluid indicates contamination
- Low brake fluid can point to leaks in the brake system
Your motorcycle’s brake fluid is the lifeblood of its braking system. Fresh, clean fluid ensures consistent pressure when you pull the brake lever or step on the brake pedal. Over time, however, brake fluid can absorb moisture and contaminants, turning cloudy or dark. This not only degrades your braking response but accelerates corrosion in key brake system components like the master cylinder and brake caliper .
Always address low or dirty brake fluid promptly—a low fluid level usually points to leaks in your lines or hardware, while dark, sludgy liquid means it’s time for a flush. For best results, replace fluid every 12-24 months even if your brakes seem to be working fine. Preventative action will vastly reduce the risk of sudden brake failure or expensive brake service down the road.
Reviewing the Brake Line and Brake System Integrity
- Look for cracks, leaks, or bulges in the brake line
- Check all connections for tightness
Brake line failure is a silent and dangerous problem many riders overlook. During a proper motorcycle brake inspection , carefully scrutinize every brake line for cracks, pinhole leaks, bulges, or soft spots—any of which can lead to pressure loss or total brake failure. Flexible rubber lines wear with age and exposure; stainless steel braided lines, while longer lasting, can still show signs of fatigue or chafing at connection points.
Furthermore, meticulously check for tightness at all line junctions, including where hoses meet the master cylinder , brake caliper , or ABS components. Even a minor drip or sticky fitting can allow fluid to seep out under pressure, leaving you with a spongy lever and compromised brake performance . Address any suspect areas right away—your ability to safely apply the brake in a crisis could depend on it.
When Should You Replace the Brake Components?
- Symptoms indicating urgent replacement: squealing, pedal pulsation, or reduced responsiveness
- How to time regular replacements based on mileage or wear indicators
Knowing exactly when to replace the brake components can mean the difference between a smooth stop and a dangerous skid. Warning signs such as persistent squealing, shuddering or pulsing when you apply the brake, reduced lever or pedal responsiveness, or metallic grinding sounds should trigger an immediate brake service appointment. Ignore these at your peril, as they often mean metal-on-metal contact or total pad failure is imminent.
For routine maintenance, follow the manufacturer’s guidelines—typically, brake pads every 10,000-15,000 miles, brake fluid flush every 12-24 months, and a complete inspection every 3,000-6,000 miles. Many modern bikes have wear indicators on pads to help you gauge their remaining life. If you regularly ride in harsh conditions (rain, dirt, heavy commuting), consider more frequent checks and maintenance. Consistency is key to safe riding and maximizing the lifespan of all consumable parts in your brake system.
What Sets a Professional Brake Service Apart?
"Expert technicians can spot subtle problems in your motorcycle brake system that a DIY inspection might miss."
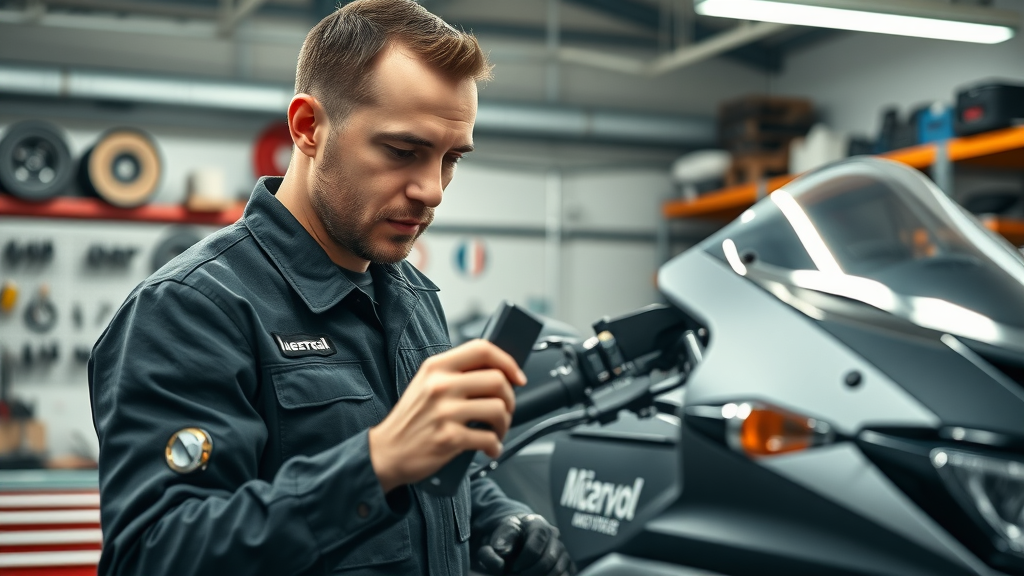
- Tools and techniques used in a comprehensive brake inspection
- Importance of OEM or high-quality replacement parts for brake pads
Not all brake inspections are created equal. Professional brake service goes beyond what most riders can achieve at home, utilizing advanced diagnostic tools to measure pad thickness, rotor runout, brake fluid moisture content, and even microscopic cracks in seals and hoses. Certified technicians know where to look for early warning signs in every brake system component, including the master cylinder and calipers, that aren’t always obvious during a visual home inspection.
Another crucial aspect is the use of OEM (original equipment manufacturer) or high-quality aftermarket parts, which guarantee fitment, reliability, and braking performance. Professionals also apply correct torque specs, leading to a longer lifespan for pads, rotors, and shoes. These details can be the difference between years of trouble-free riding or a surprise breakdown at the worst time. If you’re new to motorcycle maintenance, investing in professional service at regular intervals is an investment in safety and confidence.
People Also Ask: Essential Motorcycle Brake Inspection Questions
How to inspect motorcycle brakes?
- Visually inspect brake pads for thickness and wear
- Check brake fluid levels and clarity
- Examine rotor or drum surfaces
- Test for proper brake lever and pedal feel
To inspect motorcycle brakes , start with a visual check of your brake pads —look for any signs they’re thin, cracked, or unevenly worn. Next, open the brake fluid reservoir and confirm the fluid level is within the marked range and the fluid is clear, not cloudy or dark. Move on to your rotors and drums, checking for grooves, scoring, or discoloration. Finally, apply the brake and take note of how the brake lever and brake pedal feel—a spongy response or excessive travel means air or fluid loss may be present in your brake system .
Is a brake inspection worth it?
Absolutely. A routine brake inspection is one of the most effective and affordable ways to ensure your motorcycle remains safe to operate. A small investment in preventive maintenance can save you hundreds of dollars in repairs and, more importantly, help you avoid dangerous breakdowns or accidents caused by brake failure. Regular inspections help identify issues like worn pads, contaminated fluid, or compromised brake lines before they turn into costly or life-threatening problems.
What is the 70 30 rule on a motorcycle?
The 70/30 rule refers to optimal braking technique for motorcycles, especially during emergency stops. Riders are advised to apply approximately 70% of their stopping force through the front brake and 30% through the rear. This approach utilizes the natural weight transfer to the front wheel when applying the brake, maximizing stopping power and minimizing the risk of rear tire lift or skid. Practice this ratio during safe stops to build your braking proficiency.
What is included in a brake inspection?
A comprehensive motorcycle brake inspection covers several key points. It typically includes checking brake pad and brake shoe wear, inspecting disc brake and rotor condition, measuring the fluid level and quality, evaluating the brake line for integrity, testing the function of the brake lever and pedal, and assessing the condition of the master cylinder and calipers. Many professional services will also inspect hardware and fasteners for tightness and any signs of corrosion, giving you a full picture of your brake system’s health.
Motorcycle Brake Inspection FAQs
- How often should I schedule a motorcycle brake inspection?
- What are the signs of failing motorcycle brakes?
- Can I inspect my motorcycle brakes at home?
- Does brake fluid type matter for different motorcycles?
How often should I schedule a motorcycle brake inspection?
For most riders, a motorcycle brake inspection every 3,000-6,000 miles or twice per year is ideal. However, if you ride more aggressively or in demanding conditions, inspect more frequently.
What are the signs of failing motorcycle brakes?
Signs include spongy or sinking brake lever , low or contaminated fluid level , vibrations, odd noises like grinding or squealing, and visible fluid leaks under your bike.
Can I inspect my motorcycle brakes at home?
Yes, with basic tools you can check pad thickness, fluid level, and visually assess most brake components. However, periodic professional evaluations are strongly recommended.
Does brake fluid type matter for different motorcycles?
Absolutely—always use the brake fluid recommended by your motorcycle’s manufacturer. Mixing types can damage seals and affect brake performance .

Five Signs Your Motorcycle Brakes Need Immediate Attention
- Spongy or unresponsive brake lever
- Visible thinning of brake pads
- Unusual grinding or squealing noises
- Vibrations while braking
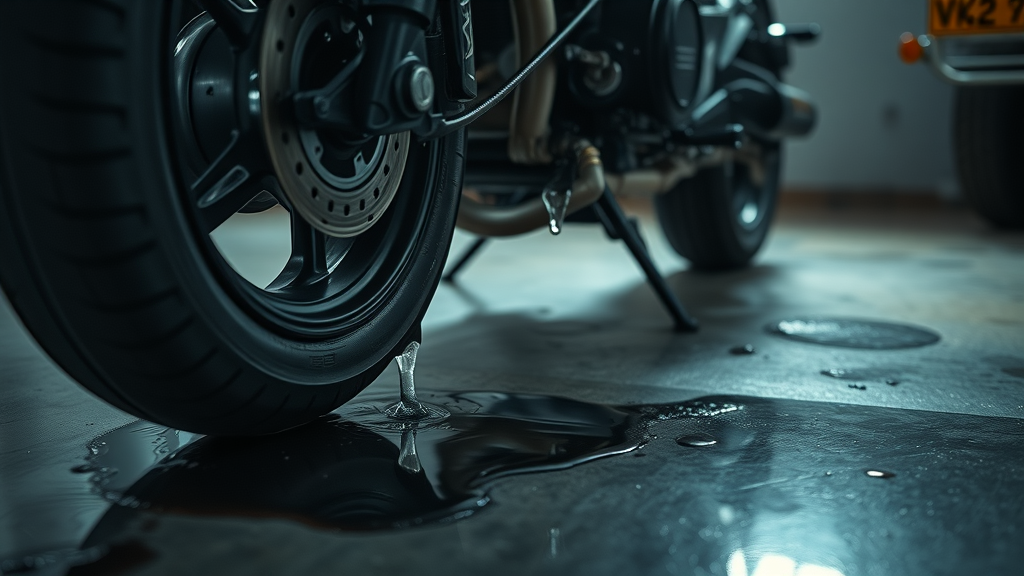
- Brake fluid leaks under your motorcycle
These red flags should never be ignored. A spongy brake lever often means air has entered the system or fluid is low. Thinning brake pads will soon expose metal, causing expensive rotor damage. Grinding, squealing, or vibrations signal misalignment, pad wear, or defects. Finally, if you ever notice a puddle of fluid under your bike by a wheel, brake system integrity has already been breached and urgent repair is required.
Best Practices to Maintain Your Motorcycle Brake System
- Schedule routine motorcycle brake inspection every 3,000-6,000 miles
- Use manufacturer-recommended brake pads and brake fluid
- Flush brake fluid every 12-24 months
- Keep records of all brake service visits
A proactive approach is the best defense against brake-related problems. Book a full motorcycle brake inspection on a regular schedule, especially after riding through rain or debris. Adhere strictly to your manufacturer’s specification for pads and fluid—budget substitutes can reduce braking performance and shorten the life of both brake pads and rotors. Keep a log of every brake service or part replacement; this record will help you anticipate maintenance needs, spot recurring patterns, and preserve resale value.
Braking Techniques Every Rider Should Master for Safer Motorcycle Brake Inspection Results
- Progressive braking: how to apply and release the lever smoothly
- The right way to use both front and rear motorcycle brakes
- Understanding weight transfer for maximum grip
Braking skill is as vital as maintenance for your motorcycle safety. The secret to consistent stopping power is mastering progressive braking : gently squeeze the front brake lever to preload the suspension, then increase pressure for a smooth, controlled stop. Always use both the front and rear brakes together for balanced stopping and longer brake pad life. Proper use helps maximize the effectiveness of your recently serviced motorcycle brakes and extends the life of the entire brake system.
Another essential is learning the forces at play—when you apply the brake , your weight shifts forward, giving the front wheel more grip. Respect this weight transfer, and avoid abrupt moves on sandy or wet roads. Practicing these techniques in a safe environment boosts your riding confidence and amplifies the benefits of every brake inspection and adjustment.

Empower Your Ride: Schedule Your Expert Motorcycle Brake Inspection Today
"A safe ride begins with reliable motorcycle brakes. Don’t wait for trouble—spot and solve problems before they happen."
Ride with confidence—call us today at 847-458-4858 to book your next expert motorcycle brake inspection . Prioritize your safety before the next adventure begins!
What You'll Learn: Understand the essentials of motorcycle brake inspection , gain confidence for DIY checks, learn when to seek professional brake service , and master safe braking techniques for every ride.
Regular motorcycle brake inspections are essential for rider safety and optimal performance. The article “How to Inspect your Motorcycle Brake System” provides a comprehensive guide on checking brake discs, calipers, and fluid levels, emphasizing the importance of early detection of issues like disc warping and fluid contamination. ( bendixmoto.com.au ) Similarly, “Motorcycle brake system maintenance: Guide on how to check everything for your safety” outlines steps for brake fluid control, hose verification, and component adjustments, highlighting the need for routine checks to prevent brake failure. ( motorcyclesports.net ) By incorporating these practices, riders can ensure their braking systems remain reliable, reducing the risk of accidents and costly repairs.


Write A Comment