
Did you know? Just one night of neglect can allow moisture and contaminants inside a gas tank, causing rust that leads to expensive repairs, fuel inefficiency, or a total system breakdown. Understanding expert advice on motorcycle fuel tank preparation could save you hundreds—and keep every ride smooth, powerful, and worry-free. This comprehensive guide sets out the crucial steps, techniques, and professional secrets for preparing and protecting your motorcycle gas tank. Whether you ride daily or seasonally, mastering proper tank prep is the surest way to guarantee long-term performance and reliability.
An Eye-Opening Fact: How Proper Gas Tank Prep Maximizes Motorcycle Performance
When it comes to peak motorcycle performance, experts agree that overlooked fuel tank care is a leading cause of avoidable setbacks. Your motorcycle gas tank acts as the heart of your fuel system—feeding clean, uncontaminated gasoline to your engine and ensuring steady, unimpeded combustion. Missing crucial prep steps can introduce debris, old varnished fuel, and even microscopic rust particles that quickly undermine engine health. From experienced mechanics to dedicated enthusiasts, the message is clear: tank prep is not just about aesthetics. It’s essential maintenance that directly impacts acceleration, engine longevity, fuel efficiency, and even the overall safety of your ride. Following expert advice on motorcycle fuel tank preparation, such as using quality degreasers, protecting bare metal surfaces, and keeping internal parts free of debris, means you avoid the pitfall of costly repairs and can instead focus on pure riding pleasure—mile after mile.
A pristine gas tank also shields your fuel pump and connected systems from contaminants that cause clogs or corrosion over time. By routinely following a professional prep regimen, you create a reliable first defense against water ingress, flaking rust, and chemical breakdowns that could otherwise lead you stranded. So, before hitting the road or putting your bike away for the season, invest some care into your gas tank. You’ll be rewarded with smoother performance and extended service life for every major component in your motorcycle’s fuel system.

What You'll Learn From Our Expert Advice on Motorcycle Fuel Tank Preparation
- The importance of comprehensive tank prep for longevity
- Step-by-step process to prepare your motorcycle gas tank
- Expert tips on preventing common fuel tank issues
- How to avoid fuel contamination and rust
Understanding Motorcycle Gas Tank Preparation: Fuel System Basics
Before diving into the hands-on steps of motorcycle gas tank prep, it’s essential to understand its vital role within your overall fuel system. Your tank does more than store fuel—its interior condition directly influences your fuel pump, fuel lines, carburetor, and engine performance. Old gasoline, moisture, and tiny bits of debris tend to accumulate over time. These contaminants can lead to clogged fuel pumps, rusted internals, and inefficient combustion. Without proper tank prep, even new motorcycles can suffer from accelerated wear. That’s why following best practices, from draining and cleaning to applying tank liners, is considered a must by professionals. It's not just about avoiding visible rust; it’s about protecting every fuel-dependent part of your bike.
Comprehensive tank preparation begins with the removal of old fuel and ends with advanced rust prevention steps. Regular maintenance—such as using a biodegradable degreaser, ensuring parts are allowed to sit overnight before painting, and inspecting for corrosion—is essential to prevent minor issues from escalating. Motorcycles, unlike cars, are often exposed to varying climates and humidity, making their gas tanks susceptible to faster degradation if neglected. By understanding the basics and prioritizing tank prep, you ensure your bike’s engine receives only clean, contaminant-free fuel, allowing you to ride with confidence and avoid frequent trips to the shop.
For riders interested in a more holistic approach to motorcycle maintenance, incorporating seasonal care routines alongside your fuel tank preparation can further extend your bike’s lifespan. Discover practical strategies for year-round upkeep in this guide to essential seasonal bike care.
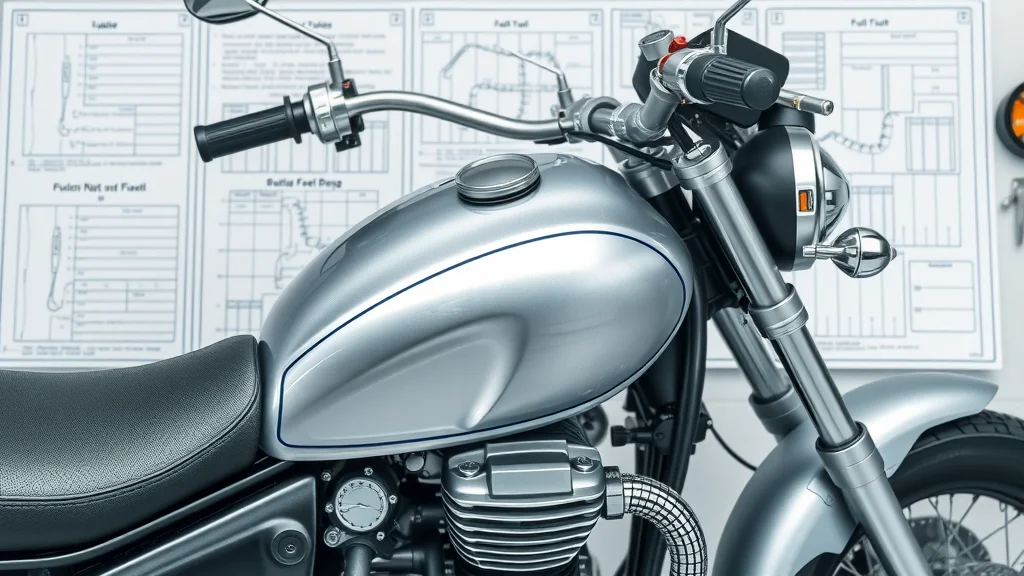
Why In-Depth Tank Prep Is Crucial for Maintaining Your Motorcycle Gas Tank
In-depth tank prep goes beyond a simple rinse—it’s about safeguarding your fuel system from the inside out. Every time you refuel, microscopic residues can build up inside the gas tank. Left unchecked, these deposits start to corrode the surface, leading to internal flaking rust and narrow fuel passages that impede flow. Rust isn’t just an aesthetic nuisance; it can break loose and block your fuel pump or injectors, leading to sputtering performance and costly repairs. Mechanics often point out that a single session of professional tank prep—removing the tank, thoroughly inspecting and treating bare metal, and using products like brake parts cleaner—can add years to your tank’s lifespan. Properly prepping your tank also means addressing old fuel, which can gum up internals and leave a sticky residue that makes future cleaning harder.
Owners frequently overlook internal surfaces, prioritizing shiny exteriors but forgetting that it’s the hidden rust and water pockets that often spell trouble. Seasoned riders cite the practice of using compressed air to clear out debris, immediately drying internals with a rag after rinsing, and ensuring nothing is left behind before reinstalling the tank. These steps enforce a barrier against oxidation and moisture infiltration, two main culprits of premature tank failure. With expert advice on motorcycle fuel tank preparation, even tanks that require extensive sanding or have suffered from years of neglect can be restored to reliable service. Ultimately, it’s this commitment to detail that lets your motorcycle gas tank deliver reliable performance and trouble-free riding for years to come.
Expert Steps: Prepping Your Gas Tank Like a Pro
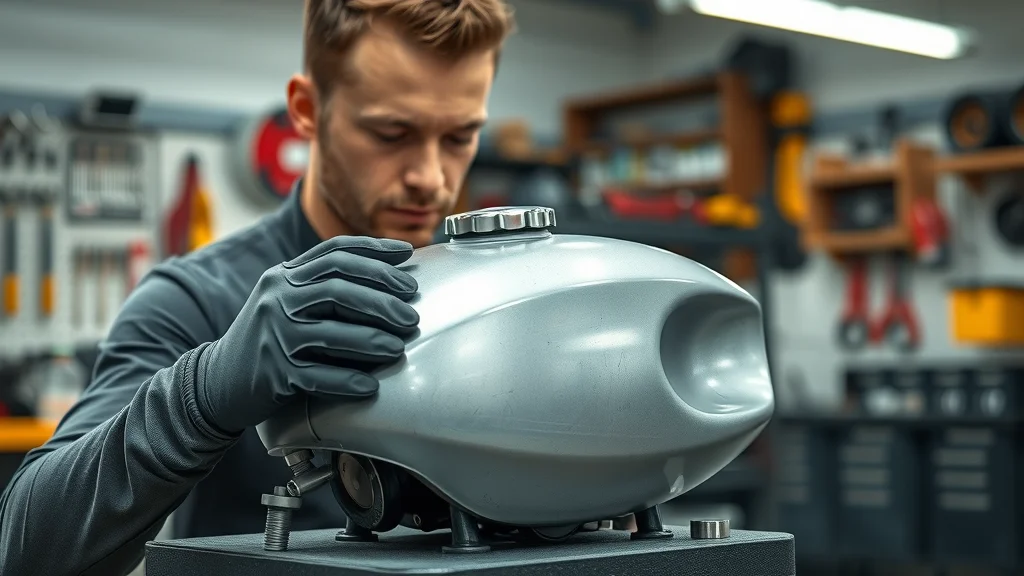
Professional mechanics follow a systematic approach to tank prep, ensuring no step is skipped and all potential issues are addressed from the outset. The first crucial step is thoroughly draining the old fuel and removing any debris from the inside and bottom of the gas tank. Once drained, the tank is removed safely from the motorcycle frame, making sure to disconnect any fuel pump or sender units to avoid accidental damage. With the tank removed, experts recommend using a biodegradable degreaser and letting it sit overnight to break down stubborn grime and varnish. After degreasing, a complete inspection of the tank’s interior surfaces for rust, pitting, or signs of old fuel varnish is performed—this stage often reveals hidden problems that, left untreated, would compromise the finished result.
The next phases involve direct action: applying rust prevention treatments, using brake parts cleaner for deep cleaning, and coating any exposed bare metal surfaces with a tank liner or epoxy primer to prevent future rusting. Allowing proper drying time for each layer is critical—most professionals stress that each stage should sit overnight before painting or installing new components. This technical patience ensures that all cleaning agents and sealers fully cure, giving you the strongest possible protection. Adhering to these steps guarantees that your motorcycle gas tank is not only clean, but also fortified against the most common threats that riders face. This methodical approach, as endorsed by experienced technicians, is the key to maintaining both performance and reliability.
- Draining the old fuel and debris
- Removing the motorcycle gas tank safely
- Thoroughly cleaning and inspecting the interior
- Applying rust prevention methods and tank liner
- Allowing proper drying time for each tank prep layer
“A meticulously prepped gas tank is often the difference between a smooth ride and relentless mechanical headaches.” — Experienced Motorcycle Technician
Tank Prep Essentials: Products and Techniques Experts Recommend
Having the right set of tools and products distinguishes average tank prep from expert-level care. While anyone can attempt basic cleaning, it's the careful selection of products and adherence to proven techniques that separates professional results from amateur efforts. Key items like fuel stabilizer, a quality biodegradable degreaser, comprehensive tank sealer kits, and proper protective gloves and eyewear shield both the tank and the person doing the prep. Motorcycle experts also rely on specific cleaning agents—such as brake parts cleaner or dedicated parts cleaner—to address every particle of residue and rust. These products are designed to prevent rusting, promote fuel stability, and keep internals dry enough to reject contaminants even in humid storage.
Hands-on expert techniques include allowing each layer or application to sit overnight before painting, flushing the tank with clean water between steps, and using compressed air to clear out nooks and recesses. After every cleaning or treatment, professionals thoroughly inspect internals with a light to verify that the bare metal is perfectly clean and rust-free. As motorcycle mechanics point out, quality tank prep starts with reliable products and ends with a readiness to repeat detailed cleaning procedures as needed, for a flawless, lasting result.
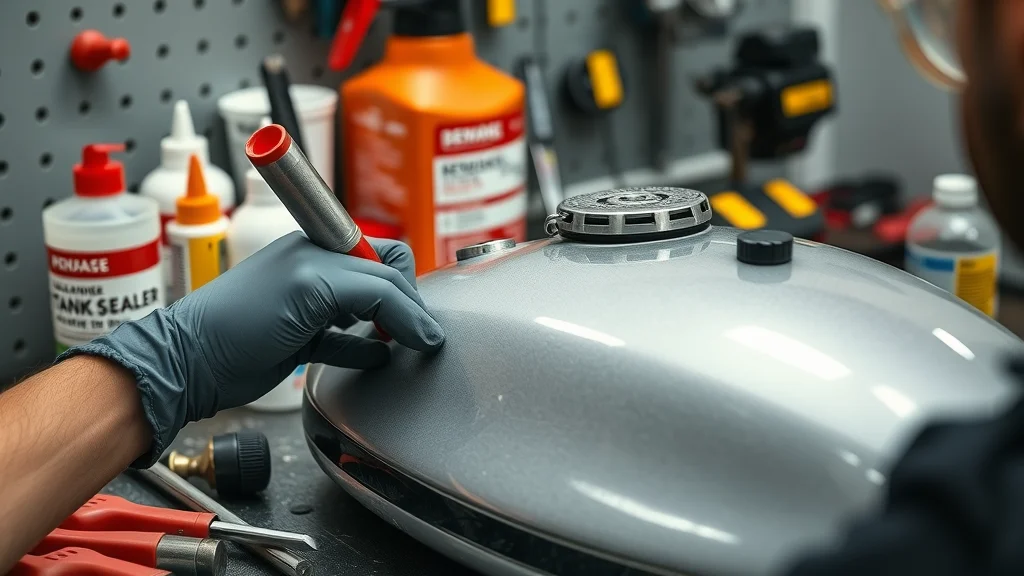
Top Tools and Materials for Motorcycle Gas Tank Preparation
- Fuel stabilizer
- Biodegradable degreaser
- Tank sealer kits
- Protective gloves and eyewear
| Product | Primary Use | Why Experts Recommend |
|---|---|---|
| Biodegradable Degreaser | Removes old fuel, varnish, and residue from tank interior | Safe for metal, non-toxic, breaks down stubborn deposits |
| Fuel Stabilizer | Prevents fuel degradation during storage | Keeps gasoline fresh, prevents starting issues after long storage periods |
| Tank Sealer Kit | Seals and lines interior surfaces to prevent future rusting | Creates a protective barrier, extends tank lifespan, resists chemical breakdown |
| Brake Parts Cleaner | Final rinse and cleaning of rust and debris | Evaporates quickly, leaves surfaces residue-free, ideal for finishing touches |
| Protective Gloves & Eyewear | Personal safety during handling of chemicals | Protects skin and eyes from splashes of cleaner, sealer, and fuel |
Advanced Tank Prep Tips to Prevent Future Issues
Seasoned mechanics and restoration experts have developed a series of advanced tips to push tank prep results to the next level. They emphasize the importance of using a dedicated parts cleaner between every prep stage, especially after sanding or rust removal, to ensure no debris remains before applying treatments. If your tank has signs of substantial pitting or internal corrosion, consider light sanding on bare metal, followed by a thorough rinse and the application of a high-quality epoxy primer before sealer. Additionally, some professionals advocate for a light mist of compressed air after each rinse to guarantee no moisture is left behind, reducing the chance of future rust formation. These steps may require time and patience but are essential for any tank that requires extensive restoration work.
Other preventive measures include installing a modern fuel filter inline after tank prep, thus preventing residual particles from reaching the fuel pump or carbs. Mechanics also recommend routinely checking the tank, especially after exposure to rain or humidity, and using a fuel stabilizer if the bike will sit for extended periods. Letting your tank sit overnight before painting and installing fuel components ensures every product cures fully for longevity. By following these advanced tank prep tips, you protect your motorcycle gas tank from recurring problems, ensuring each start is reliable and every journey remains interruption-free.
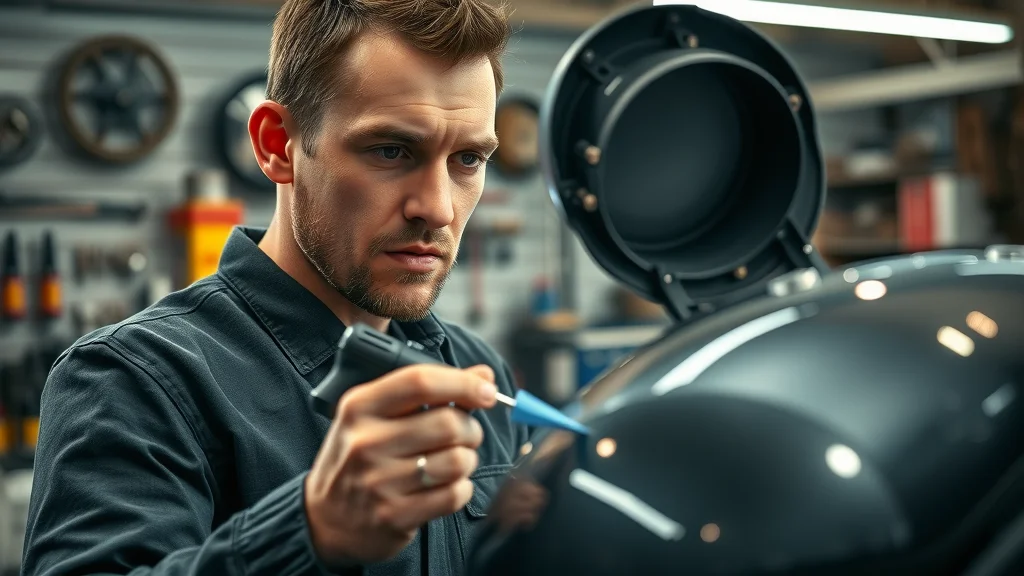
Watch as a top technician demonstrates the full expert process: draining old fuel, thorough tank cleaning with approved products, rust inspection, and final tank liner application—all shot in a state-of-the-art workshop for crystal-clear visuals and step-by-step guidance.
People Also Ask: Expert Answers on Motorcycle Gas Tank Preparation
Is it better to drain gas or use stabilizer?
Both draining gas and using a fuel stabilizer have unique advantages, but the best approach depends on your storage scenario. Draining the gas tank entirely is beneficial if you’re storing your motorcycle for several months or conducting a deep tank prep, as it eliminates the risk of old fuel varnishing and stops water contamination before it starts. On the other hand, if you need to leave gasoline in the tank, adding a quality fuel stabilizer prevents the gas from breaking down and forming deposits. Experts recommend stabilizer for short-term or seasonal storage and full draining for extended inactivity or before major maintenance. Either way, combining these strategies with expert advice on motorcycle fuel tank preparation ensures your bike starts easily and avoids gunky buildup or costly rust repairs down the road.
How many coats of primer on a motorcycle gas tank?
Applying the right number of primer coats is critical for both rust prevention and paint adhesion. Professionals generally recommend two to three thin coats of epoxy primer on a cleaned, bare metal motorcycle gas tank. Each layer should be allowed to dry thoroughly, ideally letting it sit overnight to ensure full curing and adherence before sanding or applying color coats. This careful method creates a solid protective base, shielding the tank from moisture and reducing the risk of premature rusting or paint bubbling. Remember, the key is even application and patience—rushing any paint stage can compromise the prep work you’ve just accomplished.
What does putting salt in a gas tank do?
Introducing any foreign material—including salt—into your gas tank is highly damaging and should never be done. Salt accelerates corrosion at a rapid rate, leading to severe internal rust, clogging of fuel lines, and potentially catastrophic engine failure. Tiny salt crystals dissolve in moisture, attack bare metal surfaces, and create unmanageable deposits that no standard fuel system cleaner can remove. This is a common sabotage tactic and, besides damaging the gas tank, it can ruin injectors, pumps, and many downstream components. Always keep your gas tank sealed and protected, and address any evidence of contamination immediately using the expert tank prep methods outlined above.
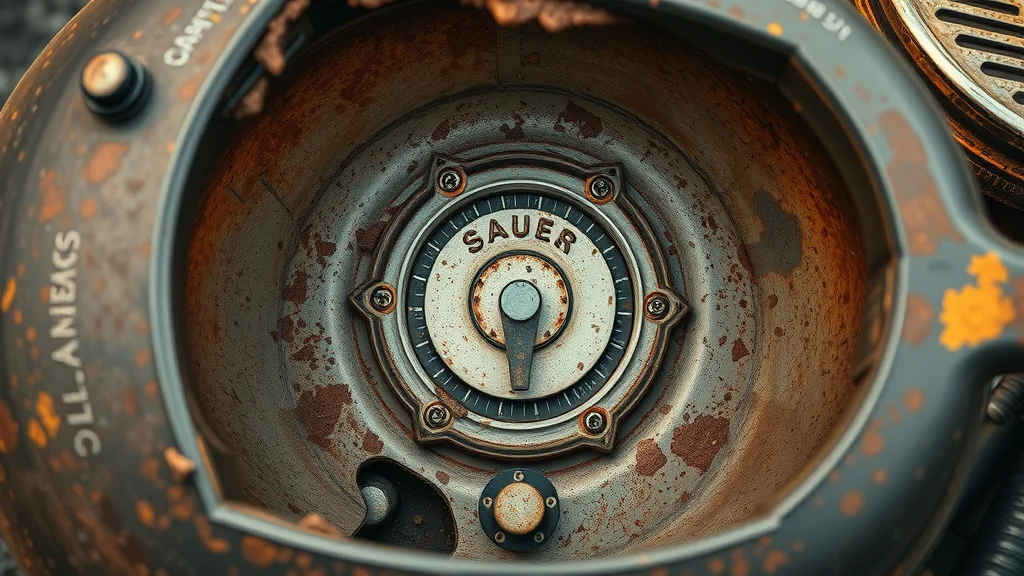
How long until gas goes bad in a motorcycle tank?
Typically, gasoline in a motorcycle gas tank can start to degrade within one to three months. Without stabilizer, fresh gas reacts with air and humidity, forming sticky varnish and gums that clog fuel passages. Factors like high temperatures and tank venting can accelerate this breakdown. Most experts recommend draining the tank or adding a stabilizer if the bike will sit unused for more than four weeks. Regular attention—along with proper tank prep—ensures clean fuel and a smooth start every season, avoiding problems associated with stale or contaminated gasoline.
Key Takeaways: Expert Advice on Motorcycle Fuel Tank Preparation
- Always prioritize thorough tank prep for optimal performance
- Quality products and correct techniques make a lasting difference
- Address issues like rust and old fuel preemptively
- Consult professional advice for advanced tank prep approaches
"Preventative maintenance on your gas tank is an investment in your motorcycle's future."
Your Next Step Toward Flawless Motorcycle Gas Tank Preparation
Whether you’re restoring a classic or maintaining your daily ride, following expert advice on motorcycle fuel tank preparation is a game-changer. Adopt the methods and tools above, prevent future hassles, and make every ride count. Ready for professional results?
Call Nasty Performance Motorcycle Shop Today: 847-458-4858
If you’re eager to take your motorcycle maintenance to the next level, don’t stop at just the fuel tank. Comprehensive care throughout the year is the secret to a bike that performs flawlessly in every season. Explore the full spectrum of seasonal maintenance strategies and discover how proactive habits can protect your investment and enhance your riding experience by visiting Seasonal Bike Care Secrets Every Rider Must Know. With these expert insights, you’ll be equipped to handle not only tank prep but every aspect of motorcycle upkeep—ensuring your machine is always ready for the road ahead.



Write A Comment