
Did you know over 60% of motorcycle audio system failures stem from skipped maintenance routines? That’s right—neglecting your motorcycle speakers or audio system doesn’t just leave you with a humdrum ride—it can mean expensive repairs or outright silence when you most crave clear sound. Thankfully, a proven step-by-step process for motorcycle audio system maintenance can keep the music rolling and road noise at bay, mile after mile.
Startling Facts About Motorcycle Audio System Longevity
Why Routine Motorcycle Audio Maintenance Matters
Motorcycle audio systems are exposed to far more environmental challenges than car audio setups. The constant vibration, sporadic weather, and open exposure to dust and water wreak havoc on components like motorcycle speakers, wiring, and the stereo system unit. That’s why making audio upkeep a habit is so crucial—neglect often leads to costly failures or disappointing sound clarity when you're counting on your system for enjoyment or navigation. Regular attention to each part of your audio system not only boosts its sound quality but extends its lifespan, even under the rigors of the highway speed and daily rides.
Moreover, the satisfaction of a quality sound experience while riding—especially at highway speeds—heavily relies on a well-maintained system. Failing connections, corroded terminals, or damaged wiring can cause sudden sound loss or distortion just when you need powerful sound to overcome road noise. Staying proactive with a step-by-step process for motorcycle audio system maintenance is your best defense against unexpected audio breakdowns.
“Over 60% of motorcycle audio system failures are due to neglected maintenance. Regular care can keep the music playing ride after ride.” – Expert Technician at Nasty Performance Motorcycle Shop
What You’ll Learn in This Step-by-Step Process for Motorcycle Audio System Maintenance
- How to inspect and clean your motorcycle audio system
- Key maintenance checks for motorcycle speakers and stereo systems
- Troubleshooting audio system issues before they escalate
- How to optimize audio quality, even at highway speeds
- Essential safety tips related to motorcycle audio systems
Understanding the Components of a Motorcycle Audio System
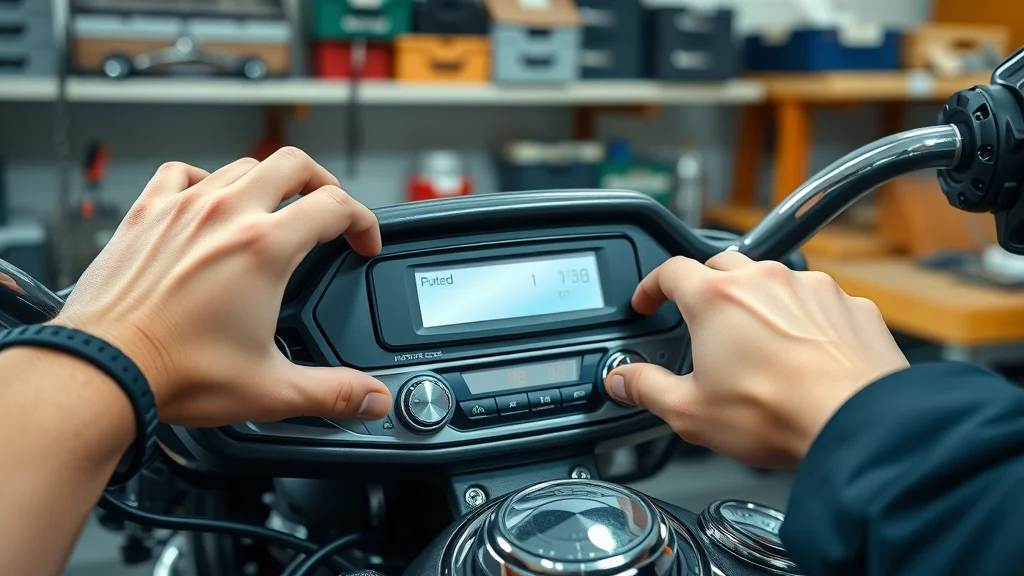
A motorcycle audio system encompasses several integrated components, each playing a role in the clarity and longevity of your overall sound system. Unlike car audio systems, motorcycle audio faces exposure to the elements, which can directly impact sound quality and system functionality. Key components include the control unit, amplifier, speakers, and extensive wiring tailored for motorcycle frames. Every part—from connectors to digital signal processors—requires unique attention during routine maintenance.
Understanding these components sets the foundation for proper care and effective troubleshooting. With a grasp on how audio systems are configured, riders can better recognize signs of wear, make informed upgrade decisions, and optimize speaker placement for unbeatable listening experiences even on a touring model or Road Glide.
When maintaining your motorcycle audio system, it's also important to consider how seasonal changes can impact your bike's overall performance and longevity. For a comprehensive approach to year-round motorcycle care, including tips that complement your audio maintenance routine, explore these essential seasonal bike care secrets every rider should know.
Key Parts: Motorcycle Speakers, Audio System Units, and Wiring
At the heart of any motorcycle sound system are the motorcycle speakers—specifically engineered to deliver clear sound in open environments. Besides speakers, the stereo system unit acts as the brain, processing signals and distributing power. The wiring and connectors link everything, but their exposure makes them frequent culprits for audio glitches. Over time, vibration and moisture can degrade cable integrity, so frequent checks are crucial for system longevity.
Additionally, amplifiers and digital signal processors are often part of advanced setups. They enhance sound clarity and control, ensuring your favorite tracks surpass road noise and environmental challenges. Routine inspection and cleaning of each element keeps your motorcycle's audio installation ready for any riding experience, whether cruising around town or pushing your system at full volume on the highway.
Comparing Motorcycle Audio Systems to Car Audio
While both motorcycle and car audio systems share basic principles—amplification, speaker setup, and control units—their design approaches differ dramatically. Motorcycle audio prioritizes resilience, compactness, and weatherproofing, whereas car audio can rely on cabin acoustics for sound quality and system protection. Additionally, motorcycle speakers are specifically manufactured to withstand wind, rain, UV exposure, and the harsh conditions of high-speed rides. This comparison highlights why specialized care, as outlined in this step-by-step process for motorcycle audio system maintenance, is essential for motorcyclists.
In contrast, car audio systems are less susceptible to sudden sound loss due to weather or debris but still require periodic maintenance to maintain performance. If your riding habits lean toward highway travels or long-distance touring, selecting a robust audio system designed for motorcycles will ensure better reliability and resilience versus adapting car audio components.
| Feature | Motorcycle Audio System | Car Audio System |
|---|---|---|
| Primary Components | Weatherproof speakers, compact amplifiers, external wiring | Standard car speakers, subwoofers, internal amplifiers |
| Sound Longevity | Depends highly on maintenance and weather exposure | Longer due to protected environment |
| Environmental Challenges | Rain, dust, UV rays, vibration, road noise | Primarily temperature fluctuations and dust |
| Maintenance Needs | Frequent, especially after wet or dusty rides | Less frequent, usually interior cleaning |
Preparing for Motorcycle Audio System Maintenance
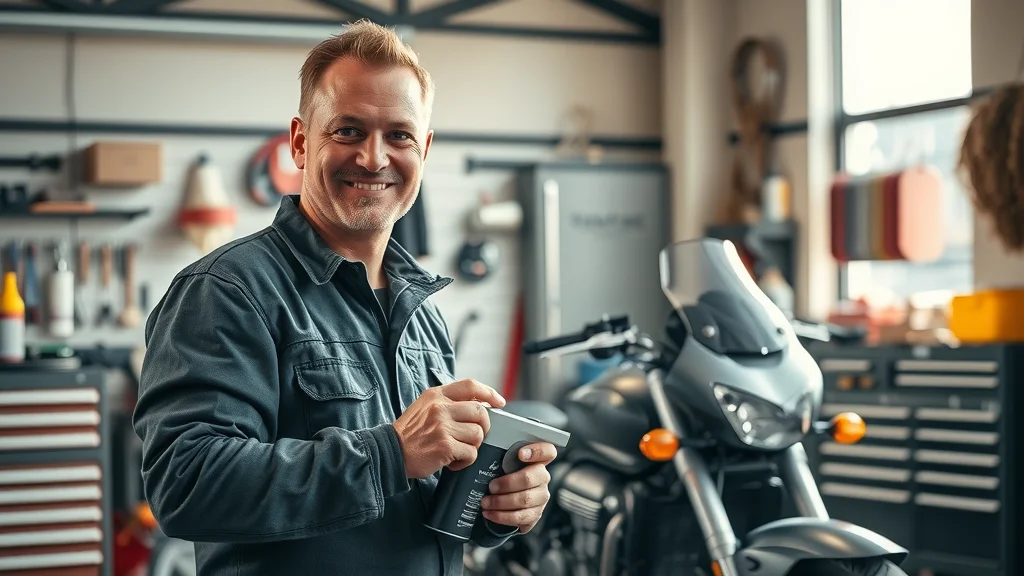
A successful maintenance routine starts long before the first bolt is turned. Preparation is key: gather tools and materials recommended for motorcycle audio system work and ready your workspace to guarantee efficient, safe results. Ideally, maintenance should take place in a clean, dry garage, away from wind, direct sunlight, and potential contaminants. This step ensures you can spot hidden damage in wiring, connectors, and speaker grilles without distractions or variables obscuring your inspection.
Consider timing as well. Scheduling maintenance after particularly rough riding conditions, extended tours, or changes in weather will help catch problems early. Whether you’re working on a touring model or making upgrades to a bag lid or Road Glide, good preparation ensures thorough care and fewer interrupted rides due to sound system issues.
Tools and Materials Needed for Effective Motorcycle Audio Maintenance
Equipping yourself with the right tools and materials streamlines each step in this step-by-step process for motorcycle audio system maintenance. Some essentials include:
- Non-abrasive cleaning cloths and brushes
- Electrical contact cleaner (safe for audio connectors)
- Multimeter for diagnosing electrical system issues
- Basic hand tools (screwdrivers, wrenches)
- Replacement fuses, connectors, and spare speaker wire
- Weatherproofing sealant or treatment for connectors
Having these on hand lets you safely clean, test, and maintain each segment of your motorcycle audio system, reducing the risk of accidental damage or incomplete upkeep. Remember to choose cleaning agents and lubricants compatible with electronics and motorcycle speakers.
Safety Precautions When Working With Motorcycle Sound Systems
Motorcycle audio maintenance often involves interaction with the electrical system. Always disconnect the battery before starting work to avoid accidental short circuits or electrical shock. Use insulated tools and avoid working on electronics in damp conditions to minimize risk. Also, ensure you’re not introducing moisture into sensitive connectors or terminals during cleaning—residual moisture is a top cause of corrosion that leads to sound system malfunctions.
Lastly, protect your eyes and hands with safety glasses and gloves, and always follow the manufacturer’s guidelines for your stereo system, amps, and audio installation. Good safety habits protect both your riding experience and the reliability of your system’s clear sound.
Step-by-Step Process for Motorcycle Audio System Maintenance
Inspecting Your Motorcycle Audio System for Wear
Begin with a careful inspection of your motorcycle audio system. Look for signs of moisture intrusion, discoloration, frayed wires, or loose speaker mounting. Check speaker grilles and the bag lid area for clips or fasteners that may be working loose due to vibration—these are common points of weakness that can cause rattling or sound loss. Don’t forget to visually examine the stereo system and its screen for any signs of water spots, fogging, or stuck buttons, all of which can signal deeper electrical issues.
Additionally, check for dust buildup around connectors and in the housing of both front speaker and rear audio units. Even small amounts of debris can cause intermittent connections and degrade sound quality. Take a moment to test all system functions while stationary, as audible static, buzzing, or dropped channels often point to underlying wear needing more attention in subsequent steps.
Cleaning Connections and Motorcycle Speakers
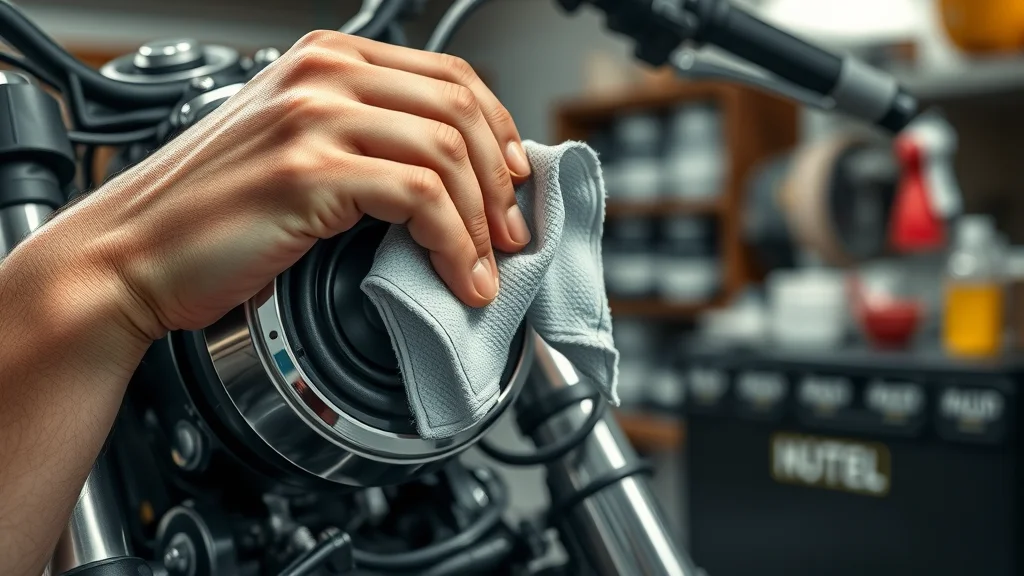
Thorough cleaning is fundamental to any motorcycle audio system overhaul. Begin by wiping down external speaker meshes and audio system faces using a microfiber cloth. Use a specialized contact cleaner on exposed connectors: spray lightly, allow residue to dissolve grime, then gently brush or blow-dry the connections. This keeps the stereo system delivering quality sound and forestalls corrosion issues even after wet rides or damp storage conditions.
For deeper maintenance, unscrew speaker housings to clear dust from bag lid or Road Glide setups. Ensure no moisture remains, as dampness quickly leads to oxidation and unpredictable sound system failure. Finish by tightening mounting hardware and visualizing the wiring path for any pinched or exposed cables, as these can short during rough riding conditions or at highway speed.
Checking Motorcycle Audio System Wiring and Connections
Faulty wiring is the most common root cause behind sudden audio dropouts or buzzing in a motorcycle sound system. Using a multimeter, carefully check each connector and wire for continuity and resistance. Tug lightly at each connection—loose or shifting plugs indicate points where you should reinforce contacts with dielectric grease or replacement parts.
Don’t ignore spots where the harnesses pass near sharp brackets, or where movement could eventually cause wire shearing. If you find any exposed or brittle wire, use heat-shrink tubing or electrical tape for small repairs, but always replace significant runs to ensure the audio system handles power delivery on all rides. The extra step can prevent surprise failures, especially when running powerful sound upgrades with higher demand on original circuit design.
Testing Sound Quality at Different Speeds (Including Highway Speed)

After your initial inspection and cleaning, put your audio system to the test under real-world conditions. Play a track with rich bass and clear vocals, then listen at idle, neighborhood speeds, and gradually up to highway speeds. Focus on sound clarity, distortion, and volume drop, especially above 55 mph, as wind and road noise often reveal weaknesses not audible while stationary.
If certain frequencies get lost at higher velocities, check if your audio system’s EQ or crossover settings compensate for wind and exhaust notes. Adjust digital signal processors or stereo unit profiles as needed to preserve clear sound and quality sound on long rides. Take note if sound is noticeably weaker after system maintenance—that may indicate overlooked connection issues, warranting another inspection using this very step-by-step process for motorcycle audio system maintenance.
Addressing Common Motorcycle Audio Problems
Typical audio issues like static, loss of one channel, or total power-down often trace back to overlooked wiring, pinched cables, corroded terminals, or failing amplifier fuses. Systematically rule out these basics. If the problem persists, compare your current setup to initial working conditions via sound checks. Sometimes a source unit reset or software update for digital stereo systems resolves mysterious glitches. Always consult product manuals to ensure compatibility between audio upgrade components, speakers and amp units, and wiring harnesses.
Should problems like constant hiss, persistent power loss, or distortion continue despite addressing all known issues, it may be time to consider professional diagnostic services—especially if your motorcycle audio system integrates complex controls or digital signal processors.
Advanced Tips for Motorcycle Audio System Longevity
- Weatherproofing motorcycle speakers and audio systems
- Using specialized cleaning products for connectors and speaker grills
- Seasonal inspection schedules for motorcycle audio systems
- Optimizing stereo system sound quality year-round
Taking your motorcycle audio maintenance to the next level means planning for the challenges of all seasons and riding environments. Weatherproof each connection using dedicated sealants. In especially humid or dusty climates, consider upgrading to sealed or marine-grade speakers. Use only cleaning agents labeled safe for audio circuits, and never overlook pre-ride inspections if you see or hear early warning signs.
Schedule a comprehensive inspection at least once per season, especially after traversing extreme riding conditions. And, for ultimate sound clarity and longevity, always follow best EQ and balance settings for your ride style. That way, your motorcycle audio system always delivers powerful sound wherever the journey takes you.
Troubleshooting: Fixing Audio System and Motorcycle Speaker Issues
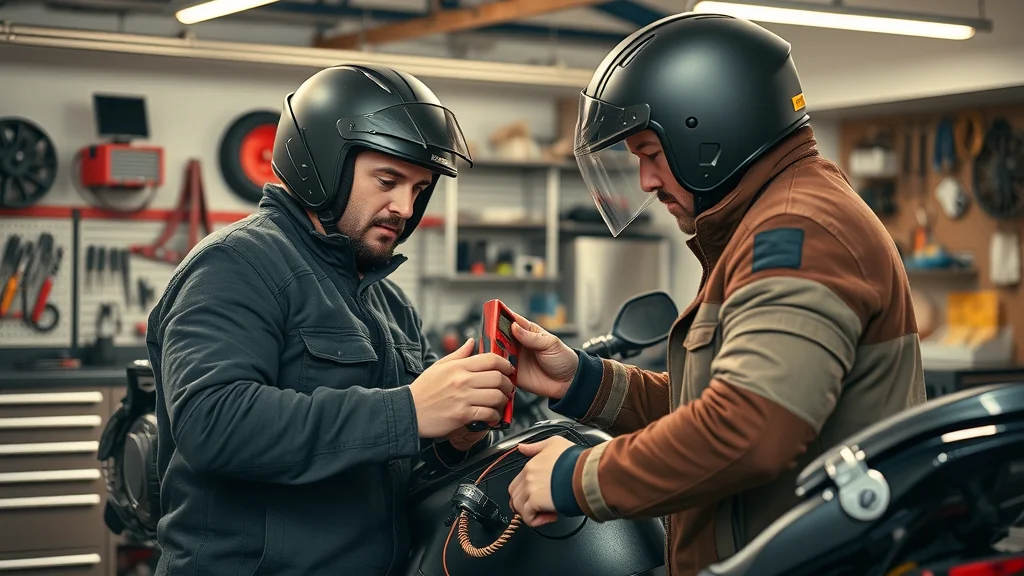
Even with regular preventive care, audio issues can arise. Systematically diagnosing whether a problem is electrical or speaker-based is crucial for a successful fix. Use a multimeter or continuity tester to probe wiring, fuses, and amplifier terminals. If power readings are normal, isolate the motorcycle speakers: disconnect and briefly run a test speaker—if sound returns, the issue lies in the original speaker or its immediate wiring.
Frequent problems like static, channel loss, or “dead spots” usually trace back to loose connections or water ingress at junction points—common after particularly rainy or dusty rides. Keep these vulnerabilities in check for a trouble-free, quality sound riding experience.
Identifying Electrical vs. Speaker-Based Problems
A sudden loss of sound typically points to blown fuses, failed amplifier chips, or corroded connections. If a single channel fails, test with another working speaker on that channel to check if audio returns—this isolates the speaker as the culprit. If neither side works, it’s time to focus on wiring, the stereo head unit, or even the digital signal processor.
Persistent distortion or high-pitched whine may point to grounding problems within the audio system. Ensure your amps and stereo system are grounded directly to clean metal frame points—paint, rust, and dirt can all introduce resistance that compromises sound clarity and system reliability.
When to Seek Professional Repair for Motorcycle Audio Systems
Some repairs—especially those involving intricate electronic components in digital or infotainment audio systems—are best handled by professionals. If your troubleshooting has ruled out common causes, or involves persistent software faults, burned circuit paths, or unresponsive touch controls, reach out to a reputable motorcycle audio shop like Nasty Performance. Professional diagnostic tools can spot faults you might miss and ensure audio upgrade installations are compatible and optimized for your specific motorcycle sound system.
Investing in professional help ensures your motorcycle audio system continues to provide music and navigation as you ride, all while protecting delicate electronics from further damage.
Maximizing Motorcycle Audio System Performance and Sound Quality

Top-notch sound quality makes every ride more exciting and immersive—but only if your system is tuned for real-world riding. Start by adjusting your audio settings for clarity and volume compensation at highway speeds. If your stereo system or digital signal processor allows, use its sound profiles or automatic volume adjustment features tailored for open-air or noisy conditions.
Regularly review your system for software updates. Upgrade to components—such as weather-sealed speakers or high-sensitivity amps—that best match your riding experience, whether it's long-range touring or quick trips around town. Follow every tip in this step-by-step process for motorcycle audio system maintenance for consistently quality sound.
Adjusting Your Audio Settings for Enhanced Audio at Highway Speeds
Wind turbulence can easily mask mid and high-frequency notes when you hit highway speed. To combat this, adjust your EQ settings for a mild boost in the 2-4 kHz range for vocals and treble clarity, and carefully increase bass without overdriving your audio system. If your setup includes a digital signal processor, set dynamic profiles for city and highway conditions, ensuring music always cuts through ambient road noise.
Use the system’s loudness, dynamic compression, or speed-sensitive volume adjustments if available. If your model lacks these features, upgrading to aftermarket head units or amplifiers can future-proof your installation for consistently clear sound regardless of riding conditions.
Selecting the Right Aftermarket Motorcycle Audio Systems and Components
When it's time for an audio upgrade, prioritize weather resistance, fitting precision, and compatibility with your specific motorcycle model. Marine- or motorcycle-specific speakers, sealed wiring harnesses, and vibration-resistant amplifiers outperform generic car audio alternatives. Consider reputable brands known for strong outputs and smart digital integration, especially vital for touring models and bag lid installations.
Before purchasing, double-check dimensions, power handling, and mounting hardware. Upgrading smartly reduces installation time, minimizes future issues, and delivers powerful sound to match your riding experience.
Best Practices for Maintenance Across All Motorcycle Audio Systems
Follow this quick-reference checklist for ongoing audio excellence:
- Inspect and clean system monthly, especially after harsh riding conditions.
- Tighten all speaker and amp mounting points.
- Test wiring for secure, corrosion-free connections using contact cleaner.
- Review EQ settings and software regularly.
- Upgrade weatherproofing and protection on all exposed harnesses and control units.
- Schedule professional diagnostics annually or after any persistent audio problem.
| Task | Frequency | Why It Matters |
|---|---|---|
| Inspect and clean speakers/wiring | Monthly or after long/dusty rides | Prevents buildup and connection issues |
| Test sound quality at all speeds | Monthly | Ensures consistent performance |
| Secure all mounts and hardware | Quarterly | Avoids vibration damage |
| Weatherproof connectors | Annually, or after repairs | Protects against elements |
| Professional inspection | Annually or as needed | Diagnoses hidden issues |
People Also Ask: Essential Answers on Motorcycle Audio and Systems
What is the 4 second rule on a motorcycle?
Explanation of the 4 second rule and its relevance to motorcycle audio usage while riding
The 4 second rule is a safety guideline that helps motorcyclists maintain a safe distance from vehicles in front of them. To use it, select a fixed marker on the road and count four seconds after the vehicle ahead passes it before you reach it. This buffer is especially critical when using a motorcycle audio system; distractions caused by adjusting your stereo system or focusing on sound system controls could delay your reaction time. Always prioritize safety—set up your audio before riding and keep volume at a level that still allows full awareness of traffic and emergency sounds.
How to maintain a sound system?
Best practices for overall audio system and motorcycle speaker maintenance
Maintain any sound system by routinely cleaning speakers and connectors with non-abrasive cloths and contact cleaner, checking all wiring for wear or corrosion, and testing functions at various volumes and speeds. For a motorcycle audio system, prioritize weatherproofing, install vibration-resistant mounts, and schedule inspections after riding in harsh conditions. Regular maintenance preserves sound clarity and system longevity, letting you enjoy quality sound through all riding experiences.
How to reset a Harley infotainment system?
Step-by-step guide for resetting the infotainment system in Harley-Davidson motorcycles
To reset the infotainment system on a Harley-Davidson, turn the ignition key off, wait a few seconds, and turn it back on. Locate the system’s reset option in the settings menu and follow the prompts. If necessary, press and hold the power and home buttons together until the screen cycles off and restarts. Always refer to the owner’s manual for model-specific instructions, and recheck your audio settings post-reset to ensure sound quality and balance are correct for your riding conditions.
What is the most important maintenance on a motorcycle?
Connecting overall motorcycle care to optimal audio system longevity and reliability
Comprehensive motorcycle care goes beyond just mechanical upkeep; maintaining your motorcycle audio system is equally vital for a safe and enjoyable riding experience. The most important maintenance tasks include routine inspection, cleaning, and testing of all key components from speakers to wiring and connectors. Staying proactive with this step-by-step process for motorcycle audio system maintenance ensures every ride is accompanied by loud, clear, and reliable audio.
Frequently Asked Questions on Motorcycle Audio System Maintenance
-
How often should I check my motorcycle audio system?
Inspect your system monthly and after any wet or dusty ride for best performance and system longevity. -
Are aftermarket motorcycle speakers worth the investment?
Yes, high-quality aftermarket motorcycle speakers usually deliver better sound, robustness, and weatherproofing than stock parts. -
What can cause sudden sound loss in a motorcycle stereo system?
Common causes include loose wires, corroded terminals, blown fuses, or damage to the amplifier or stereo system head unit. -
How do weather and environmental conditions impact motorcycle audio systems?
Rain, dust, and extreme sun can degrade connectors and speakers—weatherproofing and regular cleaning protect audio system performance and longevity.
Expert Tips and Key Takeaways for Motorcycle Audio System Care
- Routine maintenance prevents major issues and extends audio system life
- Cleaning and tightening connections maintains sound quality
- Investing in quality motorcycle speakers and parts pays off
- Professional servicing ensures complex problem resolution
Ready to Keep Your Motorcycle Audio System Performing?
Call Nasty Performance Motorcycle Shop Today: 847-458-4858
Conclusion:
Follow this step-by-step process for motorcycle audio system maintenance and enjoy crisp, powerful sound through every ride—rain or shine. Don’t wait for silence: keep your audio system in top shape and the good times rolling!
If you’re committed to keeping your motorcycle in peak condition, remember that audio system care is just one piece of the puzzle. For deeper insight into protecting your bike from the unique challenges each season brings, check out Seasonal Bike Care Secrets Every Rider Must Know. This resource offers practical strategies for safeguarding your entire motorcycle, ensuring both your sound system and your ride are ready for whatever the road—and the weather—throws your way. Elevate your maintenance routine and ride with confidence, knowing you’re prepared for every mile ahead.




Write A Comment