
Ever wondered how your rides could transform with a booming, crystal-clear soundtrack playing right from your bike? If you’re tired of weak audio that fades on the highway or you struggle to enjoy your playlists beneath your helmet, it’s time to consider an upgrade. This article will walk you through how to install motorcycle fairing audio upgrades without the usual stress, so your rides will sound better than ever. Whether you own a Harley, a cruiser, or a sport bike, fitting new motorcycle speakers means more enjoyment on every journey. Let’s dive into why these upgrades matter, and how you can do it yourself, hassle-free.
Unlock Superior Sound: Why Motorcycle Fairing Audio Upgrades Matter
- Upgrading your motorcycle fairing speakers isn’t just about louder music— it’s about enhancing every aspect of your ride. When you install improved speakers, you immediately notice higher clarity, stronger bass, and music that can be heard clearly even at highway speeds. Well-chosen motorcycle speakers fit perfectly, delivering balanced audio, regardless of wind or road noise.
- Learning how to install motorcycle fairing audio upgrades for optimal audio quality means you can finally enjoy every beat, note, or podcast episode as intended. Many riders are surprised by how immersive the experience becomes when upgrading factory motorcycle speakers for new fairing speakers designed for motorcycles.
"Riders often underestimate the transformative power of premium fairing speakers—it’s a game changer for highway journeys." – Certified Motorcycle Audio Specialist

What You'll Learn in This Fairing Audio Upgrade Guide
- Step-by-step process: How to install motorcycle fairing audio upgrades in a home garage or driveway—even if you’re a first-timer.
- Best practices and expert tips: Discover motorcycle speakers installation techniques to help avoid issues and ensure your speakers fit perfectly.
- Key pre-upgrade considerations: Learn about choosing the correct product, system compatibility, and what to watch out for during motorcycle audio upgrades.
As you prepare for your audio upgrade, it's also wise to consider how seasonal changes can impact your motorcycle's performance and longevity. For practical advice on keeping your bike in top shape year-round, check out these seasonal bike care secrets every rider should know.
Planning How to Install Motorcycle Fairing Audio Upgrades Efficiently
- Choosing the right motorcycle speakers is essential. Start with a quick research online for models that fit a wide range of fairings and check your bike’s manual to find the size of your factory motorcycle speakers. This helps ensure your new speakers will fit perfectly with existing hardware, reducing hassle and installation errors.
- Gather all necessary tools before you start. Basic installation for motorcycle fairing speakers generally requires screwdrivers, a socket set, wire cutters, panel removal tools, and possibly speaker adapters depending on the motorcycle brand and model. It’s smart to have all your tools organized and accessible before beginning to ensure a smooth process.
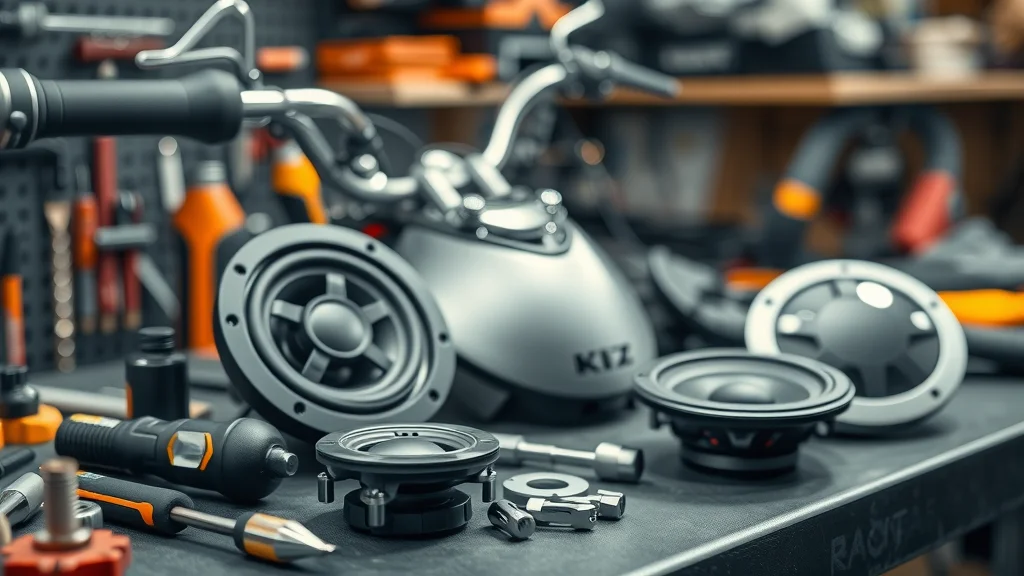
- For a hassle-free installation, plan your workspace, allocate sufficient time, and take care with wire routing and connections to avoid pinched or exposed cables. Double-check fitment, and always disconnect your battery before removing panels to prevent electrical shorts. Proper preparation will make the installation of motorcycle speakers straightforward and efficient.
| Brand & Model | Speaker Size(s) | Weatherproof | Compatibility | Notable Feature |
|---|---|---|---|---|
| J&M Rokker XXR | 5.25", 6.5" | Yes | Harley, Honda, Yamaha | High Output for Highway Use |
| Kicker PS5250 | 5.25" | Yes | Fit a wide range | Max Power Efficiency |
| Rockford Fosgate TMS65 | 6.5" | Yes | Harley Baggers | Direct Replacement |
| Hogtunes 352F-AA | 5.25" | Yes | Harley Touring | Plug & Play Wiring |
Step-By-Step Guide: How to Install Motorcycle Fairing Audio Upgrades
- Before starting, turn off your bike and unbolt the negative cable to access the battery. Always prioritize safety by ensuring there’s no power flowing through the components of a motorcycle audio system while working. Gather your new motorcycle speakers, tools, and installation manual to ensure you’re ready.
- To remove your seat and fairing, locate and unscrew or unbolt all mounting points carefully. For bikes that have existing speakers from the factory, disconnect the speakers and mark the wires for easy reconnection to the new fairing speakers. Take photographs as you go for easier reassembly—speaker referencing the photo can prevent confusion later.
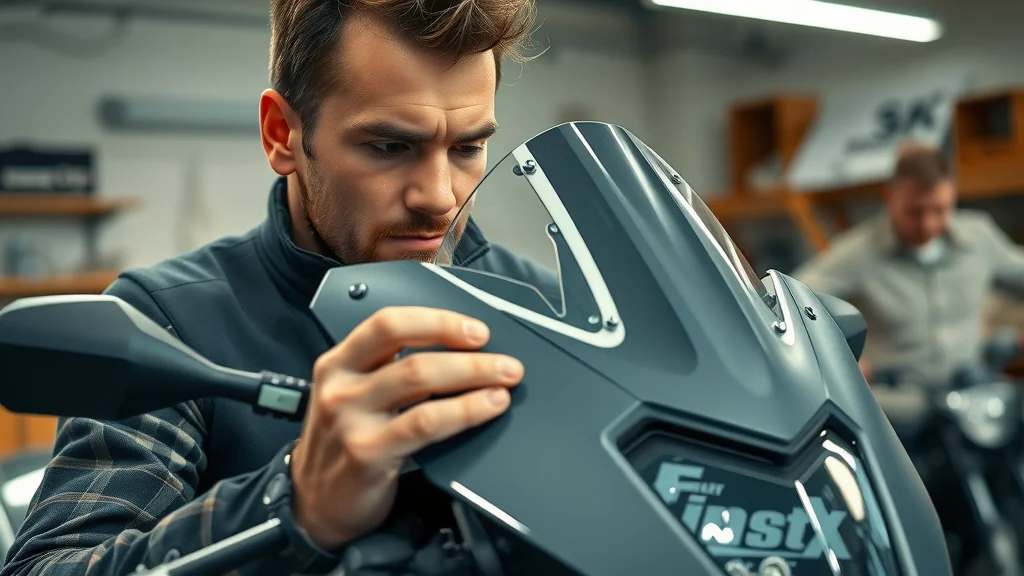
- Install your new speakers by securing them into the mounts provided. Connect all wiring firmly—ensure your speakers are connected following the manual to find the right polarity. Many fairing speakers come with adapters for bikes, so the speakers will fit perfectly even if there’s a range of speaker sizes. Route wires carefully to avoid pinching and use weatherproof connectors for reliability.
- Reinstall the fairing and seat, making sure all bolts are tight and nothing is left loose inside. Reconnect the battery only after everything is back in place. Now, test your upgraded motorcycle fairing audio system by powering up and playing music at a range of volumes. Listen for clear, distortion-free audio—if something sounds off, double-check connections and settings before hitting the road for your next ride.
Expert Tips for Successful Motorcycle Speakers Installation
- To prevent the most common pitfalls, always use the correct product for your bike’s make and model. Fitting speakers too large or with incompatible connectors can lead to rattles, water leaks, or failed performance. If your new motorcycle fairing speakers need speaker adapters, ensure they’re manufacturer-approved to avoid headaches down the line.
- Making connections waterproof is critical for any motorcycle audio project. Use weather-sealed crimp connectors and shrink tubing—exposed electrical connections won’t last in rain or dust. It keeps your system properly functioning no matter the season.
- Once the installation is complete, fine-tune your audio for the best results. Adjust balance, fader, and equalizer settings with the bike idling and with the engine off to hear any subtle issues. Ensure your speakers deliver clear highs and deep lows without buzz or distortion. With a few tweaks, you can focus on bikes and music together for an unforgettable ride!
"Proper installation is more than just plugging speakers in—it’s about long-term reliability and stellar audio quality." – Veteran Rider and Technician
People Also Ask: What Class Amp Is Best for a Motorcycle?
- Understanding amplifier classes is essential for powerful, clean sound. Most motorcycle speakers benefit from a Class D amplifier, prized for efficiency and compact size. This means more power to your fairing speakers with less battery drain—ideal for long rides and limited fairing space.
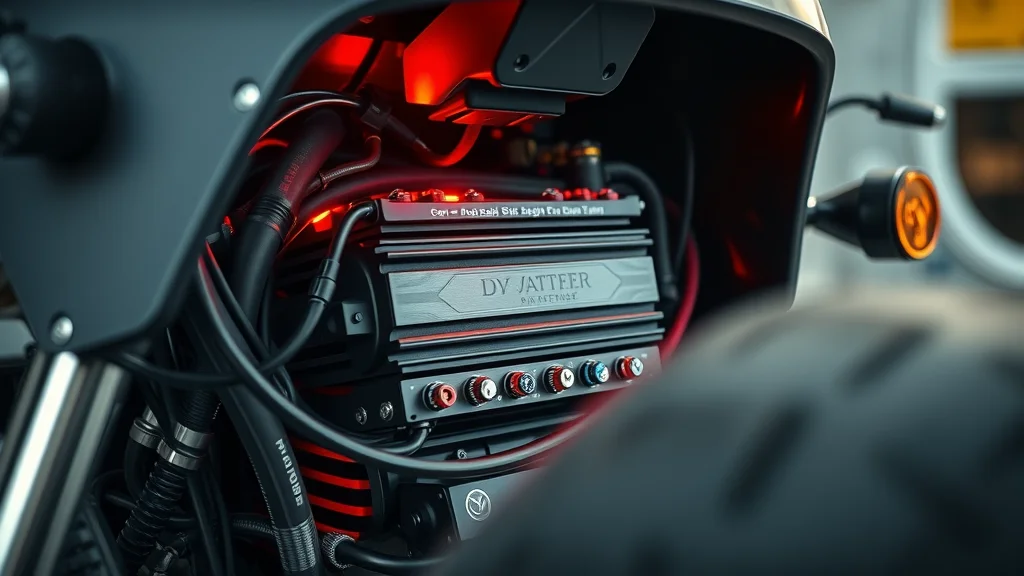
- Select an amp that matches the wattage and impedance of your fairing speakers. Mismatched amps can cause poor audio performance or even component damage. Research online and consult your installation manual to find recommended amp-speaker pairings for your model.
- Integration is the final step: ensure your amp fits within the fairing, wires are short and direct, and there is enough airflow around the amp housing. Neat installation not only prolongs equipment life—it makes troubleshooting much easier if anything goes wrong.
People Also Ask: How to Make a Motorcycle Sound Like a Harley?
- It’s important to distinguish between motorcycle fairing audio upgrades and exhaust mods. Fairing upgrades focus on crisp music playback—they do not replicate a Harley’s engine “rumble,” which is the result of unique V-twin firing patterns and exhaust setups.
- Some aftermarket fairing speakers can mimic the throatiness of a live band, but they cannot reproduce the physical, mechanical “chug” of a Harley engine. For the signature growl, you’ll need engine or exhaust modifications—audio upgrades offer a different kind of sonic enjoyment.
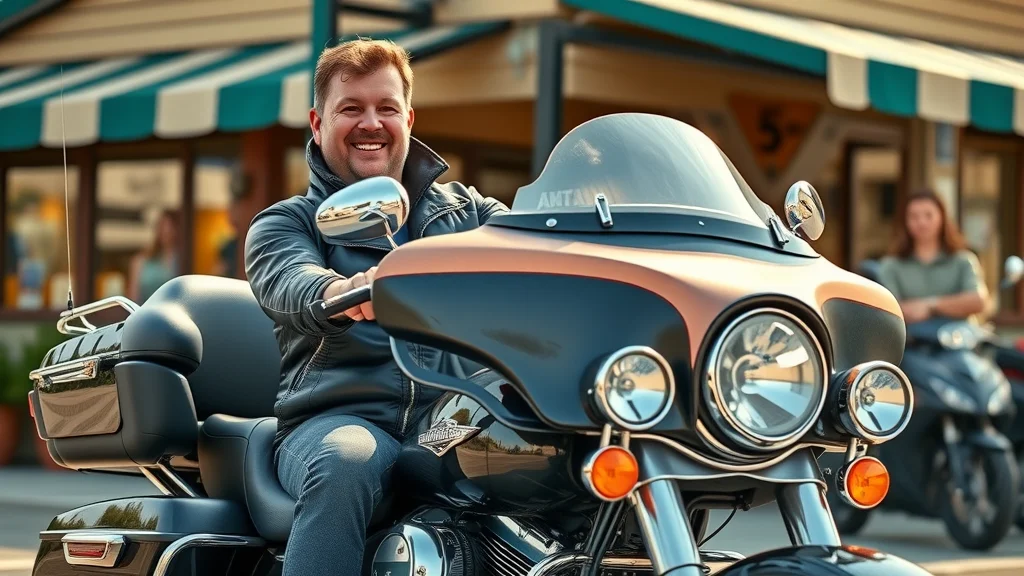
- The best approach is a balance: combine performance exhausts for the classic engine note with top-tier fairing speakers for music enjoyment. This way, your ride is distinctive both at idle and when cruising—with your favorite songs and signature Harley rumble side by side.
People Also Ask: What Does Every Harley Rider Need?
- For Harley owners, must-have upgrades include weatherproof motorcycle fairing speakers for highway clarity, sturdy mounting brackets, and a reliable Class D amplifier. These ensure your music is always accessible and loud enough to cut through wind and engine noise.
- Check off essential accessories like handlebar controls, mobile device mounts, and communication systems. These go beyond motorcycle speakers to round out your riding experience, letting you stay safe, connected, and entertained wherever you go.
- Integrating upgraded audio with other Harley necessities (GPS, lighting, heated grips) makes for a truly premium setup—so don’t stop at fairing speakers if you want the ultimate touring bike.
People Also Ask: Can You Put a Sound System on a Motorcycle?
- Yes, you can fit a wide range of speaker systems on nearly any motorcycle. Options include factory-style fairing units, bar-mounted speakers, tank-mounted pods, and Bluetooth-enabled compact systems.
- The key is to ensure your chosen motorcycle fairing audio upgrades are compatible with your model’s fairing shape, electrical system, and mounting hardware. Most popular brands design their speakers to fit a wide range of modern motorcycles, but always double-check before purchase.
- Prioritize safety and legality: avoid overly loud systems that drown out ambient traffic noise or violate local sound ordinances. Keep wiring tidy and weatherproof for durability and safe operation in all conditions.
Essential FAQs on How to Install Motorcycle Fairing Audio Upgrades
- What are common mistakes to avoid during installation? Failing to disconnect the battery, using incompatible speakers, or making poor connections can lead to disappointment, short circuits, or rattling panels. Always take your time and reference your manual.
- How do weatherproof features matter? Weatherproof fairing speakers and sealed connectors keep your audio system working through rain and splashes—an absolute necessity for riders who won’t let a little weather stop them.
- Is professional installation recommended? If you’re not comfortable removing fairings, handling wiring, or troubleshooting electronics, a pro install is a wise investment. This ensures the job is done right and your warranty stays intact.
Master the Ride: Key Takeaways to Installing Motorcycle Fairing Audio Upgrades
-
Installation Checklist:
- Choose factory-compatible motorcycle speakers
- Gather all tools and speaker adapters
- Disconnect battery before disassembly
- Take photos during removal for reference
- Test audio at each step
- Ensure waterproof connections for longevity
- Reconnect the battery and enjoy! - Summary of best practices: Take time on prep, don’t rush wiring, and select speakers designed to fit perfectly with your motorcycle fairing for reliable, top-quality sound.
- For riders wanting expert guidance or pro installation, call Nasty Performance Motorcycle Shop at 847-458-4858 for support tailored to your bike and upgrade goals.
"Don’t let poor quality tunes ruin your road trip. Upgrade, ride, and enjoy the soundtrack of your journey."
- Call Nasty Performance Motorcycle Shop Today: 847-458-4858
Upgrading your motorcycle fairing audio is one of the best ways to enhance every mile—start your project today, and ride to the soundtrack that defines your adventure.
If you’re ready to take your motorcycle experience even further, consider how comprehensive care can keep your ride performing at its best in every season. From prepping for winter storage to ensuring peak performance in summer, mastering the essentials of year-round maintenance will help you get the most from your new audio upgrades and every other aspect of your bike. Discover expert strategies and insider tips in Seasonal Bike Care Secrets Every Rider Must Know—your next step toward a smoother, safer, and more enjoyable journey on two wheels.



Write A Comment