
Did you know most vehicles' factory brake kits weren’t engineered for aggressive driving or sudden emergencies? This critical oversight puts countless drivers at risk, especially when performance and safety matter most. If you’ve ever wondered how to install upgraded brake systems, you’re tapping into one of the most important steps any car owner can take to ensure confident braking, whether on city streets, mountain passes, or racetracks. This comprehensive guide will walk you through why brake system upgrades matter, exactly how to install them, and key safety and troubleshooting tips—because when it comes to stopping, compromise isn’t an option.
Understanding the Importance of Upgraded Brake Systems
- Startling fact: Most vehicles’ original brake kits are not designed for high-performance demands, increasing risk under severe conditions.
- Why knowing how to install upgraded brake systems is vital for modern drivers: With the popularity of turbocharged engines and heavier vehicles, original equipment just can't keep up with the increased input force and heat. This leads to brake fade, increased pedal travel, and less predictable stopping distances—which could mean disaster in critical moments. By learning how to install a big brake kit or improved brake kit, you take direct control of your vehicle’s stopping power, adapting your system for enhanced clamp force, brake torque, and thermal mass.

- Big brake kit vs. brake kit: Understanding system upgrades for safety and performance— Not all upgrades are created equal. A big brake kit features larger front rotors and stronger caliper brackets, compared to standard brake kits, providing increased system gain, better thermal mass management, and superior pedal feel. Whether you're focused on sporty driving or safety during daily commutes, knowing the difference helps you make informed decisions about what’s best for your vehicle.
What You’ll Learn in This Guide to How to Install Upgraded Brake Systems
- Overview of steps required to install upgraded brake systems
- Key components: Big brake kit, master cylinder, caliper bracket, brake pad, and more
- Safety considerations: Tips when handling brake fluid, drilled rotors, and lug nuts
- Troubleshooting: Common installation challenges and solutions
- Performance boost: How an upgraded big brake or brake kit achieves safer, shorter stopping
Table: Types of Brake Kits – Standard, Big Brake Kit, and Upgraded Options
| Type | Front Rotors | Caliper Bracket | Brake Pad | Drilled Rotors | Master Cylinder Upgrade | Performance & Safety Benefits |
|---|---|---|---|---|---|---|
| Standard Brake Kit | OEM Size, Solid | OEM Cast / Stamped | Organic Material | No | Not Required | Designed for regular use; limited fade resistance; basic pedal feel |
| Big Brake Kit | Oversized, Vented | Heavy-Duty, CNC Machined | Performance, Ceramic/Semi-Metallic | Available/Optional | Recommended | Drastically improved clamp force, brake torque, and thermal mass |
| Upgraded Options (Drilled/Slotted) | Either Size, Drilled/Slotted | Upgraded | Matched Friction Material | Yes | As Needed | Best for heat dissipation, consistent pedal force, and reduced fade |
Essential Tools and Parts Checklist for How to Install Upgraded Brake Systems
- Big brake kit components: Drilled rotors, caliper bracket, front rotors, brake pads
- Supporting parts: master cylinder, proportioning valve, lug nuts
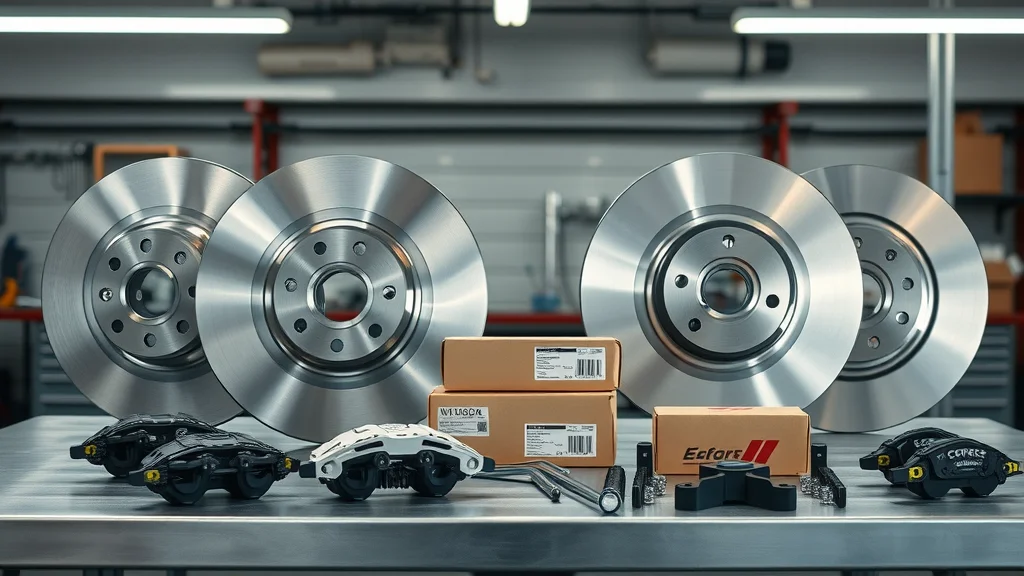
- Necessary hand and power tools: Ratchets, torque wrenches (important for proper lug nut and caliper bracket tightening sequence), socket set, impact wrench, brake caliper tool, and C-clamp
- Recommended safety gear: Gloves rated for chemical resistance (to handle brake fluid safely without skin contact), safety goggles, and protective workwear
“An upgraded brake system is the single best modification for boosting driver safety and trackworthiness.” — Nasty Performance Expert
While upgrading your brake system is a crucial step for safety and performance, it's equally important to maintain your vehicle throughout the year. For practical advice on keeping your ride in peak condition across all seasons, check out these seasonal bike care secrets every rider should know.
Step-by-Step: How to Install Upgraded Brake Systems
Preparation: Ensuring Safety Before Beginning the Brake Kit or Big Brake Kit Install
- Lift and secure the vehicle: Start by parking on a level surface and engaging the parking brake. Use a hydraulic lift or jack stands to raise your car securely, ensuring stability throughout the process—your safety is paramount. Never work beneath a vehicle supported solely by a jack. Only begin when you have full lighting and the work area is free from clutter.
- Remove wheel lug nuts safely: Use a torque wrench or impact wrench to loosen (not remove) the lug nuts while the wheel is still touching the ground. Once lifted and supported, fully remove the lug nuts and set the wheels aside, noting the tightening sequence for later reinstallation. This prevents overtightening or cross-threading, which could compromise clamp force and create hazardous pedal travel conditions.
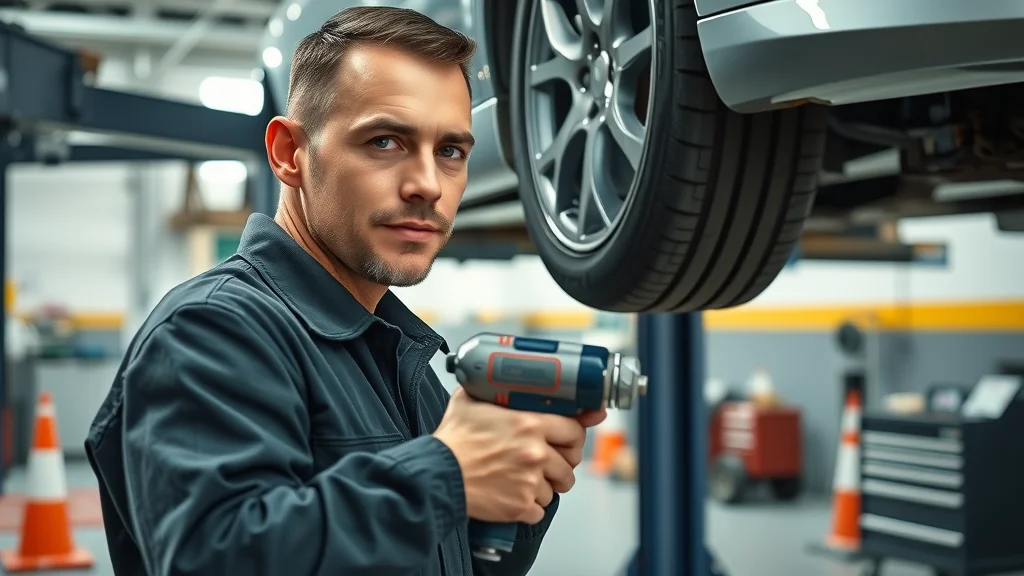
- Check brake fluid reservoir and protect surfaces: Before removing any brake components, verify the brake fluid level and prepare absorbent towels to cover painted surfaces. Brake fluid is corrosive and spills can damage both paint and metal finishes, so each step here protects your vehicle’s integrity as well as your skin and eyes.
Removing Old Brake Components
- Take off caliper bracket, brake pads, and front rotors: Begin with the outer caliper bolts—use proper-sized hand tools to prevent slipping. Slide off the caliper and suspend it with a wire to avoid excess brake hose strain. Remove the caliper bracket using a breaker bar if necessary, then slide off the old front rotors. Inspect all removed parts for uneven wear or damage, which could indicate underlying system gain or piston area issues in the brake system.
- Drain old brake fluid with caution: Open the brake fluid reservoir and, using a proper extraction tool, carefully remove old brake fluid. Dispose of used fluid per local regulations. Take care not to let the fluid level drop too low, as this introduces air into the system—a major cause of spongy brake pedal feel after reassembly.
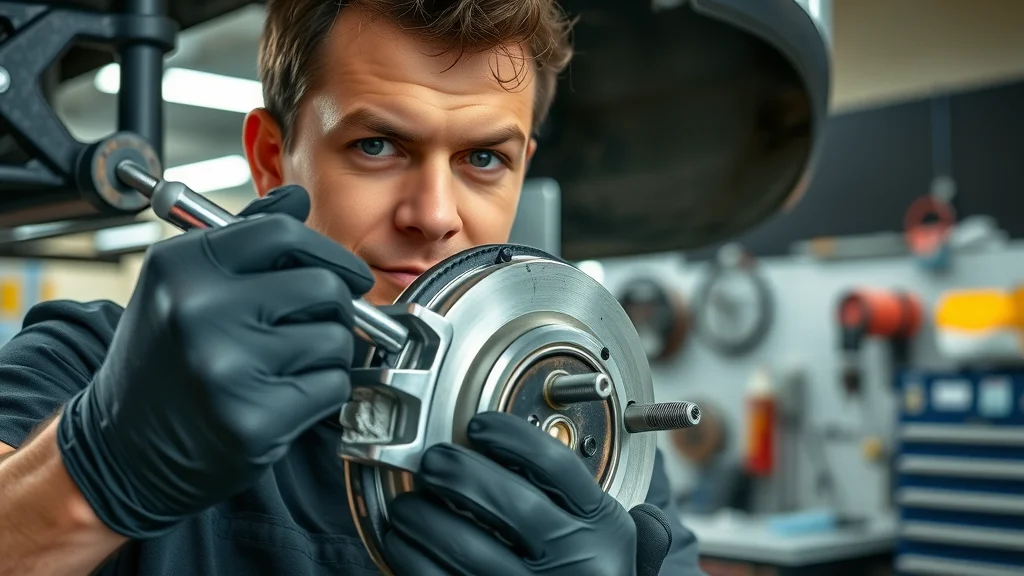
- Inspect master cylinder and proportioning valve condition: Now is the time to examine the master cylinder for wear or leaks. Look for any brake fluid seepage, pitting, or damage in the master cylinder body or lines. Next, assess the proportioning valve: an incorrect or worn valve could create poor balance between your big front and rear brake systems, leading to uneven stop distances and reduced control.
Fitting the Big Brake Kit: Upgrading Front Rotors and Caliper Brackets
- Install new big front drilled rotors: Clean new drilled rotors with brake cleaner to remove factory coatings. Align the rotor on the hub, ensuring proper seating for maximum concentricity and reduced pedal vibration. This upgrade increases the thermal mass, aiding in reduced fade and consistent brake torque during repeated hard stops.
- Attach upgraded caliper bracket: Use new hardware where provided, tightening to specified torque in a crisscross sequence to maximize even clamp force. A securely mounted caliper bracket guarantees the upgraded system will harness input force efficiently and safely, minimizing unwanted pedal travel and maximizing cylinder and piston area effectiveness.
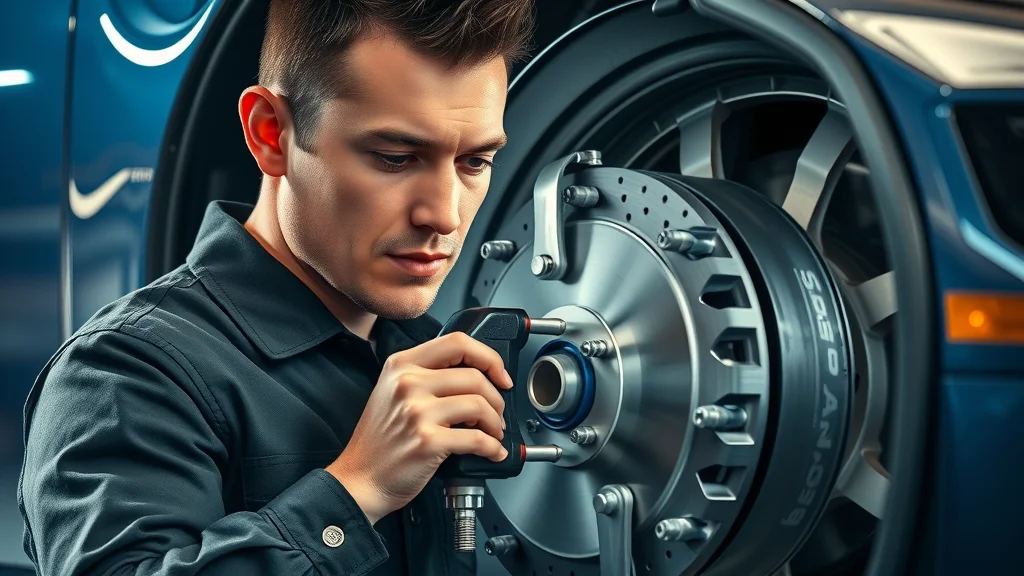
- Fit new brake pads: Clean all pad contact points on the caliper bracket and apply high-temp grease to limit noise. Properly installed brake pads—and compatible friction materials—are essential for translating pedal force and system gain into smooth, reliable stopping.
- Verify all hardware and lug nuts for proper torque: Double-check the tightness of lug nuts (but don’t final-torque until wheels are back on the ground) and caliper bracket bolts, as proper clamp force and sequence are critical to big brake kit safety and consistent brake system performance.
“Precision when installing every big brake kit part ensures consistent, fade-resistant stopping power.”
Integrating and Adjusting the Master Cylinder and Proportioning Valve
- Assess need to upgrade master cylinder for big brake performance: Big brake kits often require a larger bore master cylinder to match increased caliper piston area and maintain the correct pedal travel and firmness. Before proceeding, ensure compatibility—if in doubt, consult your kit’s documentation or your mechanic for recommendations. Incorrect master cylinder sizing can lead not only to mushy pedal response but also to reduced system gain and safety risks.
- Install or recalibrate proportioning valve: The proportioning valve is responsible for balancing brake force between the big front and rear brake assemblies. Installing an adjustable model allows fine-tuning for optimal control, especially if you’ve installed larger rotors and calipers up front. Secure correct alignment and tightness to avoid fluid leaks or mismatched brake bias.
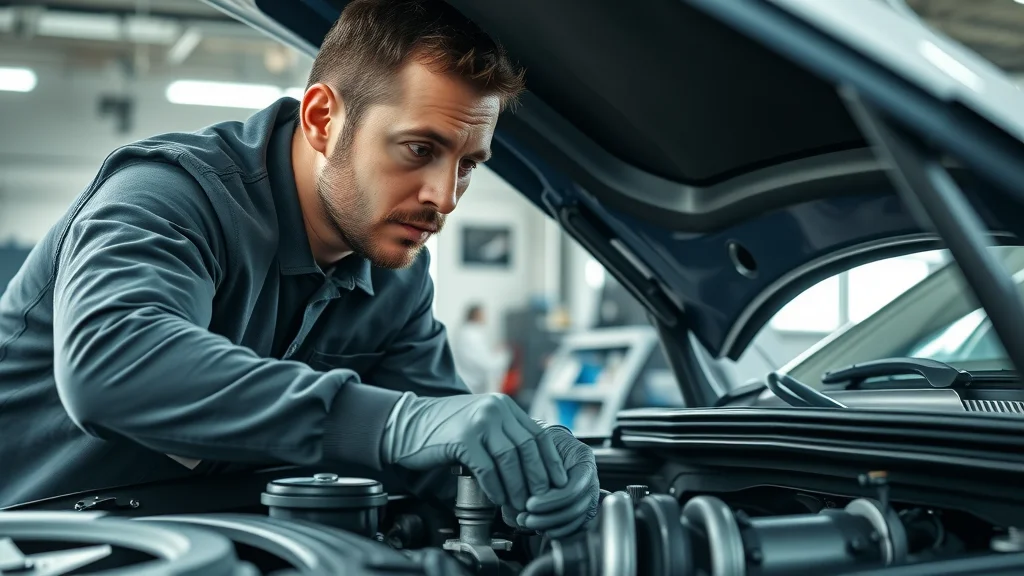
- Double-check fitment for all new big brake and brake kit elements: Go through each installed part—front rotors, caliper bracket, brake pads, and new brake hoses—confirming every bolt and fitting is torqued to specifications and that fluid from the master flows uninterrupted through the system.
Finishing Up: Bleeding the Brakes and Final Safety Checks
- Use fresh brake fluid (compatibility with upgraded brake kit advised): With upgraded calipers and larger rotors often comes the need for higher-temp brake fluid. Always use fluid recommended with your big brake or brake kit. Fill reservoir to the correct fluid level before and during bleeding.
- Bleed all brake lines to remove air and ensure proper pedal feel: Bleeding is best accomplished with two people: one applying pedal force, the other opening bleeder valves at each wheel in the specified order (often right rear, left rear, right front, left front). This step ensures your big brake system achieves ideal clamp force, minimizing pedal travel and maximizing system gain.
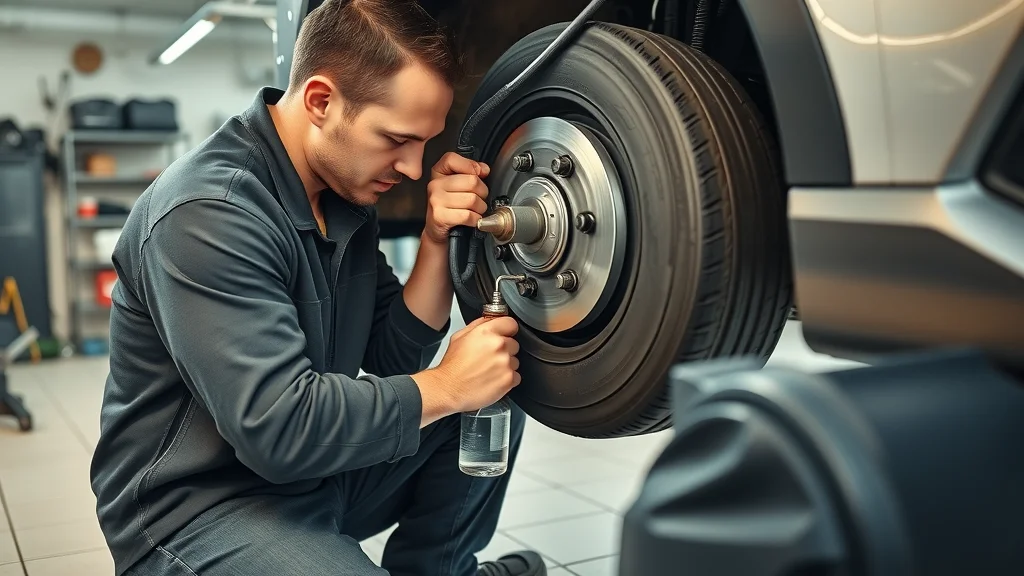
- Inspect complete big brake kit assembly, all lug nuts, caliper brackets, and installed drilled rotors: Visually confirm each hardware piece. Spin the wheels by hand to check for pad and rotor clearance; listen for unusual friction or scraping (which could indicate misaligned caliper brackets or pad material issues).
- Test in a safe area for initial bedding of brake pads and rotors: Take your vehicle to an open space. Carefully perform a bedding procedure with repeated moderate stops to properly mate the new pad and rotor surfaces, optimizing brake torque and ensuring long-term performance.
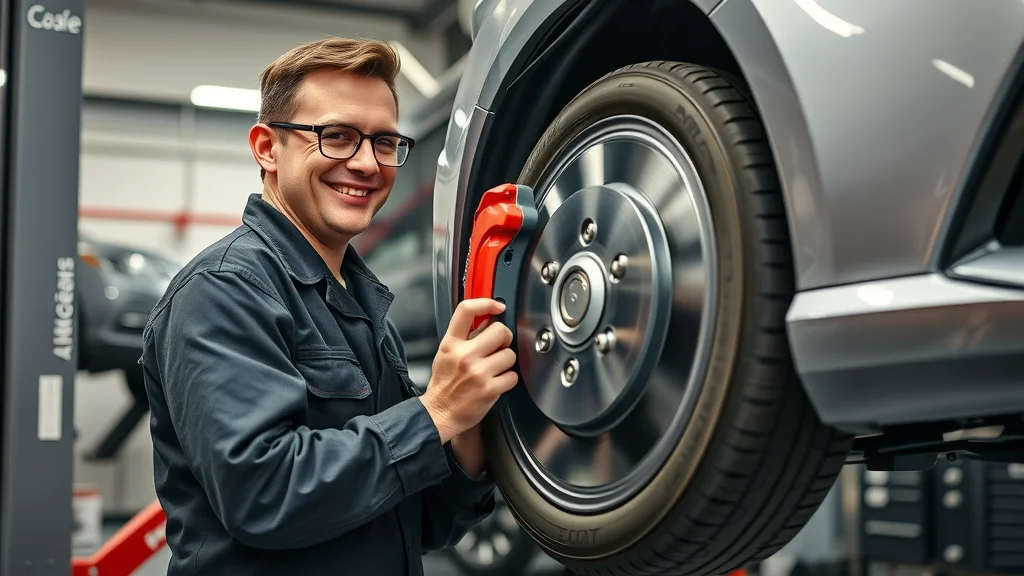
Video Tutorial: How to Install Upgraded Brake Systems – Visual Walkthrough
Prefer to follow along visually? Watch our video tutorial for a step-by-step walkthrough of how to install upgraded brake systems, including big brake kit mounting, bleeding, torque sequence, and safe bedding techniques. See OEM vs. big brake kit installation for real-world tips.
Expert Tips and Common Mistakes When Installing Big Brake or Brake Kits
- Double-check correct torque on all lug nuts and caliper bracket bolts to prevent loosening under high clamp force and pedal force.
- Match brake fluid to your upgraded master cylinder for best results in system gain and consistent brake pedal feel.
- When fitting drilled rotors on big brake kits, avoid using pads with incompatible friction material, as this can cause noise and reduce brake torque.
- To spot issues with brake pad seating or proportioning valve mismatch, monitor pedal travel and braking balance during your first few test stops; uneven stopping suggests further adjustment is needed.
People Also Ask About How to Install Upgraded Brake Systems
What is the 30 30 30 rule for brakes?
- The 30-30-30 rule describes the bedding process after installing new brake pads or a big brake kit: perform 30 moderate stops from 30 mph, spaced at 30-second intervals. This allows pad and rotor surfaces to mate perfectly, improving long-term performance and achieving optimal material transfer for consistent clamp force and brake torque.
What is the 70 30 brake rule?
- The 70/30 rule states that approximately 70% of braking force comes from the front brake kit or big front brakes, while only 30% is from the rear brake assembly. That’s why most performance upgrades focus on front rotors and caliper brackets—to maximize system gain, maintain safe pedal travel, and ensure balanced control during hard stops.
Do upgraded brakes make a difference?
- Absolutely. Upgraded brake systems—especially those employing a big brake kit with drilled rotors—deliver more braking power, better heat dissipation, and much less fade than standard setups. For spirited or emergency driving, these improvements mean shorter stopping distances and a confident brake pedal at all times.
What step are you supposed to do after installing new brakes?
- After you install upgraded brake systems, it’s essential to bleed the lines thoroughly, verify all hardware, and bed the brake pads with a safe, progressive break-in. Always test in a low-traffic area before returning to full-speed driving. This ensures reliable clamp force, optimal pedal force, and consistent performance from your big brake kit or upgraded brake kit.
FAQs About How to Install Upgraded Brake Systems
-
Do I need to change my master cylinder for a big brake kit?
Often yes. To properly supply increased fluid volume and match the caliper piston area in most big brake kits, upgrading the master cylinder is recommended for optimal pedal feel and complete system gain. -
What are signs I need upgraded brakes?
If you notice increased pedal travel, spongy brake pedal response, frequent fade during hard stops, or longer stopping distances, it’s time to consider a big brake or upgraded brake kit for improved safety and control. -
Can any vehicle use drilled rotors or big brake kits?
Not always. Ensure your vehicle’s hub, suspension, and proportioning valve systems can accommodate larger front rotors, caliper brackets, and other upgraded brake components before installation. -
How often should brake fluid be checked when using upgraded systems?
Regularly check the brake fluid level in the reservoir—at least once every month or before any track or spirited driving session, as upgraded brake systems generate higher temperatures that can degrade brake fluid faster. -
How to know if my proportioning valve is compatible with a new brake kit?
Consult your kit’s documentation or a brake expert. If the balance of your brake system feels off after installation—such as early rear lockup or front fade—you may need an adjustable or upgraded proportioning valve for safest results.
Key Takeaways on How to Install Upgraded Brake Systems
- Safety and control improve significantly with a properly installed big brake kit or upgraded brake kit
- Critical installation steps: Secure fitment of caliper bracket, master cylinder compatibility, and bleeding brake fluid
- Regular inspection of brake pads, lug nuts, front rotors, and proportioning valve keeps your system optimal
Next Steps: Consult Professional Help for Upgraded Brake System Installation
- For precision and peace of mind, call Nasty Performance Motorcycle Shop Today: 847-458-4858.
Conclusion: Upgrading your brake system is one of the smartest ways to make your vehicle safer and more responsive. Take these steps carefully, and enjoy total control wherever the road takes you!
If you’re committed to maximizing your vehicle’s safety and performance, don’t stop at just the brakes—comprehensive care is key to long-term reliability. Explore our expert guide on seasonal bike care strategies to keep your ride in top shape through every climate and condition. By combining advanced upgrades with smart maintenance, you’ll ensure your investment delivers peak results year-round. Ready to take your knowledge further? Discover how proactive care can make every drive smoother, safer, and more enjoyable.



Write A Comment