


Ever wondered if you could skip the mechanic and successfully fix your own motorcycle? DIY motorcycle repair is more rewarding, affordable, and manageable than you might think. This comprehensive guide empowers you with step-by-step instructions , essential tips, and insider secrets so you can take control of maintaining, rebuilding, and restoring your bike. Let’s challenge the myth that only experts can master DIY moto tasks—because your journey to motorcycle repair mastery begins now!
Are You Ready to Tackle DIY Motorcycle Repair With Confidence?
If you’ve ever looked at a wrench and hesitated, you’re not alone. The idea of diy motorcycle repair can seem daunting at first, especially with modern bikes packed with advanced technology. But here’s the truth: with proper guidance, anyone can build up the skills needed to maintain and fix their motorcycle at home. Whether it’s a routine oil change , swapping a spark plug , or performing a full engine rebuild , this guide is designed to sample every critical aspect for a safe and satisfying garage experience. The key is combining curiosity, patience, and reliable information—plus, there’s nothing quite like finishing a project with your own hands. Ready to challenge conventional wisdom? Let’s get started!
Rethink What’s Possible with diy motorcycle repair
-
Discover common barriers and misconceptions around diy motorcycle repair
-
Explore why anyone can master diy motorcycle repair with proper guidance
“Most people underestimate what they can achieve in their own garage with the right diy motorcycle repair know-how.” — Certified Motorcycle Mechanic
Essential Tools and Gear for Effective DIY Motorcycle Repair
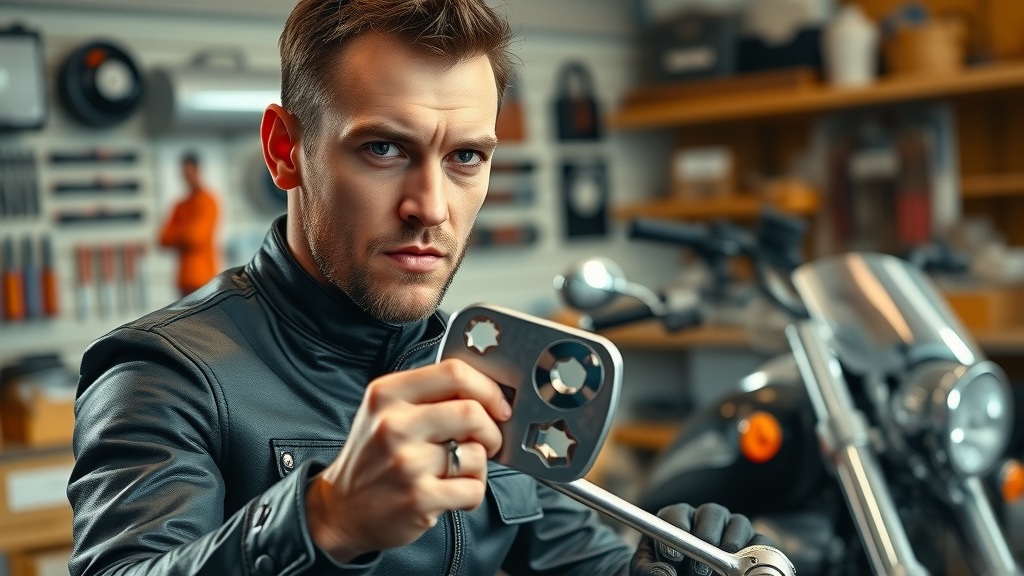
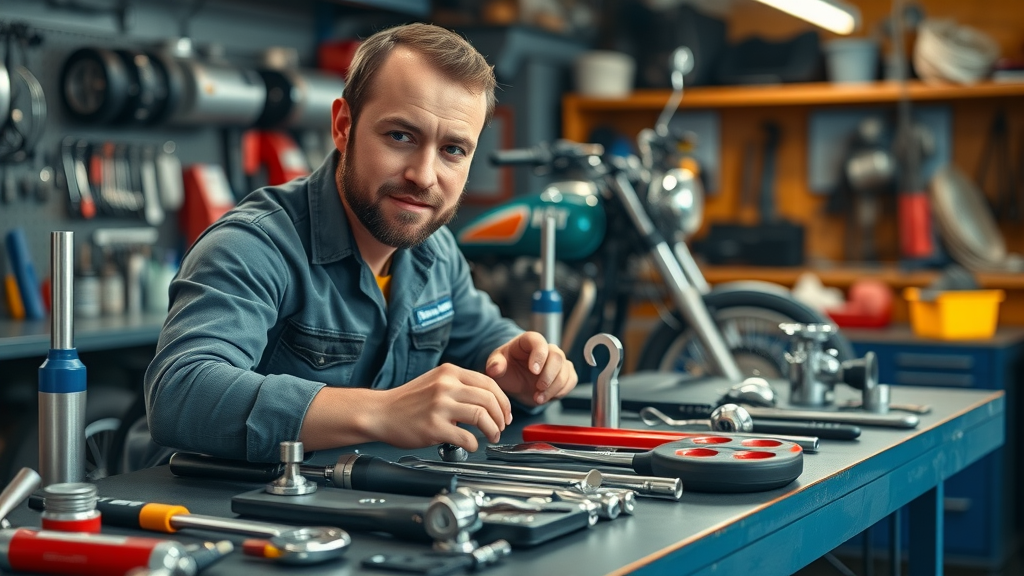
The right toolkit is your best partner for any diy motorcycle repair project. Start with strong, basic hand tools: a quality ratchet and socket set, assorted screwdrivers, Allen/hex wrenches, and needle-nose pliers. For more advanced projects, upgrade your setup with torque wrenches , a multimeter for electrical diagnosis, and bike-specific bits like chain breakers, brake pad spreaders, and a carburetor sync tool. Invest in a sturdy workbench with ample lighting to make tasks more enjoyable and precise.
Don’t overlook safety gear. Protective gloves, safety glasses, hearing protection, and durable clothing are must-haves. Helmets are essential for test rides, but in the garage, cover up to avoid burns and scrapes. A clean and well-ventilated workspace will not only keep you safe but also boost your productivity and confidence, especially when tackling tricky or greasy tasks like an engine rebuild or cleaning carburetor components.
Comprehensive List for Your DIY Moto Setup
-
Must-have tools: basic and specialized for diy motorcycle repair
-
Safety equipment and protective clothing
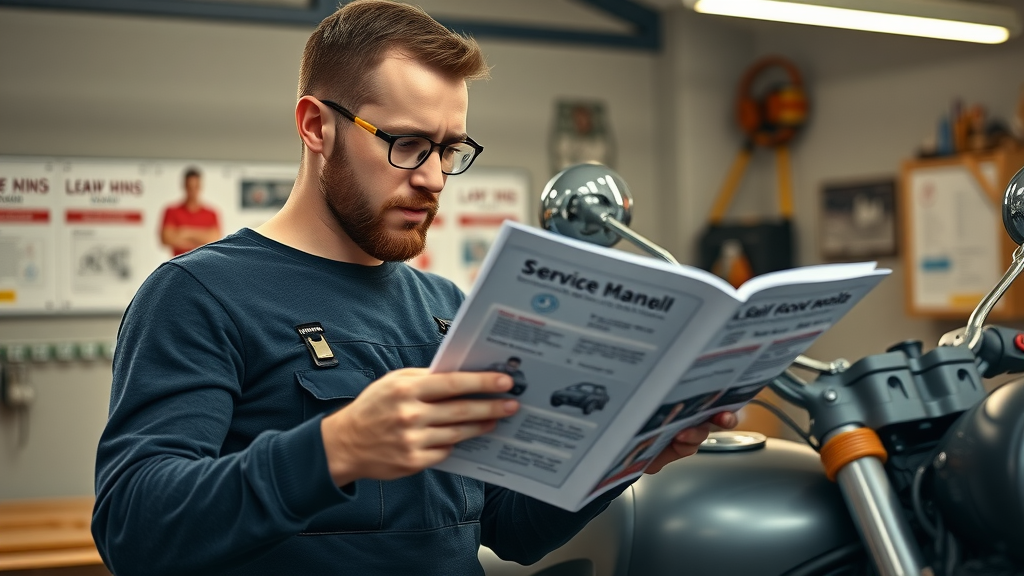
How to Use the Service Manual in diy motorcycle repair Projects
Your motorcycle’s service manual (such as Haynes or Clymer) is an indispensable resource, packed with step-by-step repair procedures, wiring diagrams, torque specs, and maintenance schedules. Never start a major diy repair without reviewing the relevant procedure in your manual. These guides demystify even complex tasks like brake pad replacement, carburetor servicing, or tracing electrical gremlins in your bmw motorcycle or honda cb .
-
Leveraging your motorcycle’s service manual for step-by-step fixes
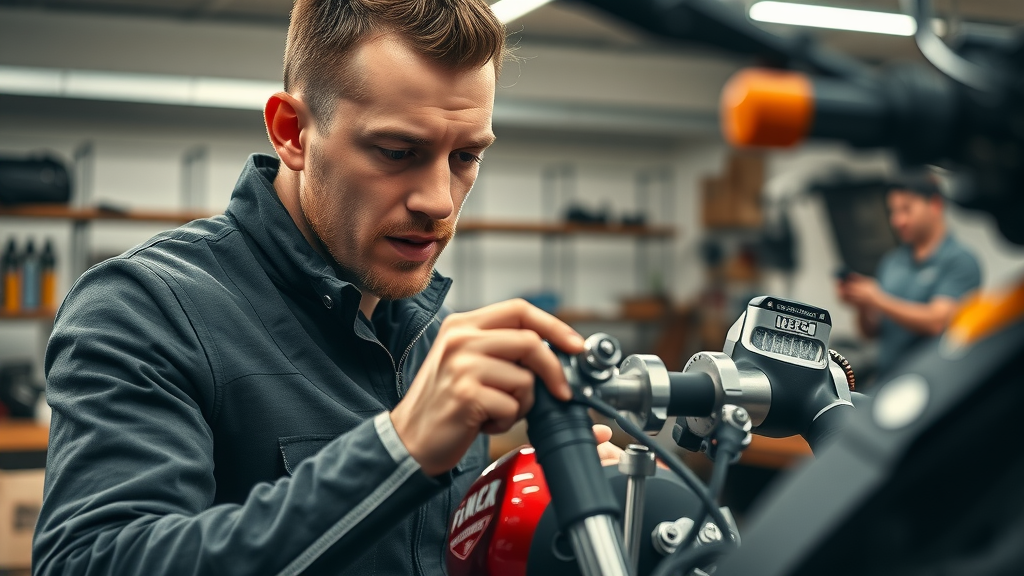
How to Conduct a Thorough Pre-Repair Inspection in diy motorcycle repair
Before diving into repairs, inspect the key structural and safety systems. Begin with the frame—check for cracks, loose bolts, and corrosion. Move to the suspension, feeling for excessive play or worn bushings, and inspect brake pads for thickness and even wear. Squeeze levers for smooth action and check lines for leaks or bulges. Replace parts that are no longer in good condition; this proactive approach prevents bigger headaches down the road.
Next, assess the engine. Does it start easily or require excessive kick start effort? Any unusual sounds or excessive smoke from the exhaust? Examine the oil for discoloration or metal flakes, drain the oil if the bike has been sitting for years , and listen for signs of internal wear. For initial troubleshooting, basic checks like confirming spark at the plug and fuel supply can reveal major issues quickly.
Complete the inspection with an electrical system check. Confirm signal lights, brake lights, and the turn signal function correctly. Use a multimeter to check battery voltage and continuity of key circuits. Many electrical gremlins on an older bike can be traced to poor connections or worn wiring. This methodical approach lays the groundwork for targeted, efficient, and safe repairs.
Step-by-Step Guide: Engine Rebuild for diy motorcycle repair
Tackling an engine rebuild isn’t as intimidating as it sounds—if you approach it logically and methodically. Whether you ride a honda cb , a modern sport bike, or a vintage cruiser, most motorcycle engines follow similar principles when it’s time for a refresh. Knowing when and how to rebuild allows you to breathe new life into a sitting for year bike or restore a reliable ride for many more seasons on the road.
Diagnosing the Need for an Engine Rebuild
-
Signs your engine needs attention
Common symptoms are hard to ignore: excessive oil consumption (requiring frequent oil change ), blue or white exhaust smoke, loss of compression, erratic idle, or “knocking” noises. If you’re noticing a significant power loss, tough starting, or unexplained engine noise, inspect the obvious— spark plug health, fuel delivery, and valve clearances—before assuming a total rebuild. Sometimes, a simple cleaning carburetor or adjusting brake pads returns your bike to good condition.
Disassembling Your Motorcycle Engine
-
Essential disassembly techniques for diy motorcycle repair
Begin by draining all fluids— drain the oil , coolant, and fuel. Label all removed parts, especially when tackling complex assemblies like camshafts or timing chains. Remove the side cover carefully and keep track of small fasteners by using trays or bags. If you encounter resistance during disassembly, reference the service manual —it may indicate an overlooked bolt or locking mechanism. Keep your camera or phone handy to document the order of removal for critical components like clutch packs, pistons, and connecting rods.
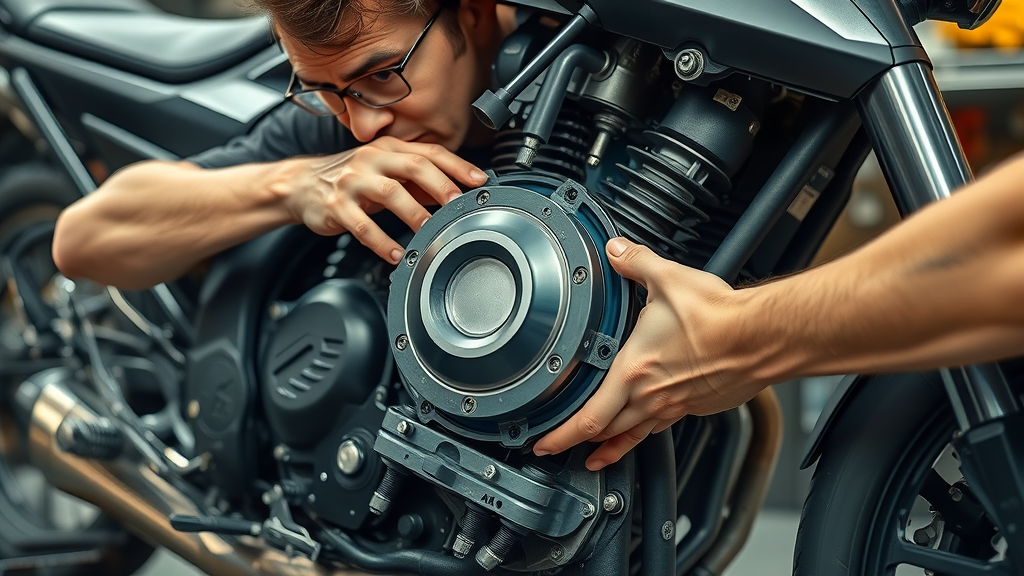
Cleaning, Inspecting, and Replacing Components
-
Key areas: pistons, cylinders, valves, rings
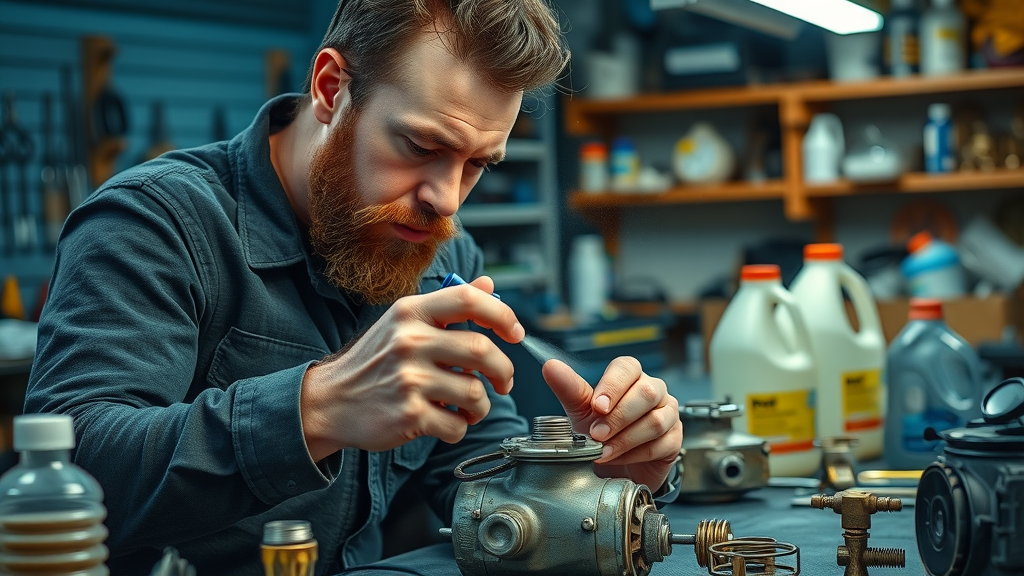
Once the engine is disassembled, meticulously clean parts with solvent and compressed air. Pay special attention to pistons , cylinders , valves , and rings . Inspect for scoring, abnormal wear, or damage; use a micrometer to measure tolerances. Replace any parts out of specification. Many DIYers are surprised how pretty easy the process becomes with logical step-by-step planning and a strong reference to the service manual . Don’t rush—thorough cleaning and measurement are key to a reliable engine rebuild.
Reassembly and Testing After Engine Rebuild
-
Critical torque specs, reassembly order, and initial testing tips
When reassembling, follow the service manual ’s torque specs precisely and install parts in the specified order to avoid missed steps or misaligned components. Gradually tighten bolts in a cross-pattern for cylinder heads and use assembly lube on critical moving parts. After reassembly, perform a thorough leak and compression test. The moment you fire up a newly rebuilt engine and feel it roar to life is the ultimate reward for any diy repair enthusiast. With attention to detail, even big jobs like this become “pretty easy” over time.
Visual Walkthrough: Engine Rebuild Basics for diy motorcycle repair (Watch Video)
Cleaning Carburetor: The Secret to Smooth diy motorcycle repair Performance
Cleaning carburetor components is one of the most impactful yet overlooked elements in diy motorcycle repair. A dirty carb robs your bike of power, smooth running, and fuel efficiency. Whether you have an older bike or a recent model, periodic carb cleaning is critical for peak performance, especially if the bike has been sitting for years .
Symptoms of a Dirty Carburetor
-
Stalling, poor fuel economy, rough idling in diy motorcycle repair
Key symptoms to look for include difficult starting, rough idling, engine “hunting,” frequent stalls, and sluggish throttle response. Poor fuel economy , black smoke from the exhaust, or a strong fuel smell are also common. Many riders mistake these for major engine problems when in reality, cleaning carburetor components resolves most running issues. Don’t neglect this crucial, surprisingly easy-to-check step in your diy moto strategy.
Safe Carburetor Removal and Cleaning Workflow
-
Tools and chemicals for efficient carburetor cleaning
First, disconnect the battery and shut off the fuel tank valve or tap. Remove the airbox and loosen the carb clamps. Carefully slide the carburetors out, labeling hoses and linkages for easy reinstallation. Place the carb body on a clean towel, then disassemble the float bowl, jets, and all removable parts. Use dedicated carb cleaner spray and a small brush to remove hardened deposits. Soak jets in a non-corrosive cleaner for stubborn build-up. Always wear gloves and safety glasses to avoid skin and eye contact with chemicals.
Step-by-Step Carburetor Reinstallation for diy motorcycle repair
Reassembly is simply the reverse of removal—refer to your photos or manual for order. Gently reinstall gaskets and jets, taking care to avoid cross-threading. Slide the carburetors into the manifolds evenly and tighten clamps to the specified torque. Reconnect fuel lines and linkages, double-checking all hoses for secure attachment. Once everything is reinstalled, prime the fuel system and check for leaks. Fire up the engine and fine-tune idle or mixture screws as necessary for optimum performance.
"Clean carbs equal a happier ride—don’t skip this essential diy motorcycle repair procedure!" — Veteran DIY Moto Enthusiast
How to Properly Clean a Carburetor in Your Home Garage (Watch Video)
Fuel System Care: From Fuel Tank to Spark Plug in diy motorcycle repair
The fuel system is the lifeblood of your motorcycle. If neglected, a contaminated fuel tank , plugged filter, or fouled spark plug can leave you stranded or rob your engine of its pep. Routine fuel system care can make your older bike run like new and keep your rides reliable, especially after long-term storage.
Fuel Tank Cleaning and Maintenance
-
Draining, sealing, and rust prevention in diy motorcycle repair
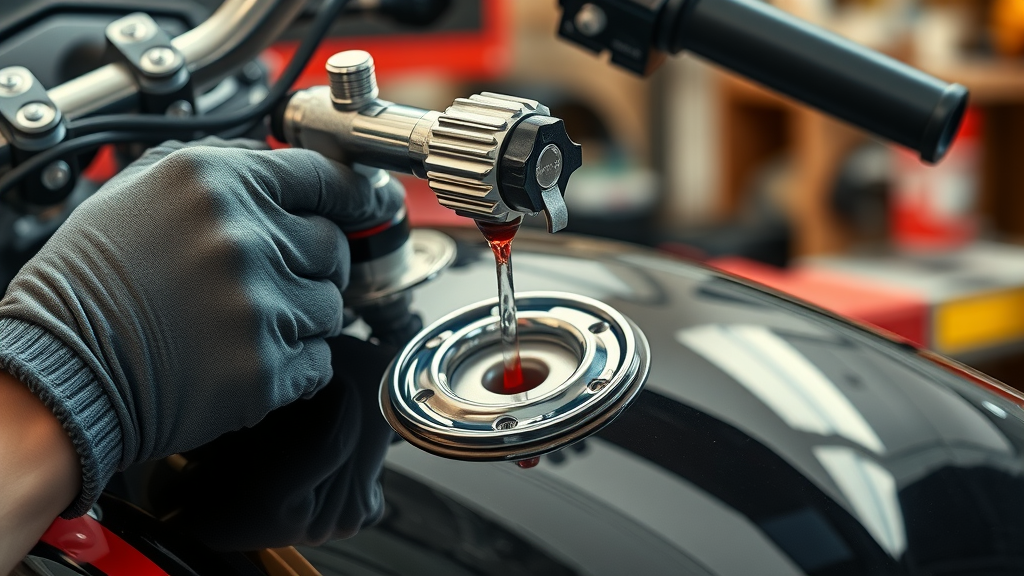
Start by shutting off all fuel lines and placing a catch pan under the fuel tank . Open the petcock and allow the tank to fully drain. Inspect inside for signs of rust or debris. For light rust, pour a fuel tank cleaner solution inside, agitate, and rinse thoroughly. Severely rusted tanks may need professional sealing. Prevent future problems by keeping the tank full (to avoid moisture) and periodically flushing old gas from bikes that have been sitting for years .
Inspecting and Replacing Spark Plug for Peak Performance
-
Step-by-step guide to spark plug removal and installation
A healthy spark plug is easy to check and vital for smooth running. Remove the plug cap, use the correct size plug socket, and unscrew the plug. Check for carbon fouling, oil residue, or unusual wear. Replace any questionable plug with one meeting manufacturer’s specs. Gap it to factory measurements before installing, and always start threading by hand to avoid damaging the threads. Tighten to spec, reconnect the cap, and fire up the engine—this quick DIY fix often resolves misfires or poor throttle response.
|
|
|
|
Common Fuel System Issues and DIY Solutions Comparison |
|
Issue |
DIY Solution |
Difficulty |
Typical Tools |
|---|---|---|---|
|
Clogged carburetor |
Remove, clean jets, reinstall |
Medium |
Wrenches, cleaner, brushes |
|
Rusty fuel tank |
Flush, treat, or reseal tank |
Medium |
Cleaning solution, sealant |
|
Worn spark plug |
Remove, inspect, replace |
Easy |
Spark plug socket, feeler gauge |
Harnessing Advanced Techniques: Vapor Blaster and More in diy motorcycle repair
Want pro-level results on restoration or cleaning? Step up to advanced gear like the vapor blaster , which uses a slurry of water and abrasive media under pressure to clean engine cases and parts with minimal scratching. This professional method delivers crisp, “like new” finishes for projects ranging from honda cb engines to bmw motorcycle gearboxes.
What Is a Vapor Blaster and Why Use It?
-
How vapor blaster technology improves diy motorcycle repair
Vapor blasting, sometimes called “aqua blasting,” removes corrosion, old paint, and grime while preserving the component’s integrity—unlike sandblasting, which can be too abrasive. The smooth, clean surfaces achieved are especially useful for restoring aluminum engine cases, cylinder heads, and carbs on older bikes . It’s an advanced but incredibly effective tool for elevating your diy repair results.
Using a Vapor Blaster: Step-By-Step
-
Safety, preparation, and best practices
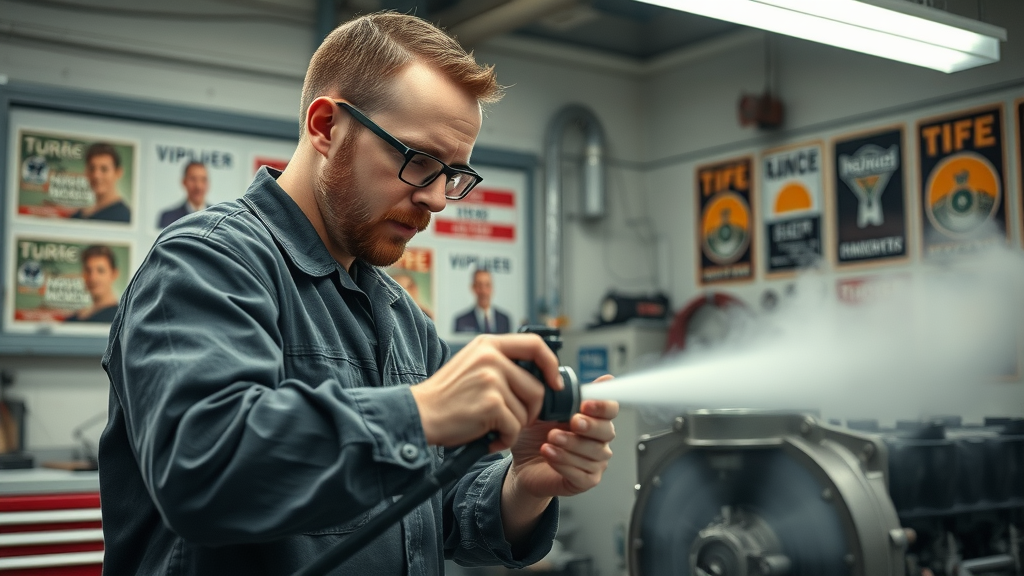
Suit up with gloves, goggles, and a respirator. Place cleaned and degreased parts in the blast cabinet. Carefully operate the vapor blaster, maintaining an even distance and motion. Rinse all parts thoroughly with clean water after blasting, and dry immediately to prevent surface oxidation. Always follow equipment safety guidelines and consult the manual for best results—many diy moto enthusiasts find the investment pays off after just a few restorations.
|
|
|
|
Comparing Mechanical Cleaning Tools for diy motorcycle repair |
|
Tool |
Best Use |
Finish Quality |
Ease of Use |
|---|---|---|---|
|
Vapor blaster |
Engine cases, carbs |
Excellent |
Medium |
|
Wire wheel |
Bolts, brackets |
Good |
Easy |
|
Hand brush |
Small parts, spot cleaning |
Fair |
Easy |
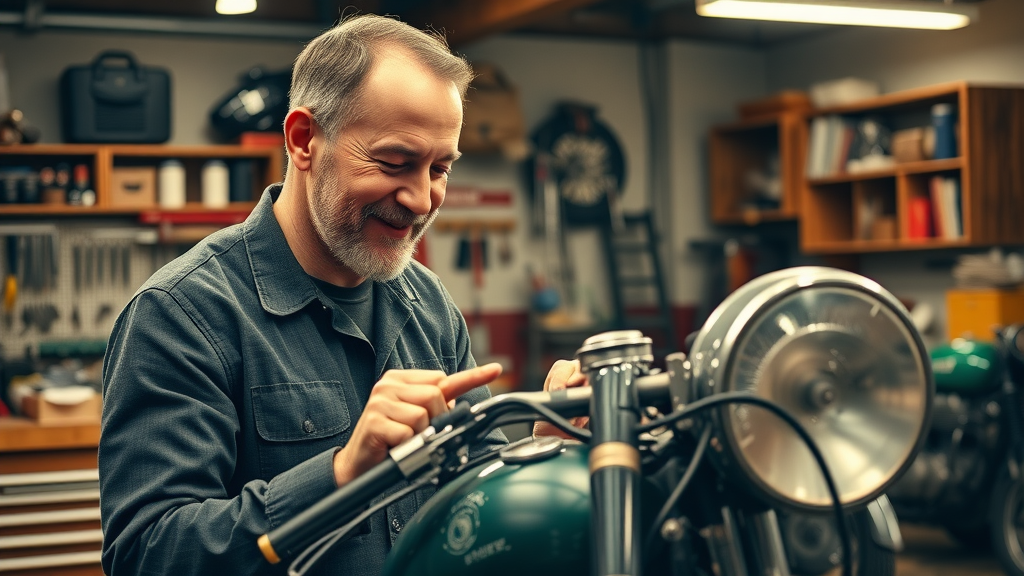
Hands-On Example: Honda CB diy motorcycle repair and Restoration
Let’s bring together everything above with a real-world example: the legendary Honda CB restoration project. Known for its bulletproof engine and classic lines, the CB series offers an ideal opportunity to master practical diy motorcycle repair skills, from the fuel system to a full frame-up rebuild.
Honda CB Project: Key Problem Areas
-
Historical issues: fuel tank, engine, carburetor
Common trouble spots include a rusty fuel tank , weak spark plug spark, sticky throttle (from dirty carburetor ), and tired engine rings . Resolving these concerted issues gives you a reliable, classic ride and teaches skills transferable to any diy moto project.
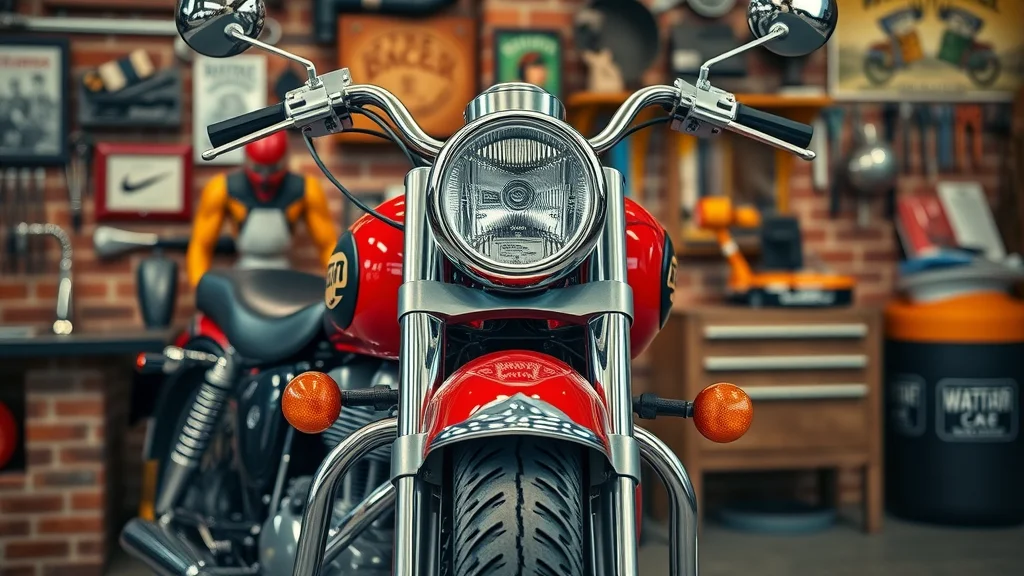
Restoration Steps from Frame to Final Inspection
-
Painting, wiring, testing for Honda CB in diy motorcycle repair
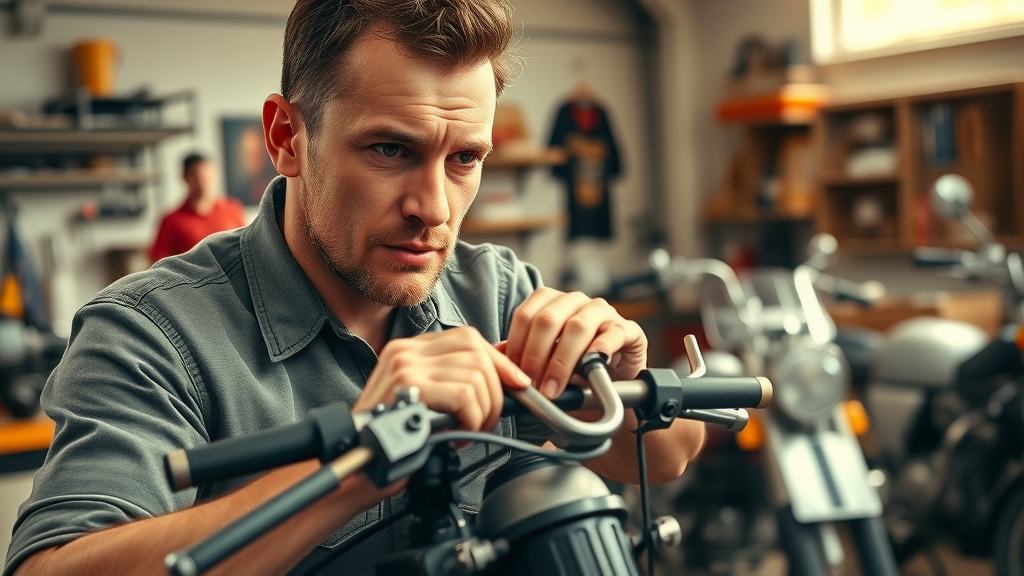
Begin with frame cleaning and rust removal. Prime and paint as desired. Next, update electrical wiring with modern connectors; check for frayed wires, particularly at bulb sockets and turn signals . Rebuild the carburetor and inspect the engine . Replace chains, brake pads , and any parts out of spec. After all mechanical work, conduct a thorough test ride, noting brake performance, idle quality, and handling before marking the project complete.
Complete DIY Motorcycle Repair on a Honda CB: Before and After (Watch Video)
Can I service my motorcycle myself?
Yes—DIY motorcycle repair empowers riders to maintain their bikes
Absolutely! Anyone can tackle basic diy motorcycle repair —you just need a good service manual , time to learn, and the confidence to start with simple tasks. Modern service manuals—from factory texts to user-friendly Haynes and Clymer books—walk you through maintenance from oil change and flat tire repair to more advanced engine and electrical work. As your skill grows, progress from basic repairs to ambitious projects like a kick start mechanism overhaul or a carburetor tune-up. Every small victory builds both experience and confidence.
-
Reference your service manual, invest time in learning, and tackle basics confidently
Is it hard to fix your own motorcycle?
Difficulty Depends on Experience and Scope of Repair
The answer depends on the repair and your background, but most basic diy moto tasks are “pretty easy.” Replacing brake pads , changing oil, or troubleshooting turn signal problems are within reach of any determined rider. With patience, you’ll find all riders can master foundational skills—confidence grows as you go! Advanced procedures like an engine rebuild take more time and study, but the rewards are well worth the challenge.
-
With patience, all riders can master basic diy motorcycle repair skills
How to repair a motorcycle in the garage once human?
Garage Repairs: Human Ingenuity + Tools = Success
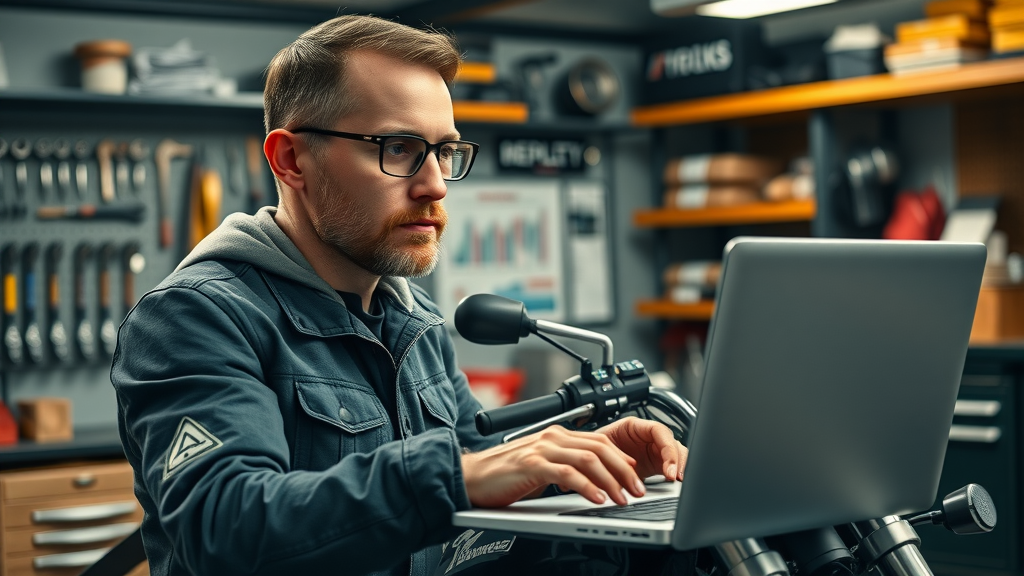
Successful diy motorcycle repair blends organization, reliable resources, and focused work. Begin by decluttering your space and setting up all necessary tools and safety gear. Consult trusted forums, service manuals, and videos before every new task and plan step by step. Clean as you go, label removed parts, and never rush the process—methodical repairs yield lasting, dependable results.
-
Create an organized workspace, use trusted resources, and apply best practices for motorcycle repair
How much does it usually cost to fix a motorcycle?
Breaking Down the True Cost of diy motorcycle repair
|
|
|
|
DIY vs Shop Service: Average Repair Costs |
|
Repair Type |
DIY Cost |
Shop Cost |
Savings |
|---|---|---|---|
|
Oil Change |
$25–$55 |
$100–$180 |
$75–$125 |
|
Brake Pads Replacement |
$40–$120 |
$150–$350 |
$110–$230 |
|
Engine Rebuild |
$350–$1,200 (parts) |
$1,500–$4,000+ |
$1,150–$2,800+ |
|
Carburetor Cleaning |
$20–$80 (kit & cleaner) |
$120–$350 |
$100–$270 |
-
Major cost factors: parts, tools, labor (if outsourced), and time invested
"DIY motorcycle repair saves you money and builds lifelong skills." — Seasoned Rider
Most Common FAQs in diy motorcycle repair
-
Do I need special certifications for diy motorcycle repair?
-
No—special certifications aren’t required for most diy repair tasks. However, formal training or online courses can help, especially if you’re venturing into advanced topics like engine rebuilds or electrical diagnosis.
-
What maintenance schedule should I follow for diy moto?
-
Consult your service manual for the model-specific maintenance schedule. Generally, plan for oil changes every 3,000–5,000 miles, brake pad checks each season, and regular checks for chain tension, fluid levels, and tire pressure.
-
How often should I replace oil, spark plugs, and tires?
-
Replace oil every 3,000–5,000 miles or annually. Spark plugs usually last 8,000–20,000 miles but check every other season. Tires depend on mileage and wear—inspect frequently and replace at the first sign of cracking or tread wear.
-
Can diy motorcycle repair void my warranty?
-
Not usually, if you follow the service schedule using approved parts and fluids. But keep documentation for any warranty disputes, and always check your warranty terms for exceptions on major repairs.
-
What safety tips should every diy motorcycle repair beginner know?
-
Always wear gloves and eye protection, disconnect the battery when working on electrical systems, never work under an unsupported bike, and double-check all fasteners before test riding.
Critical Tips and Safety Guidelines to Remember During diy motorcycle repair
-
Double-check torque specs and critical fasteners
-
Always use personal protective equipment
-
Never rush diy motorcycle repair—precision matters
-
Document repairs for resale or warranty claims
Comprehensive Key Takeaways for diy motorcycle repair Success
-
Preparation and research are your strongest assets
-
Patience and methodical work yield the best results
-
Leverage supporting resources—service manuals, videos, forums

Embark On Your Own DIY Motorcycle Repair Journey—Reach Out for Expert Help
-
Ready to transform your riding and technical skills? Call Us Today: 847-458-4858 for support, parts, or professional backup.
Ready to get started? Make your ride safer, faster, and more enjoyable with every repair—and when you need an expert, we’re only a call away.
Embarking on DIY motorcycle repair can be both rewarding and cost-effective. To enhance your understanding and skills, consider exploring the following resources:
-
“Essential Guide to Mastering DIY Motorcycle Repairs” offers comprehensive insights into understanding your motorcycle’s manual, diagnosing common issues, and performing routine maintenance tasks. ( twowheeltribe.com )
-
“DIY Motorcycle Maintenance 101: A Comprehensive Guide” provides step-by-step instructions on essential maintenance tasks, including oil changes, air filter cleaning, and tire pressure checks, ensuring your bike remains in optimal condition. ( news.maxabout.com )
By delving into these guides, you’ll gain valuable knowledge and practical tips to confidently undertake various motorcycle repair and maintenance projects.
Write A Comment