
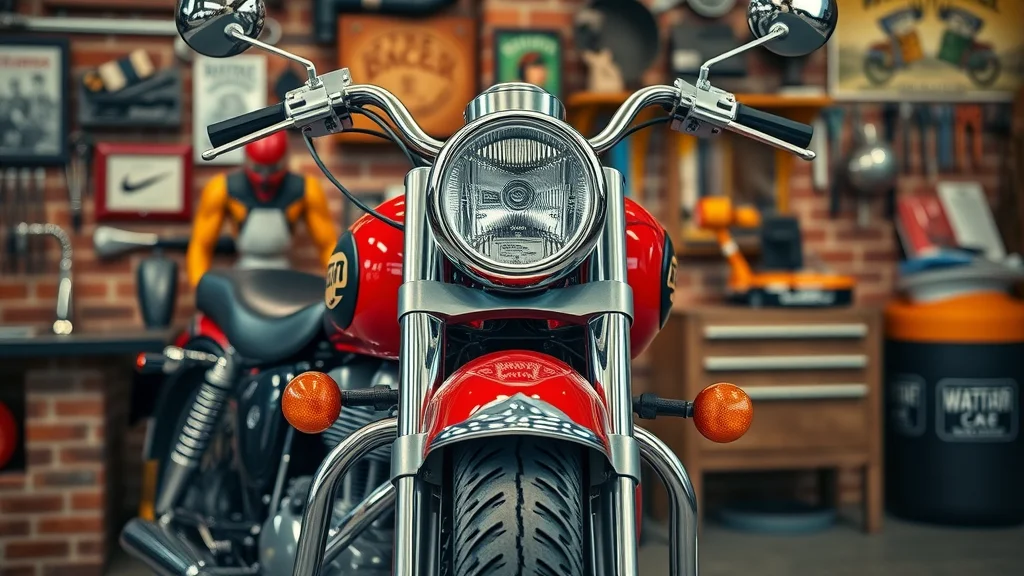
"Have you ever wondered why some riders never get stranded? Discover the essential basic motorcycle repairs anyone can learn—and keep your ride trouble-free."
Ever found yourself miles from home, wishing you’d known how to fix that simple rattle or jumpstart your own bike? Basic motorcycle repairs aren’t just for professional mechanics—they’re practical skills any rider can master. This comprehensive guide breaks down essential motorcycle maintenance, offering you step-by-step clarity, major cost savings, and invaluable peace of mind for every mile ahead. Read on to learn to troubleshoot, tune, and transform your ride—and say goodbye to roadside surprises for good.
-
Understand common misconceptions about motorcycle repair
-
Master a comprehensive checklist of repair tasks
-
Follow practical tutorials for air filters, drive chains, batteries, and brakes
-
Discover expert insights and video resources
-
Start a maintenance schedule to maximize your bike’s lifespan
Understanding Basic Motorcycle Repairs: Why Every Rider Should Master Motorcycle Maintenance
-
Common misconceptions and realities about basic motorcycle repairs
-
Practical examples: How mastering motorcycle maintenance can save time, money, and stress on the road
-
Overview of essential motorcycle repair tasks every rider can handle
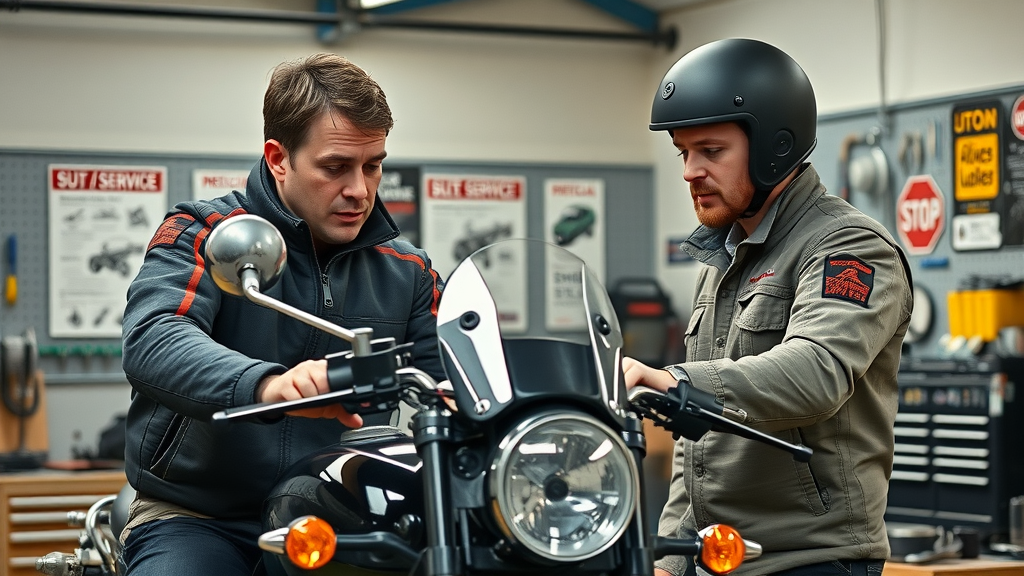
Motorcycle maintenance is often seen as a daunting task reserved for the mechanically gifted, but this is a misconception that keeps many riders from enjoying their bike to the fullest. The reality is, most basic motorcycle repairs—like checking your tire pressure, replacing your air filter, or adjusting your drive chain—can be easily learned and executed with a little guidance. By demystifying these tasks, any rider can build confidence, minimize risk, and extend the life of their machine.
Mastering basic motorcycle repairs doesn’t just save money; it prevents unexpected breakdowns and reduces stress on the road. For example, knowing how to jumpstart a dead battery or replace brake pads quickly can mean the difference between a minor delay and being stranded for hours. These are not just mechanical skills but practical life skills for anyone who loves to ride.
Every rider should familiarize themselves with key maintenance task such as inspecting their air filter, lubricating the drive chain, and keeping tabs on brake pads. Not only do these ensure your motorcycle functions properly, but they put control and safety firmly back in the rider’s hands. In the next sections, we’ll break down common repair tasks, highlighting how simple set routines can make moto life smoother and more enjoyable for all interests and personal activity on this service.
|
|
|
|
|
|
DIY vs. Professional Motorcycle Repair: Cost, Time, and Skills Comparison |
|
Task |
DIY Cost |
Pro Cost |
DIY Time |
Pro Time |
Skill Needed |
|---|---|---|---|---|---|
|
Air Filter Replacement |
$10–$30 |
$50–$100 |
15 min |
~30 min |
Beginner |
|
Drive Chain Lube/Adjust |
$15–$25 |
$40–$90 |
20 min |
30 min |
Beginner |
|
Brake Pad Replacement |
$25–$50 |
$100–$250 |
45 min |
60 min |
Intermediate |
|
Oil and Oil Filter Change |
$25–$60 |
$70–$150 |
45 min |
60 min |
Beginner/Intermediate |
Comprehensive Checklist: Basic Motorcycle Repairs for Effective Motorcycle Maintenance
-
Step-by-step guide: Inspecting and replacing your air filter
-
Drive chain cleaning, inspection, and lubrication for optimal performance
-
Battery checks: Signs of wear and jumpstarting guidance
-
Essential brake maintenance: Pad wear and rotor inspection
-
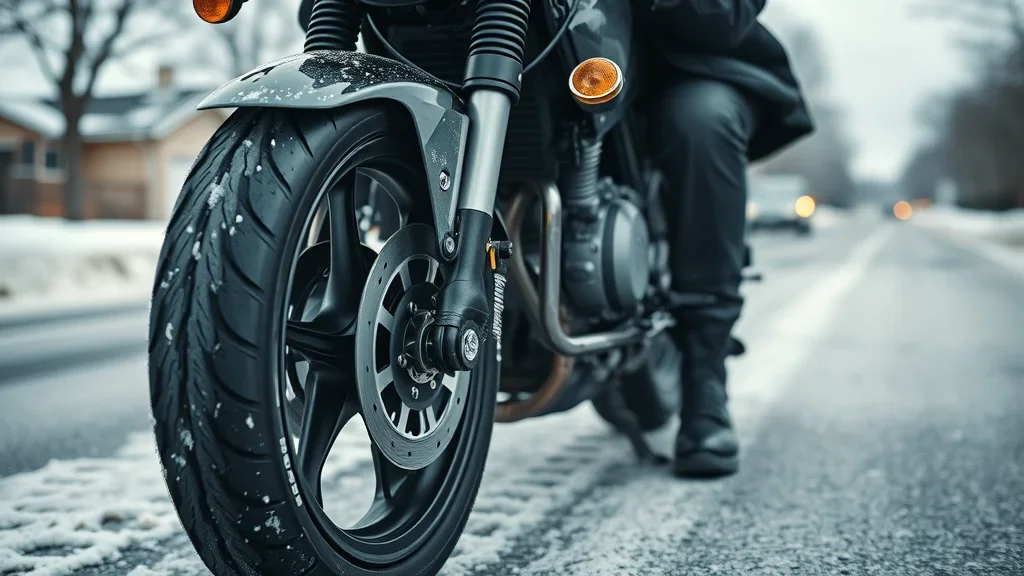
Tire pressure and tread depth: The fundamentals of motorcycle safety
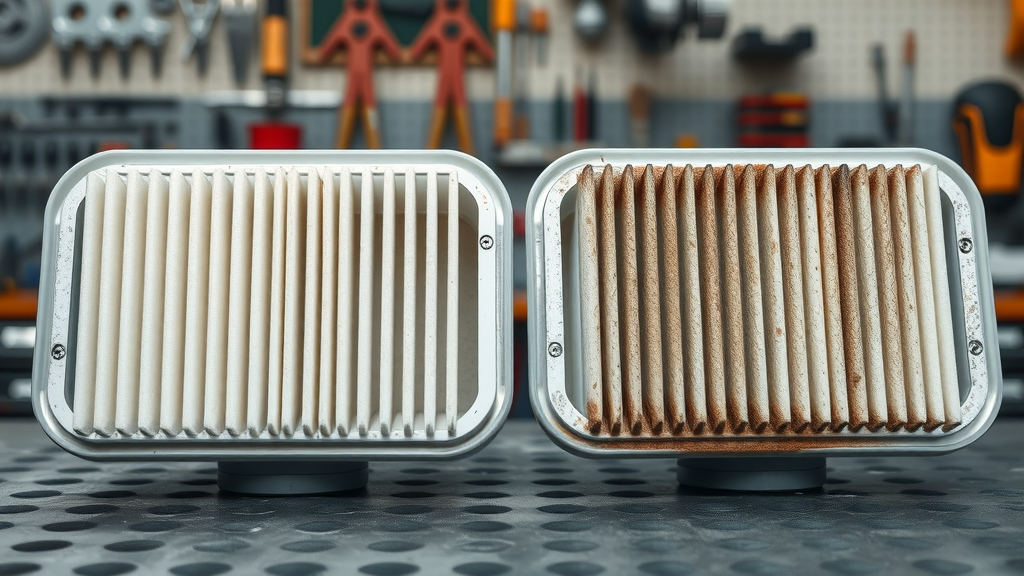
Performing basic motorcycle repairs starts with a reliable checklist. Begin by inspecting and replacing your air filter every 5,000–10,000 miles or sooner in dusty conditions. A clogged air filter can reduce fuel efficiency and hinder engine performance. To replace, locate your airbox—usually under the seat—remove the old filter, and fit the new one in its place, referencing your motorcycle’s service manual for details. Regular inspection prevents surprise power drops or stalling.
Drive chain maintenance is another essential task. It involves cleaning with a chain-specific degreaser, lubricating with quality chainspray, and checking for proper slack. Drive chain tension that’s too loose or tight can lead to premature wear or dangerous riding conditions. Adjust as needed, and always inspect for abnormal noise or rust.
Weak or flat batteries are a leading cause of roadside breakdowns. As part of your routine motorcycle maintenance, check your battery for corrosion, swelling, or leaks. If your bike struggles to start or lights flicker, check the voltage. Should you need to jumpstart, connect cables to the correct terminals—positive first—and consult your service manual to avoid electrical system damage. Good battery care ensures your ride starts up reliably every time.

-
Essential brake pad maintenance keeps you safe. Check the brake lever feel and inspect brake pads and rotors for wear every 2,000–3,000 miles. Replace worn brake pads if thickness is below factory specs. Don’t overlook brake fluid levels during your checks—they ensure consistent stopping power.
-
Tire pressure and tread depth are foundational to motorcycle safety. Check your tire pressures before each ride and adjust to match the manufacturer’s recommendations, factoring in passenger or luggage loads. Inspect tread wear and sidewall condition; replace tires with excessive wear, cracks, or visible cords.
|
|
How Often Should You Perform Key Motorcycle Maintenance Tasks? |
|
Task |
Frequency |
|---|---|
|
Air Filter Inspection |
Every 5,000–10,000 miles |
|
Drive Chain Lube & Adjustment |
Every 500 miles or after wet rides |
|
Battery Check |
Monthly |
|
Brake Pad Inspection |
Every 2,000–3,000 miles |
|
Tire Pressure & Tread |
Before each ride |
|
Oil & Oil Filter Change |
Every 3,000–5,000 miles |
The Air Filter: A Simple Yet Critical Basic Motorcycle Repair Task
Signs Your Motorcycle Air Filter Needs Attention
-
Decreased fuel efficiency or sluggish acceleration
-
DIY instructions: Accessing, inspecting, and replacing your air filter
A clean air filter is vital for optimal engine performance—a clogged one can severely restrict airflow, causing sluggish acceleration, rough idling, and poor fuel economy. Riders might notice their bike isn’t as punchy, or perhaps the rear wheel feels less responsive when accelerating. If you’re seeing more exhaust smoke or hearing the engine struggle, it’s time for an inspection.
To inspect your air filter, locate the airbox, usually beneath your seat or side cover. Remove necessary bolts and open the airbox to access the filter. Compare the old filter to a new one—you’ll instantly see the difference in color and debris. Swap in a new filter if it looks dirty, damaged, or if mileage since the last swap exceeds the recommended interval. Always check your service manual for specific guidance related to your make moto model.
"A clean air filter is the unsung hero of consistent motorcycle performance."
Drive Chain Motorcycle Maintenance: Key to Smooth Rides
Proper Drive Chain Lubrication and Adjustment
-
When and how to lubricate your motorcycle drive chain
-
How to check drive chain slack and avoid premature wear
-
Troubleshooting unusual noises and common drive chain issues
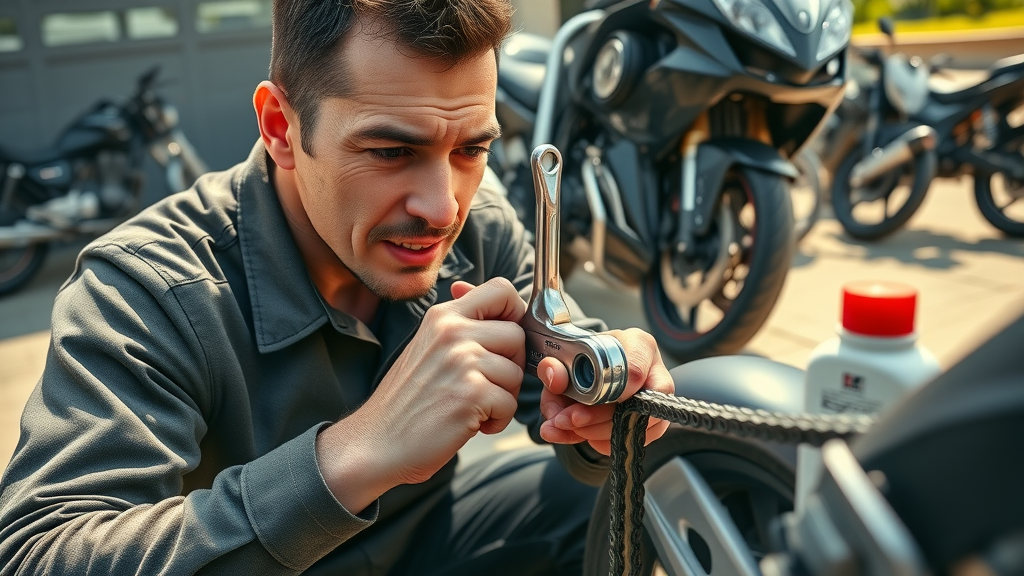
The drive chain transmits all the engine’s power to the rear wheel, making it a major part you cannot ignore. Lubricate your motorcycle’s drive chain every 300–600 miles, or after every wet ride. Use a quality chain lubricant, applying it to the clean chain while slowly rotating the rear wheel in neutral. This ensures full coverage and reduces friction, extend chain life, and keep rides smooth.
Check the drive chain slack by measuring the vertical movement mid-way between the front and rear sprockets. Most bikes require 20–30mm of movement, but always consult your service manual for the exact number. Too-tight or too-loose chain tension leads to rapid sprocket and chain wear, and can even affect handling and cause the chain to jump off during a ride.
If you hear clicking, grinding, or clunking noises from the chain area, stop and inspect immediately. Clean off excess debris, check for stiff links or kinks, and lubricate again. Addressing drive chain issues early is a basic motorcycle repair that’s quick, yet crucial for long rides and minimizing future repair costs or breakdowns.
Preventing Common Motorcycle Maintenance Problems with Basic Motorcycle Repairs
-
Reducing the risk of breakdowns with routine checks
-
Spotting common motorcycle repair red flags early
-
Importance of regular motorcycle maintenance for long-term value
Routine motorcycle maintenance is the single best way to avoid the inconvenience and expense of unexpected breakdowns. Simple weekly checks—like scanning for leaks, monitoring tire pressure, or ensuring the brake lever feels right—help you catch issues before they turn serious. Early intervention can prevent minor problems such as chain slack or low brake fluid from escalating into bigger, more costly repairs that impact your bike’s long-term value.
Common red flags include spongy brakes, abnormal noises from the drive chain, fluctuating tire pressures, or rapid decline in fuel efficiency. These can often be traced back to basic maintenance issues explained in this notice, such as dirty air filters, low brake pad material, or neglected oil changes—each a quick, manageable fix with regular attention. Doing your due diligence reduces wear-and-tear and supports the purposes explained for safe, confident biking.
The true value in regular motorcycle maintenance lies in its ability to maximize your motorcycle’s lifespan and resale value. Well-looked after bikes not only offer better performance but command higher resale prices—something every rider can appreciate, regardless of personal aspects or interests and personal activity on this service.
Basic Motorcycle Repairs Cost Guide: How Much Should You Expect to Spend?
|
|
|
Average Motorcycle Repair and Maintenance Costs: DIY vs. Professional |
|
Repair Task |
DIY Cost |
Professional Cost |
|---|---|---|
|
Air Filter Replacement |
$10–$30 |
$50–$100 |
|
Drive Chain Maintenance |
$15–$25 |
$40–$90 |
|
Brake Pad Replacement |
$25–$50 |
$100–$250 |
|
Tire Repair |
$15–$40 |
$40–$120 |
-
Factors influencing motorcycle repair costs: parts, labor, and region
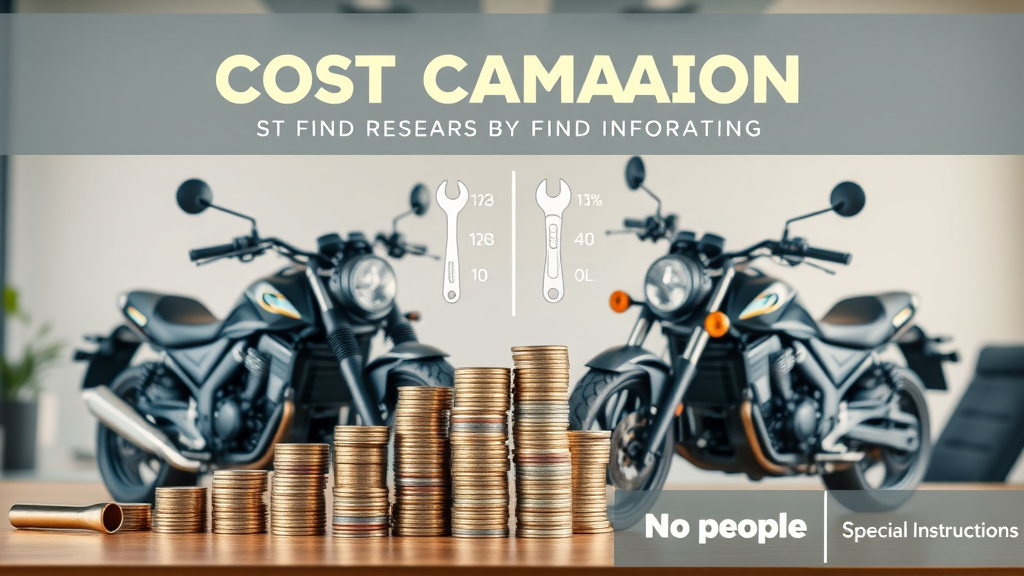
The cost of basic motorcycle repairs varies according to the task, your bike’s model, and your location. DIYers can save significantly—sometimes hundreds per year—by simply changing their own air filter or tightening a chain. Professional labor rates add to your expense, especially in urban areas where shop fees are higher. Parts costs are typically stable, though specialty bikes may require unique or expensive components.
Other factors influencing cost include the need for specialized tools, time involved, and the type of replacement parts chosen (OEM vs aftermarket). Regular maintenance can prevent large, unexpected bills, and many riders find the cost of a simple set of hand tools pays for itself after just a couple of maintenance task weekends.
"Simple fixes like changing an air filter or tightening a chain can save you hundreds over a year."
Safety First: Essential Tips Before Attempting Any Basic Motorcycle Repairs
-
Must-have safety gear and preparation steps
-
When to DIY and when to call a professional for motorcycle repair
-
Setting up your workspace for efficient motorcycle maintenance
Before you get your hands dirty with basic motorcycle repairs , safety should be your top priority. Always work in a well-ventilated, brightly lit area with your motorcycle securely placed on a stand. Make sure to wear the right gear: gloves, safety goggles, a sturdy jacket, and, if needed, a helmet to protect your head from accidental bumps on low ceilings or overhead tools. Lay out your tools within arm’s reach, and keep a fire extinguisher handy—especially when dealing with fuel or oil changes.
Know when to DIY and when to call in a pro. Regular maintenance task like brake pad or air filter replacement are suitable for most beginners, but complex issues involving your engine, major part replacement, or advanced electronics—like diagnostics or resetting electronic sensors—should be left to certified service professionals. If you encounter a repair you’re unfamiliar with, refer to YouTube videos or your service manual, but don’t hesitate to seek help if in doubt. Doing so prevents costly mistakes and keeps you safe.
Finally, set up your workspace for efficiency. Use a clean, flat surface; organize parts in trays to prevent losing small screws or washers; and keep all documentation handy, such as your service manual and receipts for support of the purposes explained in your records. Well-prepared spaces boost confidence and make moto maintenance a ritual you enjoy, not dread.

Video Tutorial: Basic Motorcycle Repairs Every Beginner Should Know
-
Step-by-step oil change demonstration
-
Air filter replacement video guide
Sometimes the best way to learn basic motorcycle repairs is by watching them in action. There are countless YouTube videos from mechanics and manufacturers demonstrating step-by-step processes—like oil changes and air filter swaps. These videos show exactly where to find each major part, how to safely drain fluids, and detailed tips to avoid making mistakes beginners often encounter.
An oil change is an essential maintenance task, and watching an actual demonstration ensures you won’t miss details like replacing the oil filter, properly re-tightening the drain plug, or recycling old fluids. For air filter replacement, many tube videos walk you through removing fairings, accessing the airbox, and visually checking for dirt and debris, reinforcing what you’ve learned from your service manual. Bookmark a few trusted channels for future reference—they’re invaluable for personal aspects of learning and building long-term repair confidence.
Expert Insights: Motorcycle Maintenance Quotes From Seasoned Mechanics
"The best tool is knowledge—learn the basics, and you’ll ride further."
"Routine checks prevent 90% of all major motorcycle repair headaches."

Troubleshooting Basic Motorcycle Repairs: Quick Fixes for Common Issues
-
Dead battery? Jumpstarting your motorcycle safely
-
Loose chain? How to tighten on the go
-
Flat tire? Patching basics every rider should know
Many common issues can be resolved quickly with a little know-how. If you have a dead battery , first double-check that the kill switch and ignition are in the correct position. If the battery is still flat, use a portable jump-starter or jumper cables connected to another battery—always connect positive to positive, negative to a clean, grounded metal part, and never let the clamps touch. Once started, run the bike for at least 20 minutes to top off the charge.
A loose drive chain can be tightened roadside with basic motorcycle repair tools. Using your bike’s tool kit, loosen the rear axle nut and adjust the tension bolts until the proper chain slack is achieved—typically between 20-30mm. Remember to keep the wheel aligned by referencing the markings on both swingarm sides. Re-tighten the axle nut before riding off.
For flat tires , a plug kit or patch is a lifesaver. Find the puncture, pull out the object, and insert the plug following kit instructions. Inflate the tire to the correct pressure and monitor for leaks. Always seek a permanent fix or replacement tire as soon as possible, but a roadside patch keeps you moving until then. These steps support activity on this service by giving every rider the power to function properly and maintain their interests and personal safety.

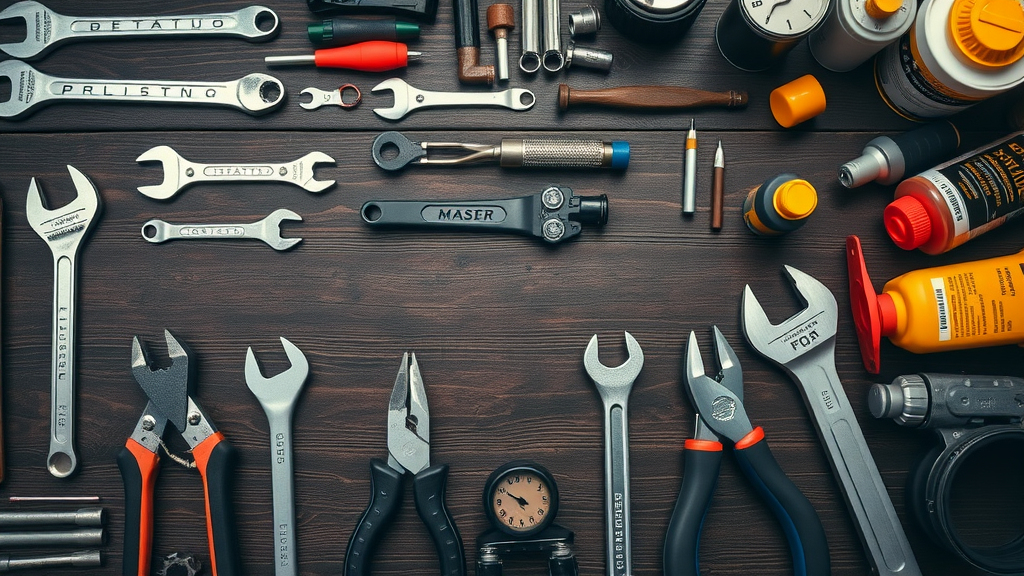
Essential Tools and Supplies for Basic Motorcycle Repairs
-
Top tools for home motorcycle repair: What every toolkit needs
-
Consumables: Lubricants, cleaners, and essential spare parts
-
Where to source affordable, high-quality motorcycle maintenance supplies
No rider can carry out basic motorcycle repairs without a reliable set of tools and supplies. Every home toolkit should include metric wrenches, sockets, screwdrivers, pliers, tire pressure gauge, chain tool, and a torque wrench. Quality tools not only make each maintenance task easier but prevent damage to delicate fasteners and major bike components. For the essentials, choose brands recommended by your bike’s service manual or local mechanic.
Keep a stock of consumables, including chain lubricants, wheel bearing grease, brake fluid, and replacement bulbs. Spare parts like an extra air filter, spark plugs, and fuses are also handy for quick fixes. These minor investments save time in the long run and equip you to handle those quick-fix repairs confidently.
To save money, look for supplies at trusted online retailers, local dealerships, or specialized motorcycle part stores. Many suppliers offer bundles for beginners that match your make and model, ensuring compatibility. Researching online forums and watching youtube videos for product reviews is a great way to ensure you’re getting the best quality for your needs and personal activity on this service.
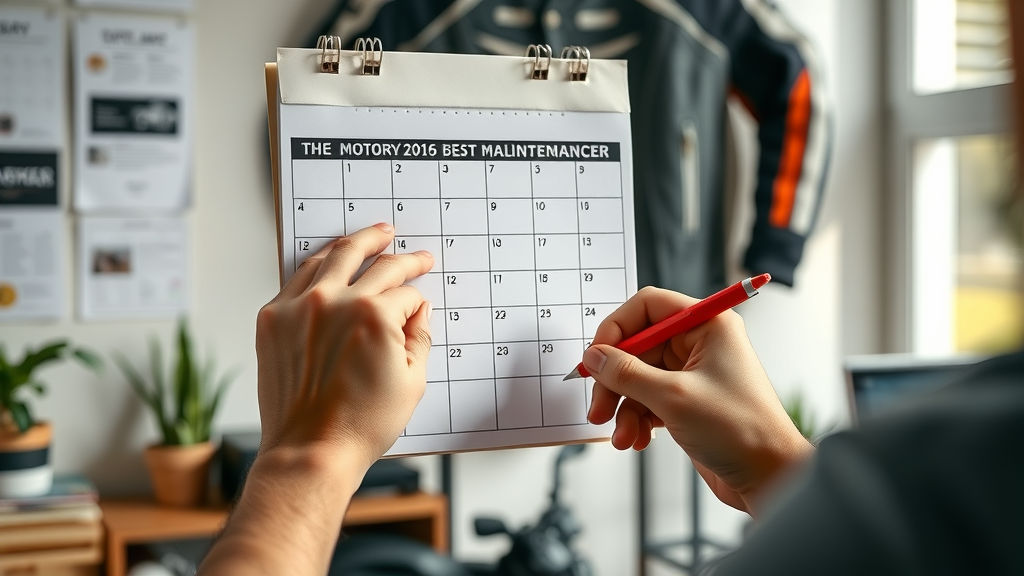
Developing a Habit: Setting a Motorcycle Maintenance Schedule
-
How often should you check your motorcycle for repairs?
-
Sample monthly and seasonal motorcycle maintenance timelines
-
Tracking repairs and predicting future maintenance needs
Building a maintenance routine is just as important as learning any single basic motorcycle repair . At a minimum, complete a visual inspection before each ride, check chain tension, and tire pressure weekly, and review brake pads and fluid monthly. Schedule a thorough service task—such as oil filter and air filter replacements—every season or per your manufacturer’s service manual.
Sample timeline:
-
Weekly : Chain lube and check, tire pressures, lights, controls.
-
Monthly : Battery, brake pad thickness, steering head bearings, and coolant.
-
Seasonal/Semi-Annual : Full fluid change, detailed air filter and spark plug inspection.
Following a set schedule and documenting repairs helps you spot recurring issues, avoid neglect, and maximize the long-term performance and safety of your motorcycle—your key to enjoyable, trouble-free miles ahead.
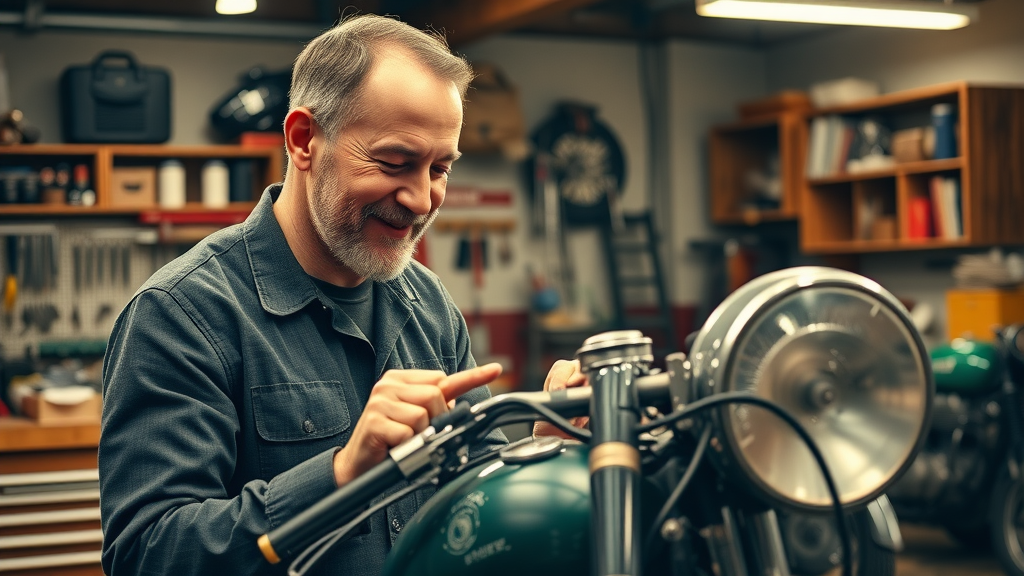
Beyond the Basics: When Advanced Motorcycle Repair Is Necessary
-
Signs you need a professional mechanic
-
Understanding modern diagnostics and electronic repairs
While basic motorcycle repairs empower every rider, some situations call for a trained professional. Warning signs like persistent engine knocking, major fluid leaks, dashboard warning lights, or electrical malfunctions require diagnostic tools and expertise beyond most home toolkits. As motorcycles become more electronic and computer-controlled, tasks like ECU diagnostics and advanced sensor resets are best handled at a dealership or certified shop.
If you’re unsure about a repair task, unable to find guidance in your service manual, or the issue involves a major part (like the rear wheel, engine internals, or brake system hydraulics), it’s wise to seek professional help. Modern diagnostic scanners can pinpoint problems quickly and ensure your motorcycle continues to function properly, reducing risk and supporting the purposes explained for long-term value.
Motorcycle Maintenance Myths: Separating Fact from Fiction in Basic Motorcycle Repairs
-
Common myths that cost riders time and money
-
Fact-based maintenance tips for safer, longer rides
Don’t let common myths undermine your motorcycle maintenance routine. For example, it’s a misconception that you should only change oil once per season—modern engines and stop/start riding demand more frequent service. Another myth is that chain maintenance isn’t needed on modern bikes; in reality, even sealed chains lose lubrication over time.
Your bike’s maintenance task recommendations aren’t just for warranty—they’re essential for performance and safety. Always check the brake pads after wet rides, never ignore engine warning lights, and use only approved brake fluid and lubricants for your make moto and personal aspects of riding. Fact-based research from your service manual and trusted tube videos will keep your ride in peak condition, free from costly mistakes.
Video Guide: How to Perform a Thorough Motorcycle Maintenance Check
-
Pre-ride inspection checklist in action
-
Tools and fast fixes demonstration
Watching a youtube video demonstration of a pre-ride inspection is a fantastic way to see the basics in action. These guides walk you through checking tire pressure, operating all lights, testing the brake lever, and listening for odd noises—ensuring nothing is missed before you roll out. Fast fix demonstrations, like topping off brake fluid or adjusting levers, bring theory to life.
Keep a list of your favorite repair and maintenance tube videos bookmarked for recurring reference. They reinforce service manual instructions and show the little details that turn you from a beginner to a confident do-it-yourselfer, supporting your interests and personal motorcycle maintenance activity on this service.
People Also Ask: What is basic maintenance on a motorcycle?
-
Basic motorcycle maintenance includes checking and replacing the air filter, maintaining the drive chain, ensuring proper tire pressure, inspecting brake pads, and regular oil changes. These fundamental repairs prevent breakdowns and extend the life of your motorcycle.
People Also Ask: What is the 12 second rule on a motorcycle?
-
The 12 second rule is a safety principle urging riders to scan the road 12 seconds ahead, giving ample time to react to obstacles or changes in traffic. While not a repair per se, it’s crucial knowledge for safe motorcycle riding and accident prevention.
People Also Ask: What is the common maintenance problem on a motorcycle?
-
The most common motorcycle maintenance problems include worn chains, dirty or clogged air filters, low tire pressure, and brake pad wear. These issues can be quickly addressed through basic motorcycle repairs.
People Also Ask: How much does it usually cost to fix a motorcycle?
-
Motorcycle repair costs vary based on the task. Simple maintenance like air filter replacement or chain lubrication can be inexpensive, often under $50 if done yourself, while complex repairs such as engine work may cost hundreds. Learning basic motorcycle repairs can drastically reduce these expenses.
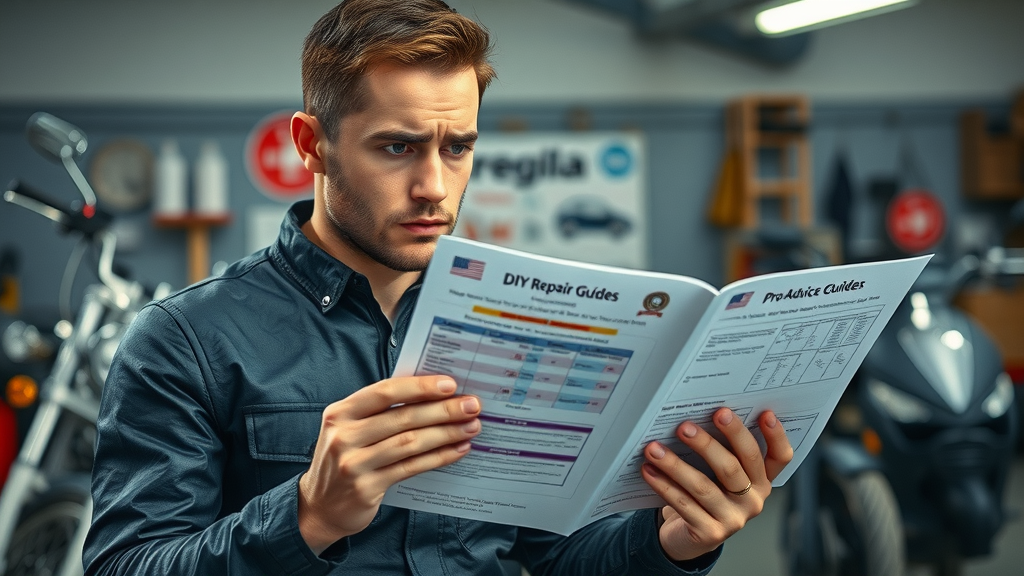
Resources: Where to Learn More About Basic Motorcycle Repairs
-
Recommended books, forums, and online videos for motorcycle maintenance
-
Top courses and workshops for advancing your motorcycle repair skills
Expand your knowledge beyond this guide by diving into reputable books such as The Essential Guide to Motorcycle Maintenance or participating in forums like ADVrider and Reddit’s r/Motorcycles. For practical learning, enroll in community college workshops, manufacturer-sponsored classes, or browse video platforms for hands-on demonstrations. These resources support the purposes explained and help tailor your learning to your interests and personal goals.
Frequently Asked Questions About Basic Motorcycle Repairs
-
How can I tell if my motorcycle needs a repair?
-
Are basic motorcycle repairs difficult for beginners?
-
What are the risks if I neglect regular motorcycle maintenance?
-
Which brands offer the best resources for basic repairs?
How can I tell if my motorcycle needs a repair?
Look for signs such as poor acceleration, hard starting, unusual noises, spongy brakes, or leaking fluids. Stay alert for warning indicators on your dash and consult your service manual for any unfamiliar symptom.
Are basic motorcycle repairs difficult for beginners?
Most basic repairs are accessible with a little patience, the right tools, and step-by-step guidance. Start with simple sets like chain cleaning or brake pad checks and grow your confidence over time.
What are the risks if I neglect regular motorcycle maintenance?
Skipping basic tasks can lead to dangerous breakdowns, decreased performance, larger repair bills, and lower resale value. Consistent maintenance keeps you safe and preserves your investment.
Which brands offer the best resources for basic repairs?
Yamaha, Honda, and Harley-Davidson provide excellent service manuals and online tutorials. Many reputable aftermarket brands also offer great learning materials.
Maximize Your Motorcycle's Lifespan Through Basic Motorcycle Repairs
-
The long-term financial and safety benefits of mastering motorcycle maintenance
By building basic motorcycle repair skills and following regular maintenance schedules, you boost safety, cut costs, and get more years out of your ride—so you can enjoy every journey with confidence and peace of mind.
Your Next Step: Schedule Service or Ask a Mechanic About Basic Motorcycle Repairs
-
Ready to take action? For expert advice or service, Call Us Today: 847-458-4858
Start your motorcycle maintenance journey today: review your owner’s manual, equip your toolkit, and commit to a monthly check-up schedule for a safer, longer-lasting ride!
To further enhance your understanding of essential motorcycle maintenance, consider exploring the following resources:
-
“Beginner’s Guide to Motorcycle Maintenance” : This comprehensive guide offers a regular maintenance schedule, detailing daily, weekly, monthly, and seasonal checks to keep your bike running smoothly. ( hobbybiker.com )
-
“Essential Basic Motorcycle Mechanic Skills for Every Rider” : This article delves into diagnosing common issues, basic repair techniques, and preventive care, empowering riders to handle routine maintenance tasks confidently. ( twowheeltribe.com )
By incorporating these insights into your routine, you’ll not only enhance your mechanical skills but also ensure a safer and more enjoyable riding experience.
Write A Comment