
Here’s a startling truth: consistent motorcycle maintenance can slash your repair costs by over 30% throughout your bike’s lifetime. Many riders overlook small upkeep routines, but these essential tasks not only protect your wallet—they ensure you spend less time in the repair shop and more time on the road. Whether you’re an experienced enthusiast or just starting your motorcycle journey, learning key maintenance jobs saves money, keeps you safe, and boosts your bike’s longevity.
A Surprising Fact: Motorcycle Maintenance and Your Wallet
Did you know that routine motorcycle maintenance can reduce repair costs by more than 30% over your bike’s lifetime? Skipping scheduled care often leads to breakdowns that cost hundreds—or even thousands—of dollars to fix. Staying on top of something as simple as oil changes or inspecting the brake pads can help prevent expensive engine or brake system failures. Over the long run, every dollar spent on preventive maintenance protects you from roadside emergencies, lower resale values, and unexpected shop visits. Whether you ride daily or only on weekends, developing a habit of consistent inspections and routine cleaning pays huge dividends for every motorcycle owner.

What You'll Learn About Motorcycle Maintenance
- How consistent motorcycle maintenance prevents costly repairs
- Key items for your motorcycle maintenance checklist
- Practical maintenance tips to keep your motorcycle running efficiently
- How to create a cost-effective maintenance schedule
Understanding Motorcycle Maintenance: Why It Matters
Motorcycle maintenance is more than a routine; it’s a strategy for safety, performance, and saving money over time. Regular motorcycle maintenance jobs—such as oil changes, checking the air filter, or adjusting the drive chain—help maintain optimal efficiency while preventing wear and tear on critical parts. Well-maintained bikes are less prone to sudden breakdowns and costlier fixes. Moreover, a comprehensive maintenance checklist helps you spot issues early, protecting your safety and preserving your bike’s value for the long run. Ultimately, learning to care for your bike as outlined in your service manual is vital to enjoying years of worry-free riding.
While regular maintenance covers a wide range of tasks, focusing on tire and brake care is especially important for both safety and cost savings. For a deeper dive into best practices for keeping your tires and brakes in top condition, check out these motorcycle tire and brake care tips to ride safe that every rider should know.
The True Cost of Skipping Motorcycle Maintenance
Neglecting motorcycle maintenance can lead to steep expenses that go well beyond basic repairs. Breakdowns caused by missed oil changes, ignored brake pad wear, or a filthy air filter often result in catastrophic engine or brake failures. This not only costs more to repair but can also severely impact your safety and your bike’s resale appeal. In the long run, skipping routine maintenance jobs shortens your motorcycle's lifespan, leading to more money spent on replacements and lost value. Investing in routine upkeep ensures your bike stays ready for the road and performs reliably for a long time to come.
Motorcycle Maintenance Checklist: Your Essential Guide
- Checking tire pressure and tread
- Inspecting and changing the oil
- Replacing the fuel filter
- Monitoring chain and sprocket health
- Testing brakes and brake fluid
- Battery care and replacement
- Assessing lights and indicators
| Task | Recommended Frequency | Estimated Cost |
|---|---|---|
| Oil and Filter Change | Every 3,000-5,000 miles | $40–$100 |
| Check/Replace Air Filter | Every 10,000 miles | $15–$40 |
| Fuel Filter Replacement | Annually or as specified | $25–$50 |
| Brake Pad Inspection | Every 4,000 miles | $30–$80 (if replacement needed) |
| Tire Pressure Check | Weekly | Free (with gauge) |
| Chain Adjustment/Lubrication | Every 600 miles | $10–$20 |
| Battery Check | Monthly | Replacement: $60–$150 |
Key Motorcycle Maintenance Jobs That Save You Money
Fuel Filter Replacements
Replacing the fuel filter is an often overlooked but vital maintenance job that saves money and prevents costly engine repairs. Over time, contaminants from the fuel tank can clog the filter, reducing fuel flow and forcing your engine to work harder. This can cut into fuel economy and lead to poor performance. By swapping out the filter as part of your regular motorcycle maintenance schedule, you’ll protect engine health, extend component life, and avoid frustrating breakdowns mid-ride. Even if you ride a modern motorcycle, following your service manual’s fuel filter recommendations ensures your bike is always ready for the road and helps maintain its value for the long run.
Oil Changes and Lubrication
Oil changes and fresh oil are like insurance for your engine. Old, dirty oil loses its ability to lubricate moving parts, causing increased friction, rapid wear and tear, and potential overheating or engine damage. Performing routine oil and filter changes at the intervals recommended in your motorcycle’s owner manual keeps the internal components running smoothly for a long time. High-quality oil also helps prevent corrosion and ensures your bike is ready for every ride of the season. Keep in mind: oil changes are among the most cost-effective ways to extend your bike’s life and can prevent far pricier repairs down the road.
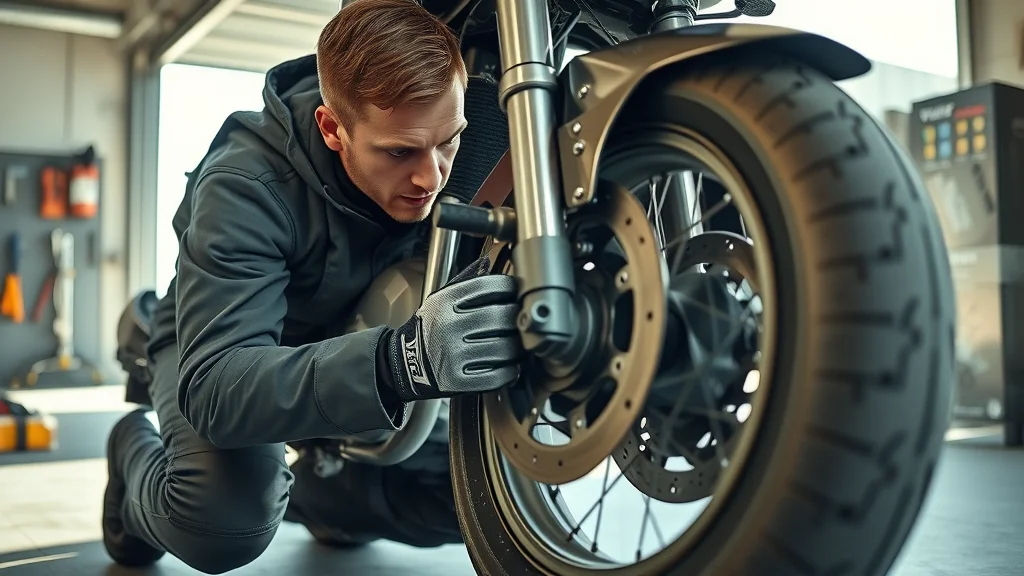
Tire Checks and Maintenance
Keeping your tires in top condition protects both your wallet and your safety. Regular tire checks should be a non-negotiable item on your motorcycle maintenance checklist: monitor tire pressure with a reliable gauge, watch for uneven wear, and keep tread depth within safe limits. Underinflated or worn tires can reduce handling and traction, leading to accidents and cause premature replacements—a costly mistake. Rotate and inspect your tires for punctures, cracks, or embedded debris, and replace as needed. Well-maintained tires not only save you money over the long run but ensure every adventure is as safe as possible.

Common Myths About Motorcycle Maintenance
"Many riders believe skipping scheduled services saves money, but repair bills from neglected maintenance often tell a different story." — Industry Expert
- Myth: Motorcycle maintenance is expensive and unnecessary
- Myth: Only mechanics should do routine checks
- Myth: Modern motorcycles don’t need regular servicing
Practical Motorcycle Maintenance Tips for Every Rider
- Read and follow your owner’s manual
- Keep a detailed maintenance log
- Use high-quality replacement parts
- Schedule regular professional inspections
How Motorcycle Maintenance Affects Safety and Longevity
Regular motorcycle maintenance impacts more than your bank account—it directly affects your safety and extends your motorcycle’s longevity. Performing routine jobs like brake inspections, chain lubrication, and airflow maintenance ensures critical parts function as designed. As brakes and tires degrade over time, consistent checks help you avoid sudden, dangerous failures. Proactive care eliminates risks and gives you peace of mind, knowing your motorcycle is ready for the road any time. Investing a little effort in regular maintenance extends your vehicle’s life, minimizes wear and tear, and boosts performance for years of riding pleasure.

Building an Affordable Motorcycle Maintenance Schedule
Creating a practical motorcycle maintenance schedule is the best way to maximize value while minimizing costs. Not all maintenance jobs need to be performed at the same time. By breaking up tasks into weekly, monthly, and seasonal intervals, you spread out expenses and keep your bike in peak condition year-round. For example, simple weekly checks—like tire pressure or chain lubrication—are quick, low-cost habits anyone can master. Monthly upkeep might involve deeper inspections or oil changes, while seasonal servicing prepares your motorcycle for long-term storage or challenging weather. Spacing out your checklist helps ensure nothing is overlooked and avoids a large, sudden repair bill.
- Weekly checks
- Monthly upkeep
- Seasonal servicing
People Also Ask: Expert Answers
What is the 70 30 rule on a motorcycle?
The 70-30 rule suggests that riders should devote 70% of their attention to the road ahead and 30% to their bike’s immediate surroundings. This helps anticipate hazards and react promptly, making safe riding easier. While not a direct maintenance job, staying vigilant encourages proactive habits—like checking tire pressure and keeping mirrors and lights in working order—so your motorcycle is always ready for the road.
What is the 12 second rule on a motorcycle?
The 12-second rule encourages you to scan the road no less than 12 seconds ahead while riding a motorcycle. This gives you time to spot hazards, plan maneuvers, and react safely. Reliable motorcycle maintenance—like working brakes, fluid levels, and well-inflated tires—ensures you’re prepared to respond quickly and reduces your risk of accidents.
What is a full service on a motorcycle?
A full service is a thorough maintenance job that covers all critical components: oil and filter change, brake assessment, tire inspection, battery test, chain cleaning, fuel filter and air filter replacement, and a detailed check for wear and tear throughout the bike. Following the full maintenance checklist in your service manual ensures every system operates at peak performance for the long run.
How hard is motorcycle maintenance?
Basic maintenance jobs like chain lubrication, oil changes, or air filter replacements are accessible to most riders with modest tools and guidance from the service manual. For more advanced work—such as brake fluid changes or seized links in the drive chain—it’s best to consult a professional mechanic. Investing time to learn simple routines pays off through savings, performance, and peace of mind.
Frequently Asked Questions on Motorcycle Maintenance
- Can I perform motorcycle maintenance at home? – Yes! Many maintenance jobs, such as chain lubrication or oil changes, are easy to learn and require only basic tools.
- How often should I follow my maintenance checklist? – Stick to your owner’s or service manual, but most motorcycles benefit from weekly checks and monthly in-depth inspections.
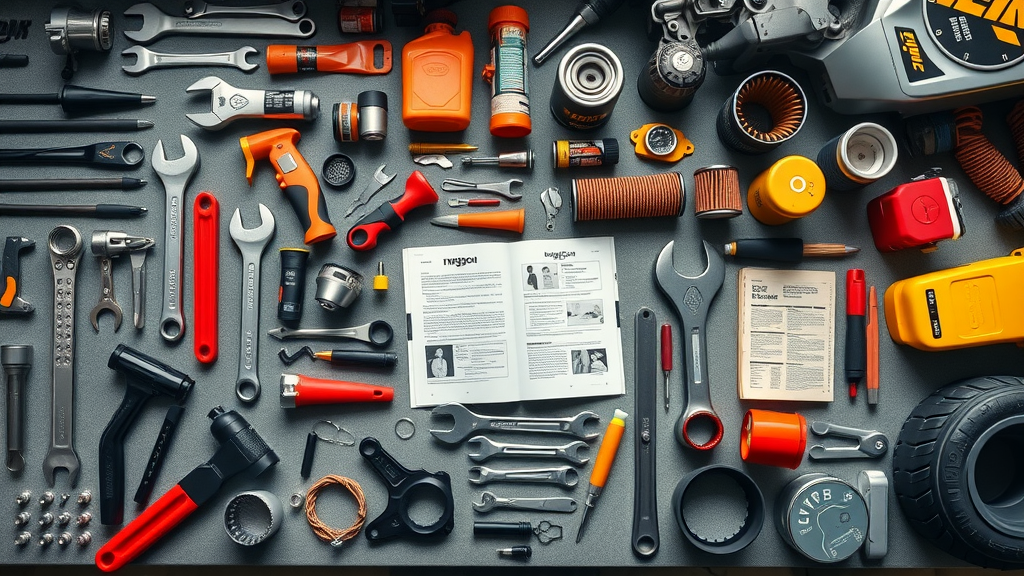
- What tools do I need for basic motorcycle maintenance? – Core tools include a tire gauge, wrenches, torque wrench, chain lube, screwdriver set, and oil drain pan.
- Are motorcycle maintenance costs tax-deductible? – Usually, upkeep is only deductible for business or commercial use. Check with your tax advisor for specifics.
Key Takeaways: Motorcycle Maintenance and Savings
- Regular motorcycle maintenance drastically reduces long-term costs
- A comprehensive maintenance checklist helps prevent pricey repairs
- DIY maintenance is accessible for many common tasks
- Safety and performance depend on consistent care
Conclusion: Invest in Motorcycle Maintenance for Long-Term Savings
Consistent motorcycle maintenance protects both your investment and your safety. Build sustainable habits and reap financial rewards.
If you’re ready to take your motorcycle care to the next level, there’s a wealth of advanced strategies and expert advice available. Explore the ultimate motorcycle maintenance guide for every rider to discover comprehensive checklists, seasonal tips, and in-depth insights that go beyond the basics. Whether you’re a DIY enthusiast or looking to optimize your maintenance schedule, this resource will help you unlock even greater savings, performance, and confidence on every ride. Dive deeper and empower yourself with the knowledge to keep your motorcycle running at its absolute best for years to come.


Write A Comment